10.31.2012

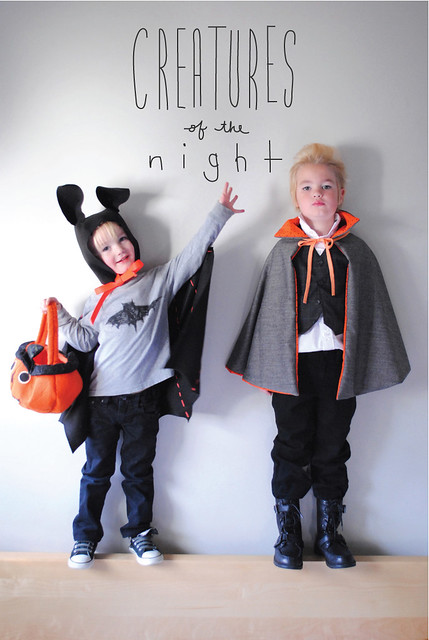
Halloween 2012: The Happy Bat and The Moody Drac

MerMagBat&DracCostumesCreatureoftheNightA

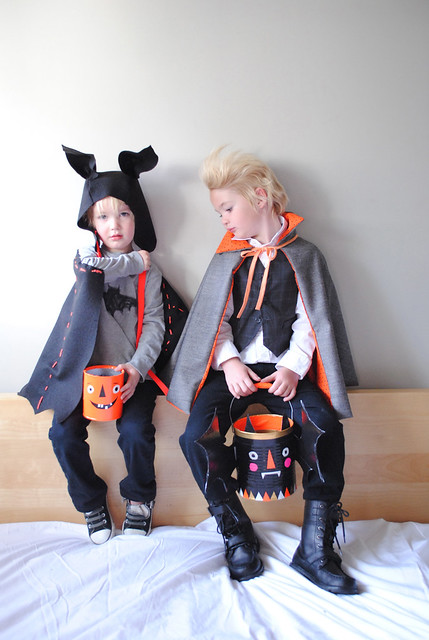
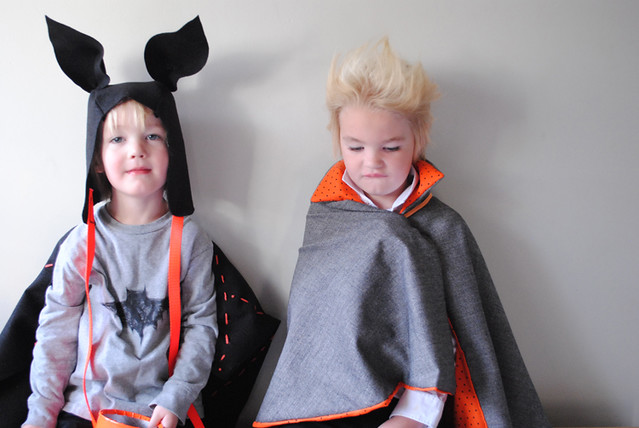
Happy Halloween! These little creatures of the night just wanted to pop in and share with you their Halloween costumes before embarking upon a fun filled night of tricks and treats!

MerMagBat&DracCostumes1

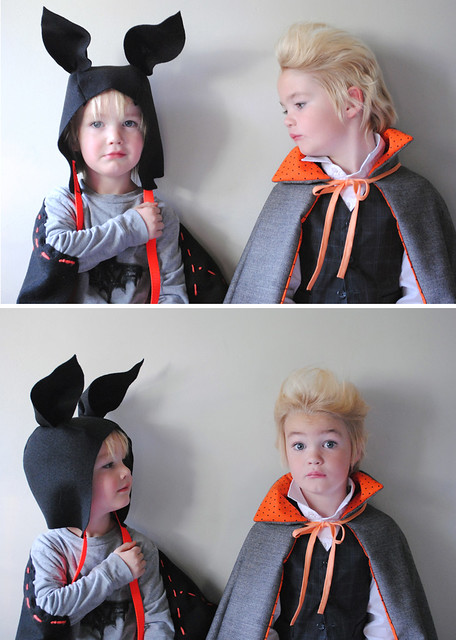
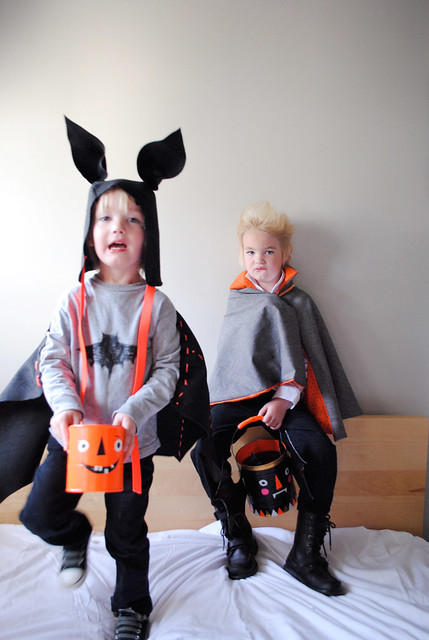
We have ourselves a fun and spunky little playful bat alongside a more somber and moody Dracula (and little girly bat whose costume we will be sharing with you tomorrow!).

MerMagBat&DracCostumes4

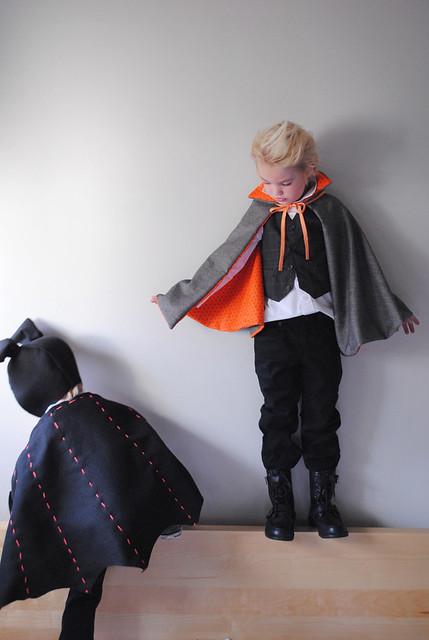
Having lost his front two teeth, and consequently sporting his own set of natural fangs, A went traditional this year and chose to be Dracula. And then the theme just went from there. I just love how each of their personalities come out in these costumes. And can we just say this little Dracula is 6 going on 16? How is it possible he's growing so fast?

MerMagBat&DracCostumes3b

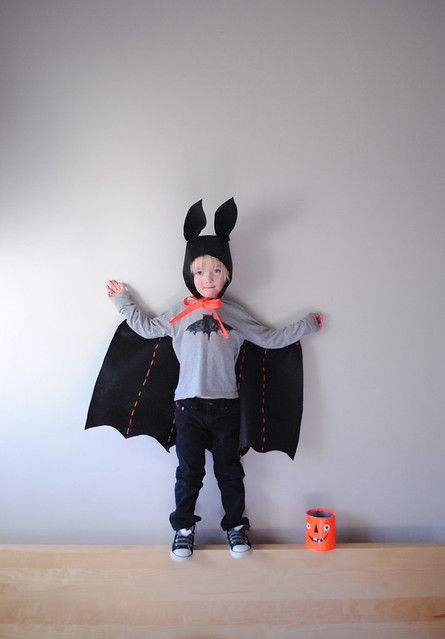
And wasn't this little bat just my baby?

MerMagBat&DracCostumes5

Well with a new 1 month old baby in the house, we had to go simple this year. All I made was the vampire cloak, the bat hood and cape. Everything else was just a compilation of clothing we had already (except these most excellent vampire boots. I saw them and just had to get them).

MerMagBat&DracCostumes6

And now to finish up baby M's little batty costume (she was going to be a cat but it ended up looking more like a bat, so we went with it) and get those little ones out and about the neighborhood.

MerMagBat&DracCostumes2b

Wishing you all a super fun, and slightly spooky, Halloween!!

10.29.2012

Homespun Halloween: Costumes of the Past

MerMagCostumeRoundUpPumpkin
As soon as little O turned one I decided it was time to follow in my mother's footsteps and start sewing our very own handmade Halloween costumes. So for the past three years, we have been trying to do just that. There is something special about a homespun costume - and for those of you who don't sew, it can easily be created from boxes, paper, and more found objects. I just think there is something special about creating and wearing something original and hand crafted.

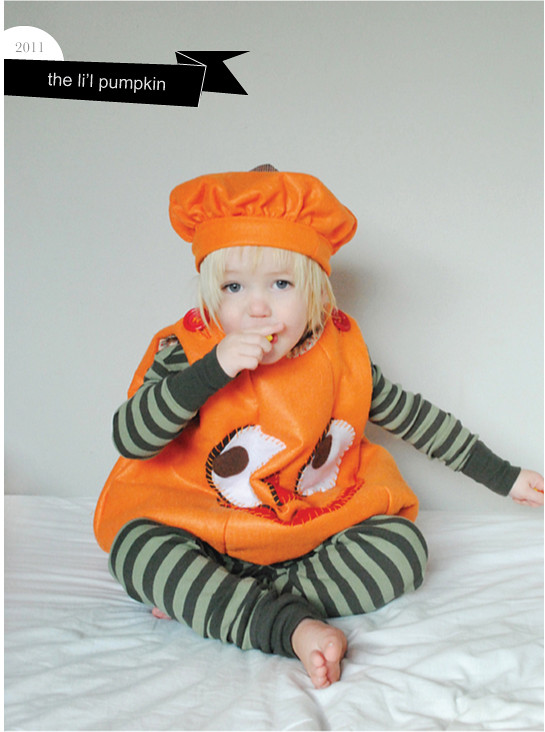
For us we like to have our costumes later become great staples for our imaginative play costume box. So more often than not I like to sew them, so that they last and can be easily stored. Last year the boys asked to go as a pumpkin and Perry the Platypus. And let me tell you what. That platypus has been worn quite a number of friends and family members alike. It's probably been the number one requested dress up item in our home. And the pumpkin? Well, I love that one so much that I'm keeping it nice for baby M to wear again one year.
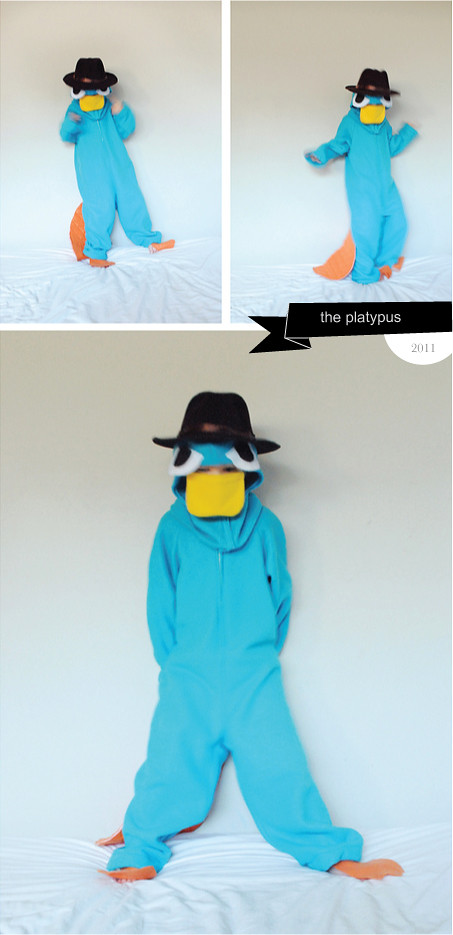
MerMagCostumeRoundUpPlatypus

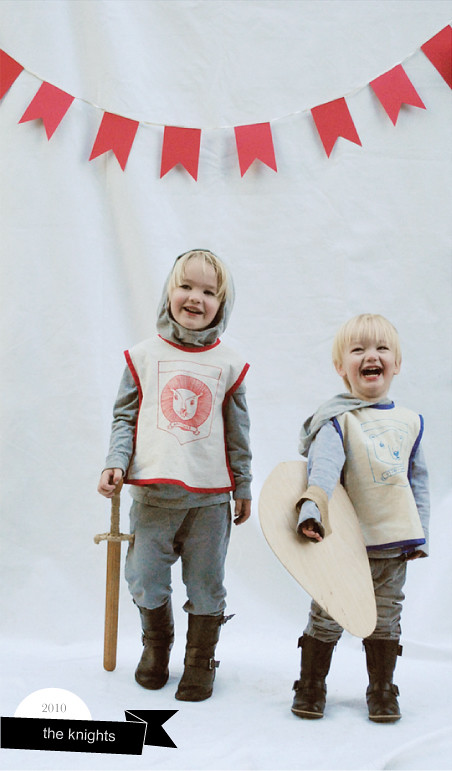
In 2010, the boys went as knights. We had a lot of tun with these and even themed Little O's 2nd birthday party around them. By basing these off of a vintage art smock, they were not only simple but easy for the little guys to wear...over...and over again.
MerMagCostumeRoundUpKnights

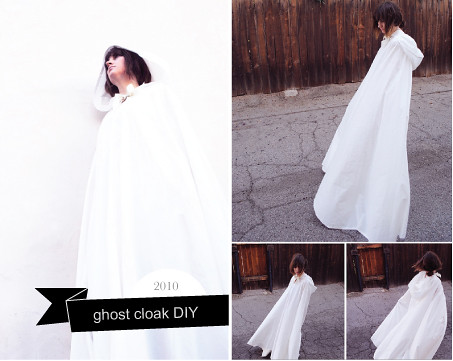
That year I also decided to share a simple DIY ghost cloak that you can make from a sheet. And trust me, if you don't have a costume idea made up and ready yet, you can totally make this one the day before (or even the day of!) Halloween.
MerMagCostumeRoundUpGhostCloak

2009 was the year I began all of this sewing madness. I actually wanted to start sewing as soon as A was born but I think it took having number two for me to really be inspired. I kind of get into themes. And really you only have so many years before you can get your kids to theme your costumes. Or at least that's how it's played out in my house.
MerMagCostumeRoundUpSailormanBeard

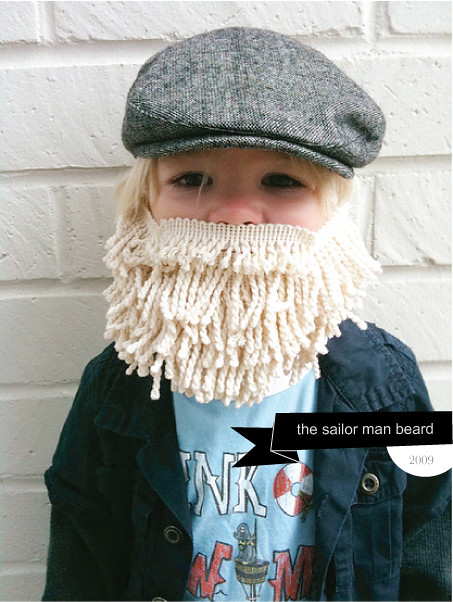
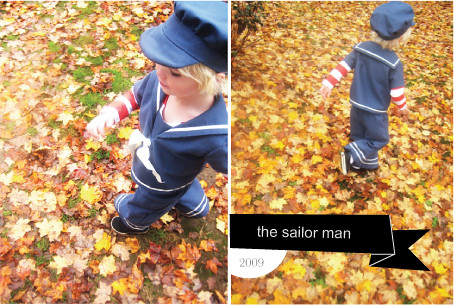
So in 2009 the boys went out as a sailor man and an octopus. I started the costume with a fringed white beard...that lasted for about three seconds (A wasn't into how it felt on his face).

So as much as I loved the beard (it still comes out for Santa Claus impressions) we nixed it for a simple, younger, sailorman costume.
MerMagCostumeRoundUpSailorman

And what's a better side kick for a sailorman than a squigly red octupus? I can't deny that I was seriously in love with how my little baby O looked in this costume and was proud to have created it completely on my own (no pattern). And I seriously can't wait until baby M can fit this, because I'm very sure that I've not had enough of it yet.
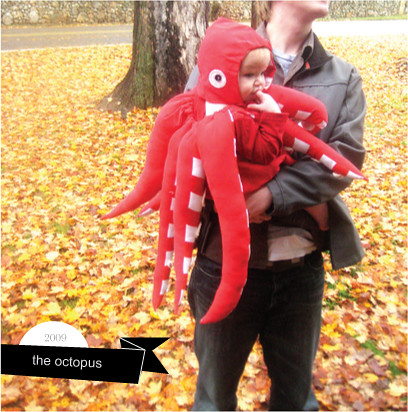
MerMagCostumeRoundUpOctopus

And this year? Well stayed tuned to find out! I mean I now have three costumes to create! So you'll just have to keep a drift to see if everything turns out as planned.

What are some of your favorite costumes from years gone by? And why? Any of them handmade? I'm still in awe of my friend Sarah's darling gumball costume, found on Inchmark, made for her daughter. Seriously so innovative. You can see more of what is inspiring me costume wise via my Hallow's Eve Pinterest board. And can you believe that the haunted holiday is upon us!? EEK!!
10.26.2012

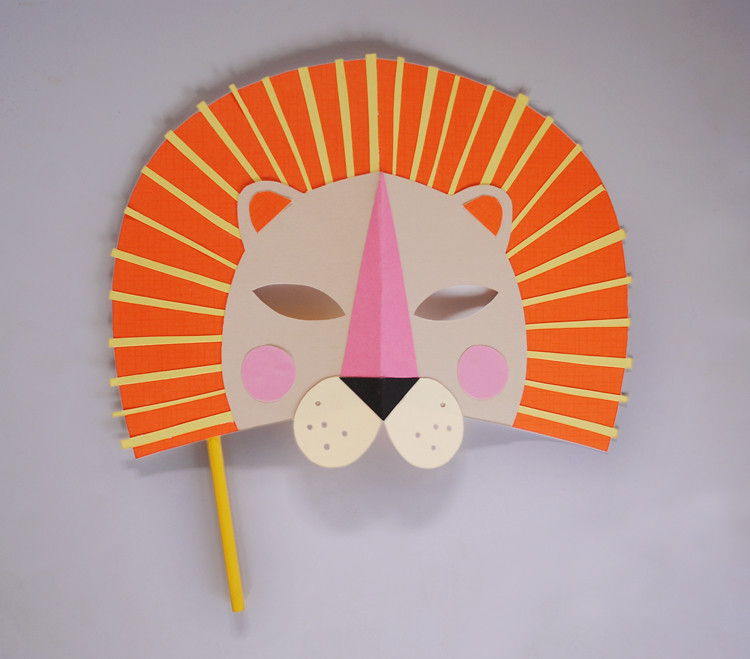
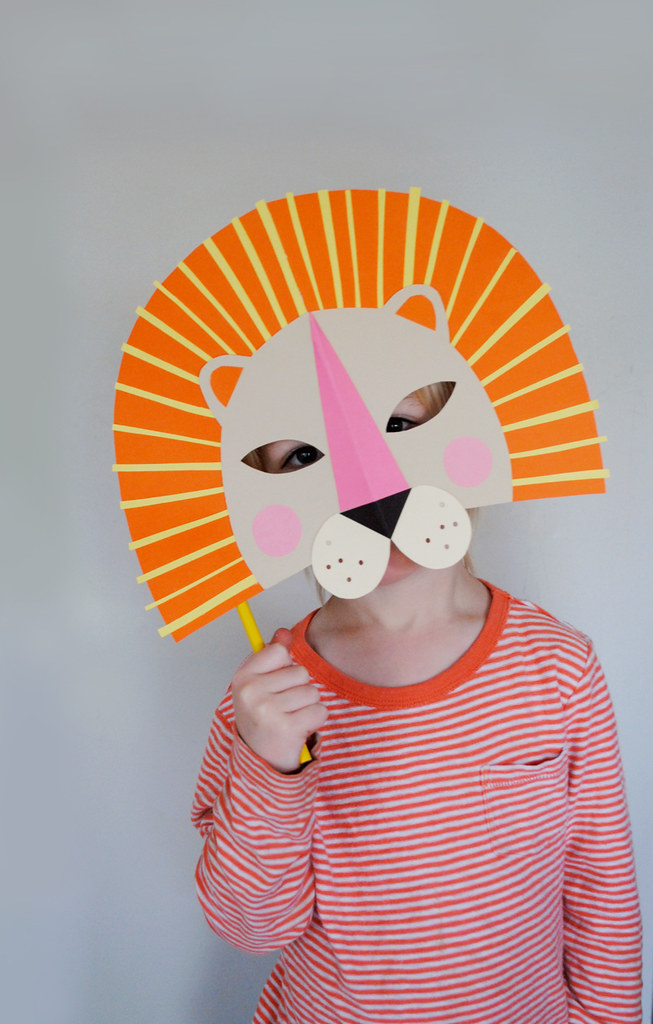
DIY Paper Lion Mask for National Geo Kids

MerMagNationalGeoLionMask
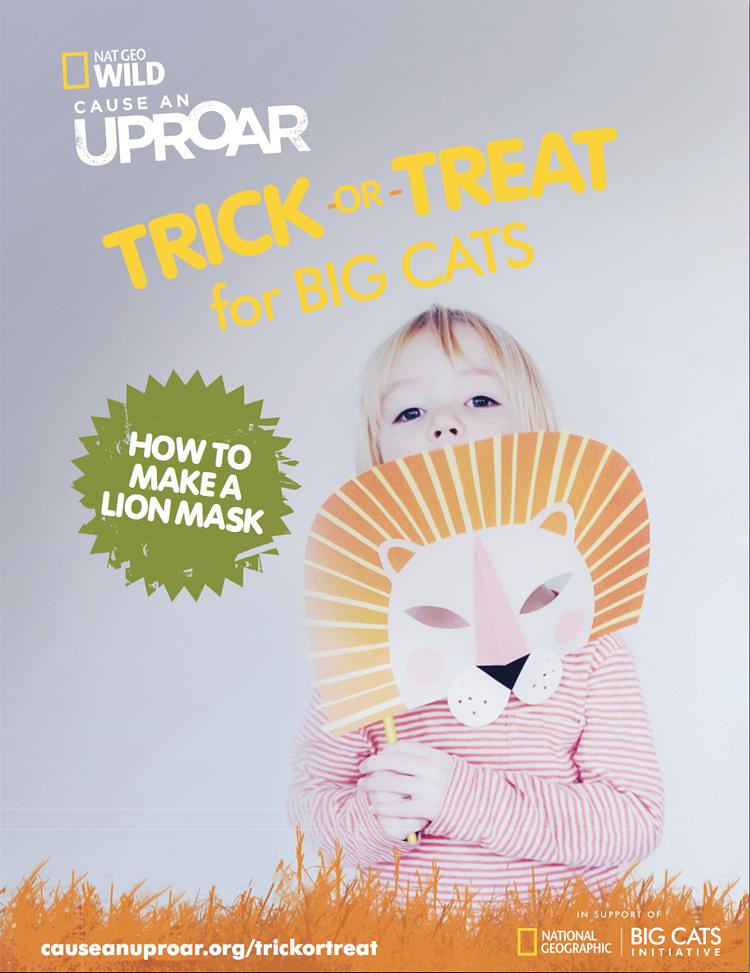
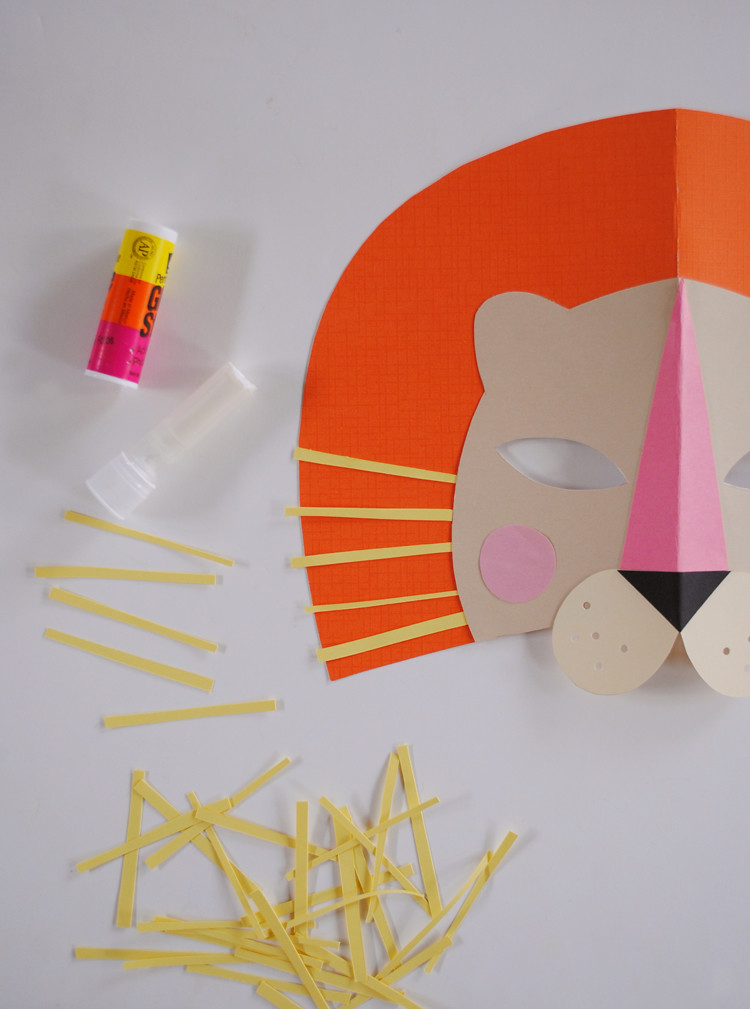
I was recently contacted by National Geographic Kids to create a fun DIY craft for kids in the theme of Trick-or-Treat for Big Cats. I love how they focus on big cats during the month of October and I was more than happy to tie it all in to Halloween. And over here, well we can't get enough of lions, tigers, cheetahs, you name it!
MerMagLionMask5
If you need a simple and quick costume solution for this haunted weekend, or just a fun craft for imaginative play with the littless, this paper lion mask is your ticket!
MerMagLionMaskfinal
For DIY instructions and a template, just head on over to National Geo Kids and click on the "lion mask (PDF)" link on the right hand side. From there you will be able to download a pdf with all the information you need.
MerMagLionMask1
 Happy romping and roaring!

10.25.2012

Simple Scenes: Our "Haunted House"

MerMagSimpleScenesOurHauntedHouse1
This year, because of our sweet new little babe, Halloween in our home has been on the back burner a bit. So when mid Oct. rolled around, A asked "Mom, when are we going to decorate for Halloween?!" So after promising them in the morning that I would indeed pull out the Halloween decor, at about 7 pm (right before bedtime) I did finally manage to make it to the back shed and unearth our box of frightful delights.
MerMagSimpleScenesOurHauntedHouse2
A set out creating his own snowflake pumpkins (a family favorite tradition of ours) right away and then got to work on some goulish puzzles and mazes.
MerMagSimpleScenesOurHauntedHouse4
While Little O, well he pretty much consumed every last minute of it. I casually began placing items here an there around the house, such as fun little spider window clings that found themselves on windows and the glass of unsuspecting framed works of art.
MerMagSimpleScenesOurHauntedHouse3sm
While doing this, Little O asked, "Mom, are you making our house haunted?". I just love his perspective. So I replied, "Why, yes. That is one way we like to celebrate Halloween." He just smiled his mischeivious smile. I think we have ourselves new "haunting the house" convert.

And now to just finish (or start?) those costumes...

And what about you? Do you go all out with Halloween decorations? Do you do up the yard more or go full steam indoors? Or both?! Any favorite decor stories from years gone by?

Illustrating for Olive Us

OliveUsGhostTownMerMagIllustrations4
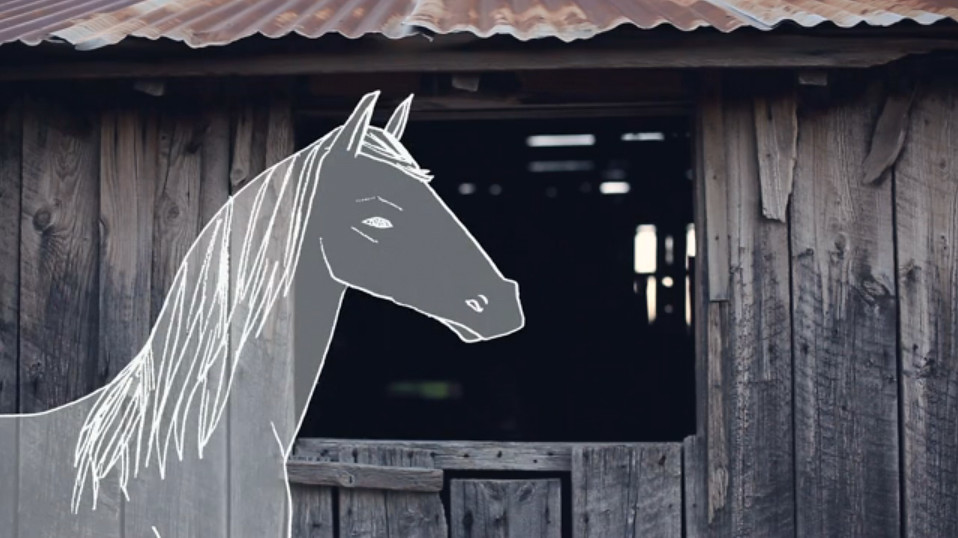
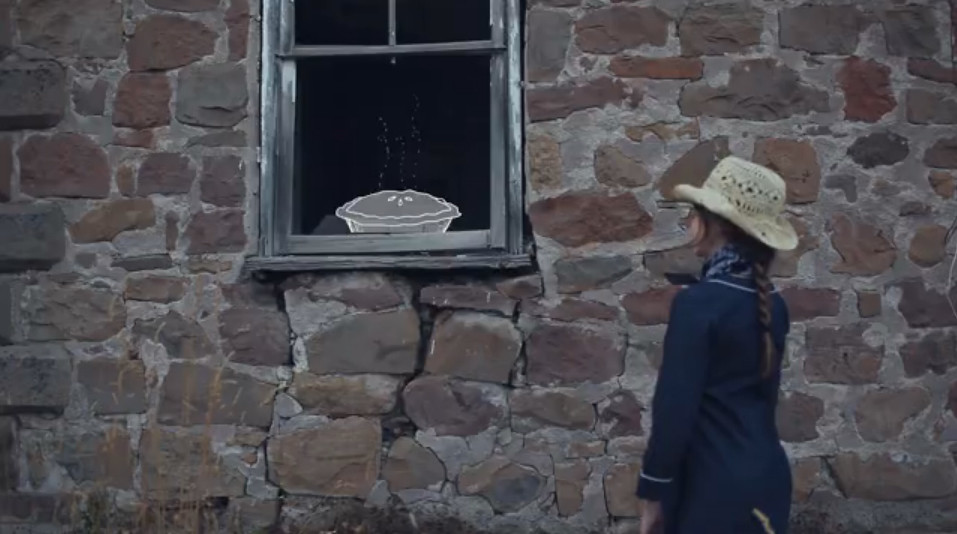
Have you guys been keeping up with the darling Olive Us video's, put on by the Blair children? If so you might have noticed my illustrations in the last couple of episodes. And just in time for Halloween, they have launched a new video called Ghost Town!
OliveUsGhostTownMerMagIllustrations3
Do you not just love ghost towns? I have the best memory of exploring Calico Ghost Town as a little girl. It stayed with me for some time.

And I had so much fun illustrating spooky ghosts for this episode. My Favorite was the shoot out. You'll have to take a look at it to see how Tiger in a Jar animated it. Love it.
OliveUsGhostTownMerMagIllustrations2
And Gabrielle is so great to work with. I'm constantly impressed with both her business and mothering skills. I mean, just look at those impressive Blair Children. Maybe I need to just up and move my kiddos to France ;).

And if you missed the Study Space episode, take a look here. I had so much fun illustrating the Mayflower. And Shakespeare! Always love a good Shakespeare. (See a closer look of all Study Space illustrations here).
OliveUsStudySpaceScreenShot

10.24.2012

Cereal Boxes + Duct Tape = Super Hero City Scape

OneMoreMushroomMermagSuper-hero-photo-booth
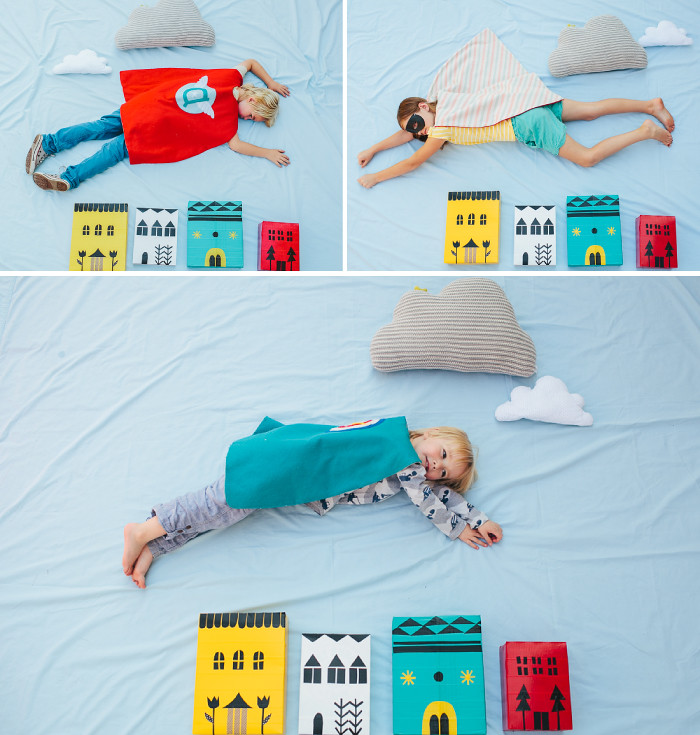
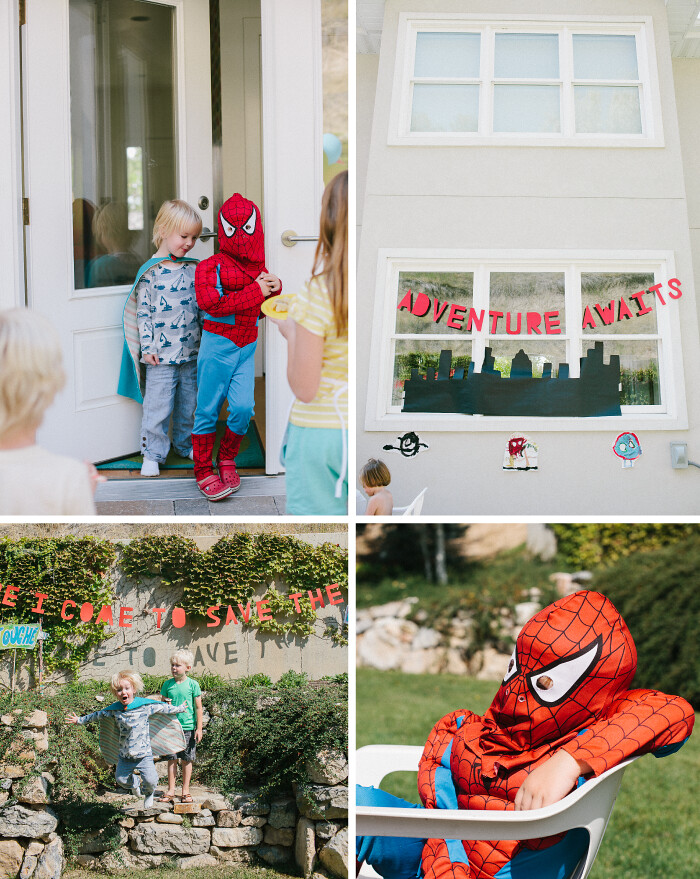
My friend Meta, of One More Mushroom, recently threw her son the cutest super hero party. She had this idea for a darling super hero photo booth, and she asked me if I would help by creating cereal box/duct tape buildings to imply a cityscape of sorts for the little vigilantes to fly over. Being a big lover of re-purposing discarded goods with duct tape, we of course said yes! We created four buildings, each with a different bright popping color and then adorned them all with black tape, adding just a few pops of contrasting color here and there. And I just love how they look with little masked crusaders flying over them. Head over to One More Mushroom, and Babyccino kids, for more great photos of the party and to learn how to set up the rest of the photo both.
OneMoreMushroomSuper-hero-party
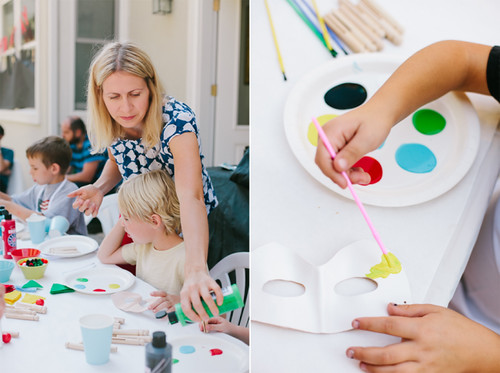
My friend, Susan, of Freshly Picked, also created a great leather mask craft for the super hero's to paint and decorate. Take a look at how you can make your own here on her guest post for Martha Stewart!
how-to-make-a-leather-mask-steps-kids-paint-625x466 copy
Photos by Ashley Thalman

10.22.2012

Meet Sweet Baby M

MilainLeaves
Sweet Baby M turned three weeks today and we are all head-over-heels smitten with her. I was hoping to have her birth story up on the blog last week but with four-year-old birthday parties, sleepless nights and grade school coughs and sniffles, things have been a bit "congested" around here. I do however have plans to share it this week if all goes well. I also have a slew of costume round-ups from years pasts to share as well as more Halloween fun!

Hope you have all been enjoying one of the most magical yet fleeting times of year. We've managed to have a few romps through the fall leaves (bringing baby M along for the fun...what a trooper) and have plans for pumpkin patches and cider sipping nights. Can't wait.

happy monday!

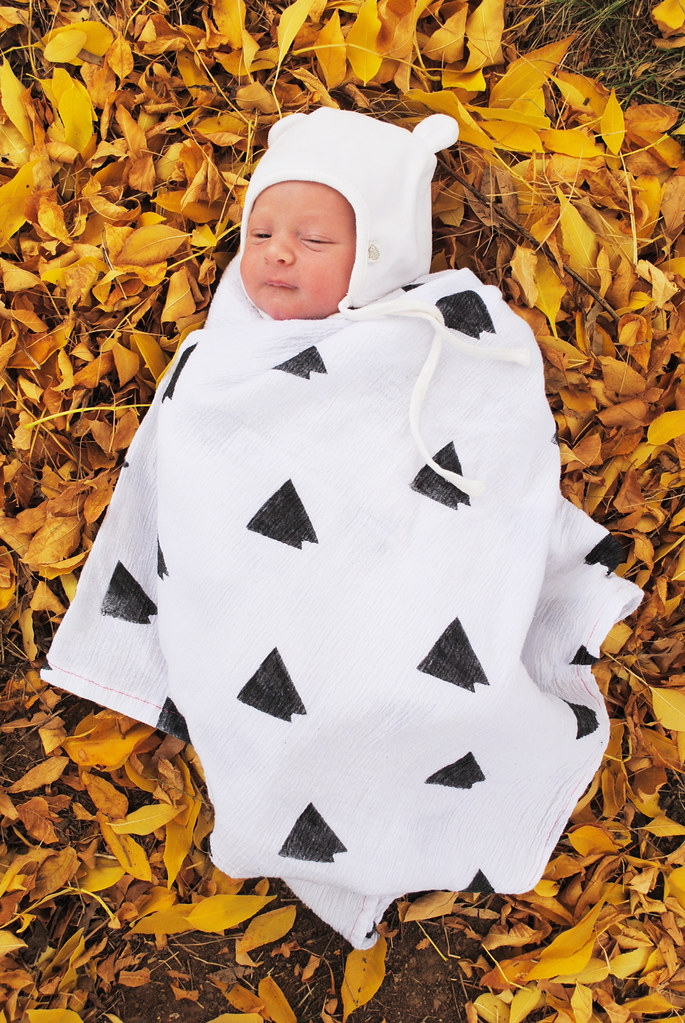
(baby M pictured above in our DIY hand stamped swaddle blanket. It's been soo great!)

10.17.2012

Mer Mag Circus Train for Family Fun Magazine

MerMag+FamilyFunMagazine
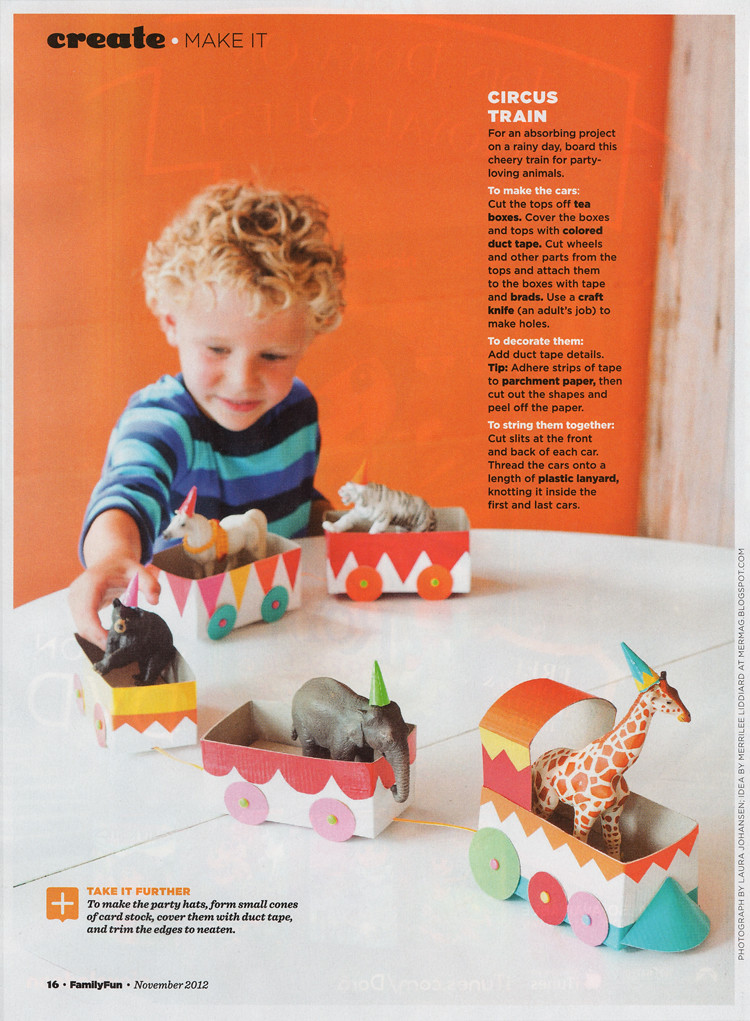
Have you had a chance to peruse the November issue of Family Fun that recently hit the news stands? If so you might have seen our Tea Box Circus Train in it! A couple of months ago Family Fun asked us to share our circus train idea with their readers and we were thrilled. Have you made one yet? It's really a load of fun. Could be a fun Christmas craft for around the bottom of the tree, yes? Which could carry a few little gifts for good girls and boys. So many fun ideas!!
10.16.2012

Trick-or-Treat Candy Buckets with Duct Tape

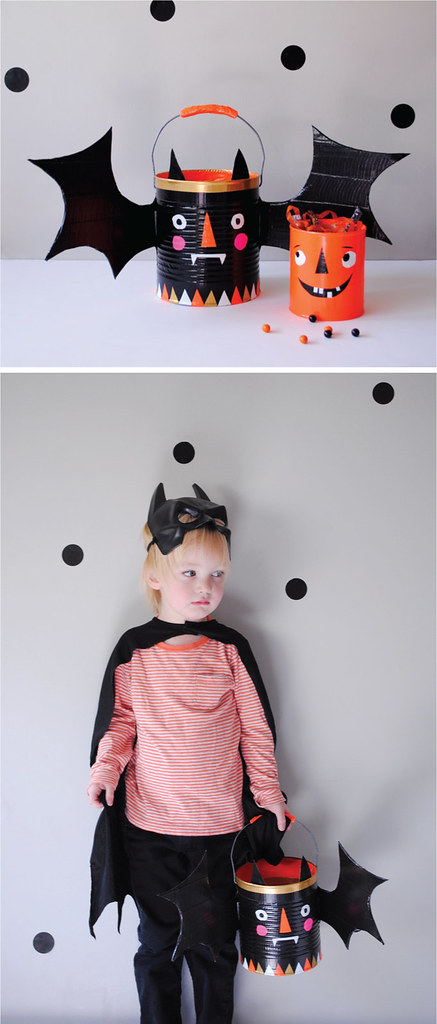
MerMagTrick-or-TreatBuckets1
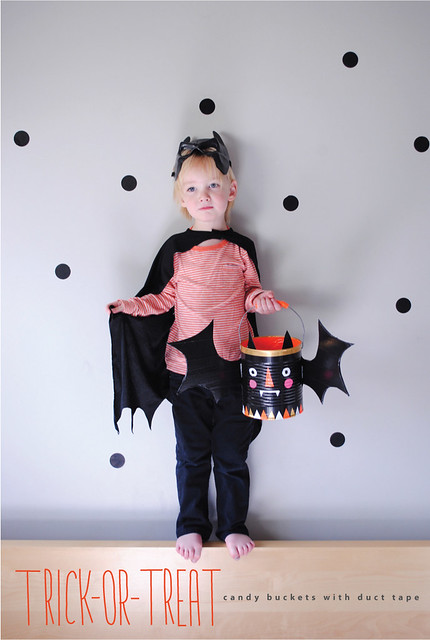
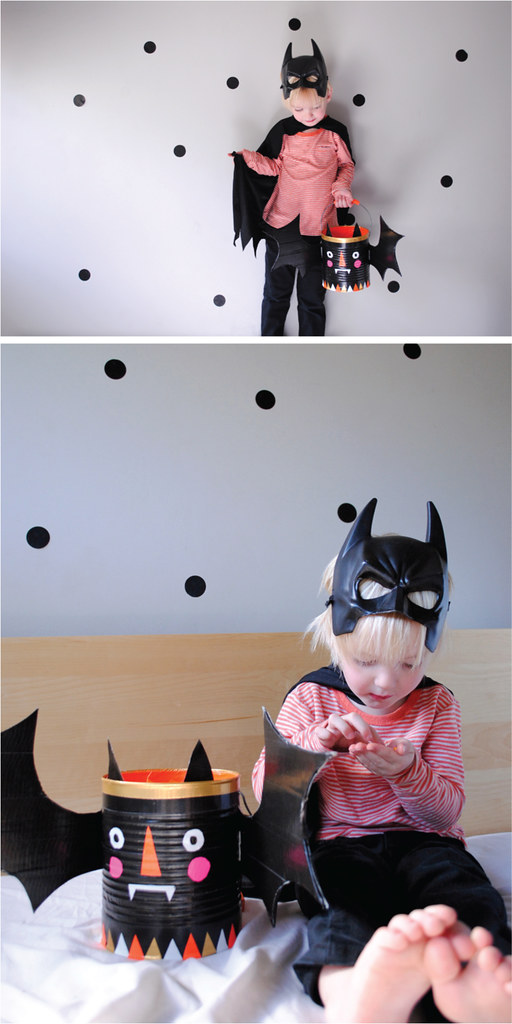
If you are looking for the perfect trick-or-treat candy bucket, but you don't want to spend a lot (or if you are like me and don't want to bother going out to the stores only to find that what you're looking for just doesn't exist)...we've got just the thing for you! A Do-it-Yourself bat (or pumpkin) treat bucket from a tin can, adorned with cardboard wings and duct tape!
MerMagTrick-or-TreatBuckets2
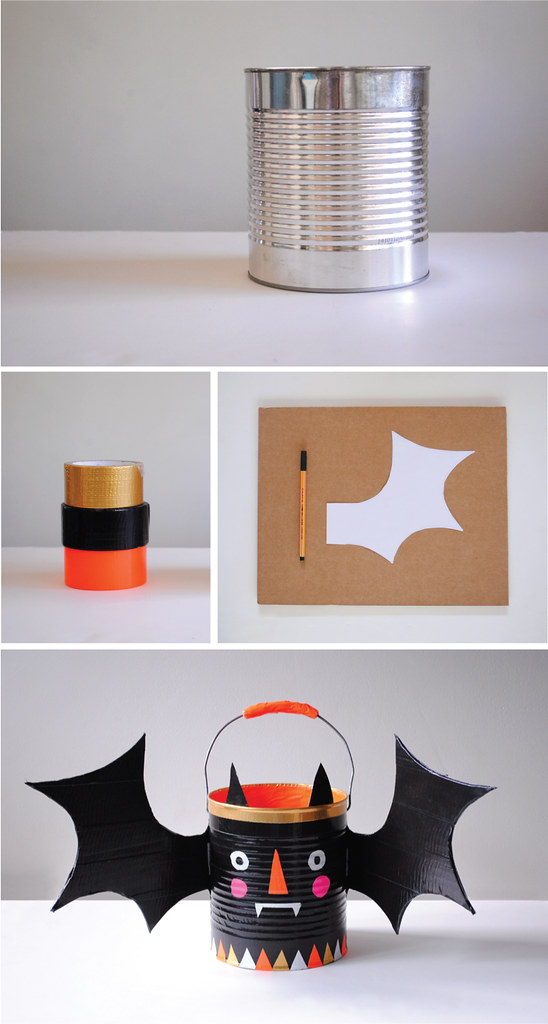
To make these candy buckets, simply gather together a number of household materials, such as:
  • a tin can (paint cans work great as they already have a handle in them)
  • a wire coat hanger and pliers (if you don't already have a handle)
  • an assortment of festive duct tape colors
  • an X-acto knife and self healing mat (see tips for cutting duct tape here)
  • cardboard (for the wings if you are making the bat)
MerMagTrick-or-TreatBuckets3
Start by punching holes for the handle into the sides of the can with a hammer and an awl (or use a drill). You can then bend and trim the coat hanger until you are happy with the size and shape for your handle. Don't place the handle into the holes just yet, though. I would wait to do this at the end once the tin is already covered in tape.

Once the holes are punched, you can begin covering your tin with duct tape. For the bat I covered it completely with black and created the face, and other decorative elements, with colorful tape. I even did a few rows of corresponding tape within the bucket to make things pop a bit. It's important that you have a good layer of tape folded over the top of the bucket so that no sharp edges are exposed. You can also cover the holes you previous made in the tin can and then puncture the tape where the holes are. This helps to cover any sharp edges that holes might have created as well. I then added a few bat ears by taping together pieces of black tape and then cut out triangle shapes which were then taped to the inside of the bucket.

Once you have finished decorating your tin, you are ready to put your handle on. You might want to wrap a few layers of duct tape to the top of the handle to make it that much easier for little hands to hold throughout their night of tricks and treats.

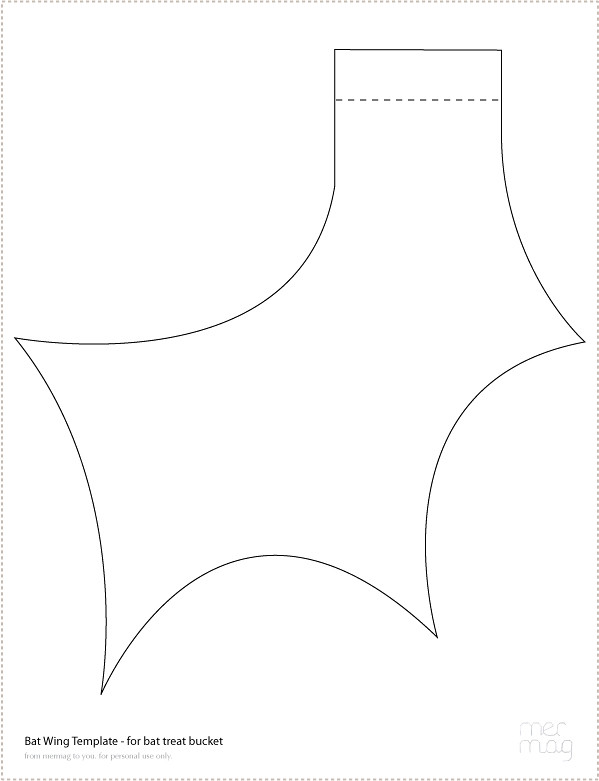
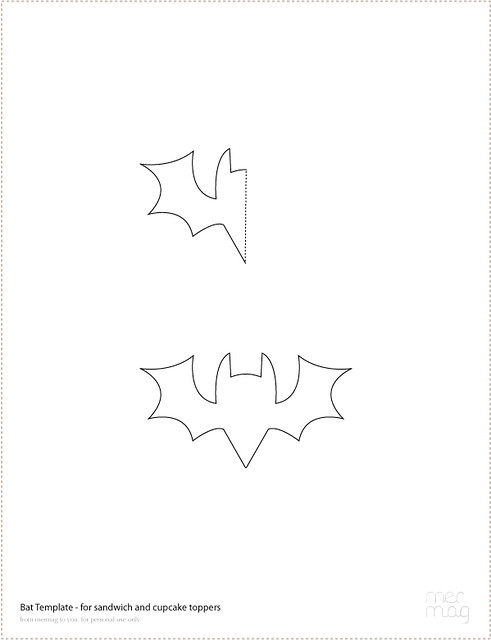
For the bat wings, simply download this bat wing template and trace it two times onto cardboard (or a cereal box, etc.).

MerMagBatWingTemplate
Cut the wings out of the cardboard and then cover with duct tape. Fold the wing over (at the dotted line) and tape securely to you bucket.
MerMagTrick-or-TreatBuckets6
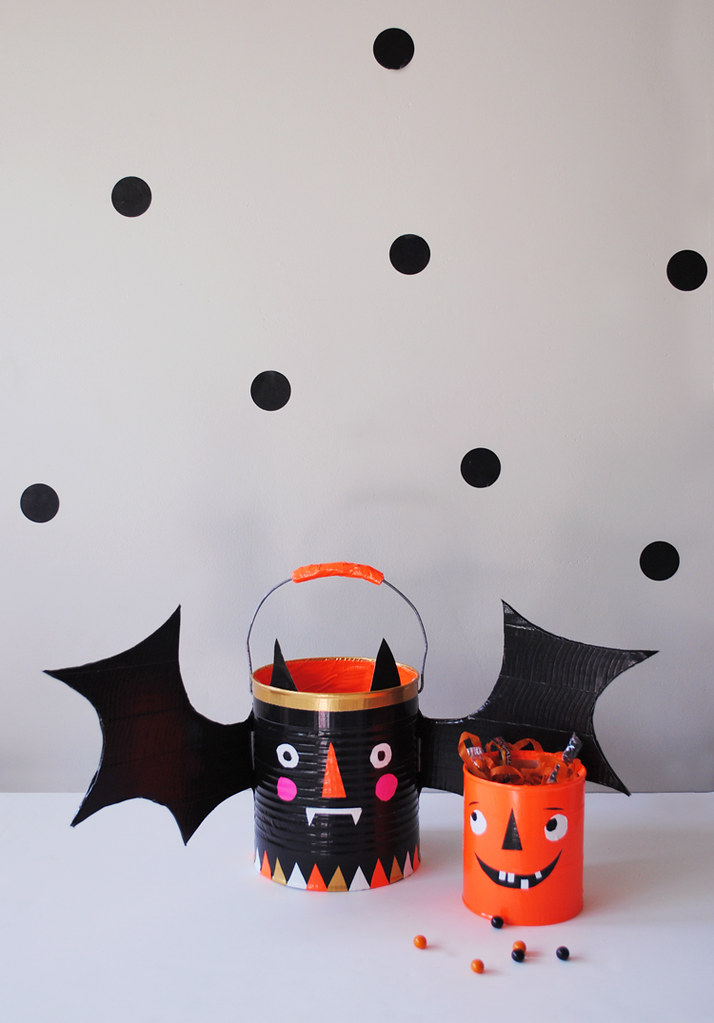
But don't let the fun stop there! You can continue to create an assortment of other haunted treat containers for your home or to give away as ghoulish gifts. Have fun raiding your pantry for a variety of cylinders. We made this little pumpkin guy out of an old discarded chow mein noodle package and we've become quite fond of him (not to mention the goodies he now holds inside!).

MerMagTrick-or-TreatBuckets4
Now that your trick-or-treat buckets are complete, your little ones are ready for a spooky night out on the town! And my favorite thing about these treat containers is that they are mighty durable and, if treated well, should hold up for at least a few years. (To store, simply remove the wings and lie them flat. Any nicks and scratches can easily be repaired with a new "coat" of duct tape). And little O's favorite thing about these buckets? Well the candy they hold of course!!

10.11.2012

Halloween Flashback: Bat Toppers with Template

MerMagSecurityEnvelopeBatTopper1
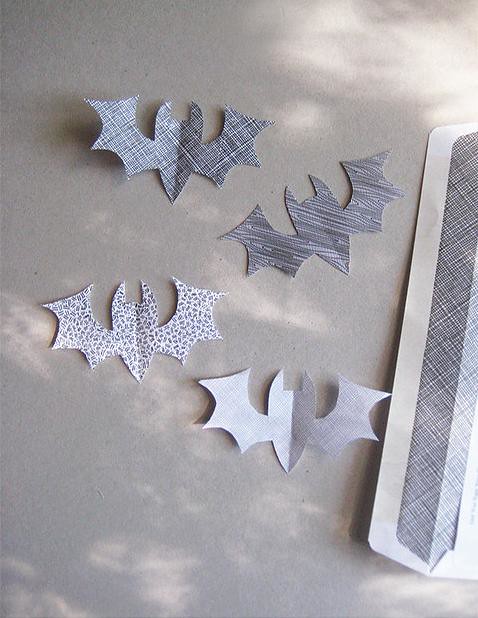
I have loved reusing household items for craft projects for some time now. And one of my favorite free paper products that we always find in our mail box - oh nearly every day - are beautifully diverse security envelopes. A couple of years back I reused a collection of these security envelope patterns for these simple and fun bat sandwich toppers.
MerMagSecurityEnvelopeBatTopper2
And of course these would also make great cupcake toppers, place setting labels, scrapbook decals, you name it! And now I'm offering a template for these little bat friends.
MerMagBatTopperTemplate
To make it easy, you can fold your paper and place half of the bat template on the fold, trace and cut. Or you can use the entire bat template if you don't want a fold in your paper bat. It's up to you!
MerMagSecurityEnvelopeBatTopper3
And next week I hope to have a brand new Halloween craft that I'm super excited about! And...Baby M's birth story should be hitting the blog next week as well. Here's hoping I can get enough sleep and keep my head on straight to make this all happen!

And I hope you have some haunted fun lined up for this weekend. Corn mazes? Haunted houses? Hay rides? Apple picking? Pumpkin patches? Or just sipping on some apple cider while eating pumpkin donuts and watching spooky shows? October weekends are some of my most favorite in all the world. I'm quite certain I'll have to slip out of the house for a few of these festivities soon.

Happy Fall!

10.07.2012

Halloween Flashback: Felt Pumpkin Faces & Template

MerMagFeltPumpkinFaces1
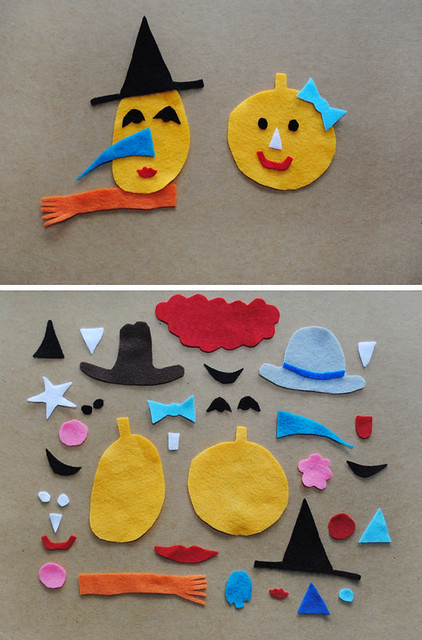
Are you getting into the Halloween spirit yet? We're still very much in baby mode here (Baby M is already a week old!!) but little by little we are trying to introduce elements of the highly anticipated spooky holiday over here. Just last night Jon and the boys put together a Mr. Pumpkin Head of sorts with real pumpkins while the girls tried to get some beauty sleep. These pumpkin heads reminded me of the fun felt pumpkin faces the boys and I made a couple of years ago. And we of course want to share them with you! To make things easier on you, this year I've included a template for you to download and use as a pattern for your felt pieces.
 feltpumpkinfacesTemplate
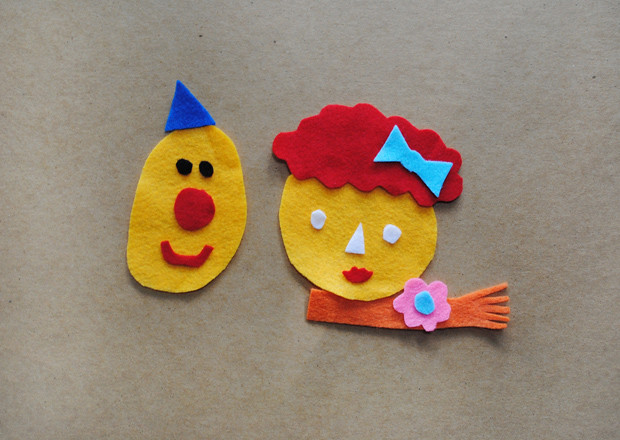
There are so many options for fun and silly faces with this pattern.
MerMagFeltPumpkinFaces2
And don't be afraid to add a few of your own elements to the mix. There really are so many spooky and wacky possibilities!
MerMagFeltPumpkinFaces3
And the best part...these guys will keep your little ones occupied mixing and matching, giggling and laughing, for a good long while. I'm thinking I might even need to make a little felt book of sorts to tote these little pumpkins around in. I really think it would come in handy on-the-go.

And now to start our week where we try to get back into the swing of things. I'm a little weary of all the driving around I have to do, but such is life with three...and we're having to jump right into it. Wish me luck!

10.04.2012

Halloween Flashback: Black Cat Paper Mask Template

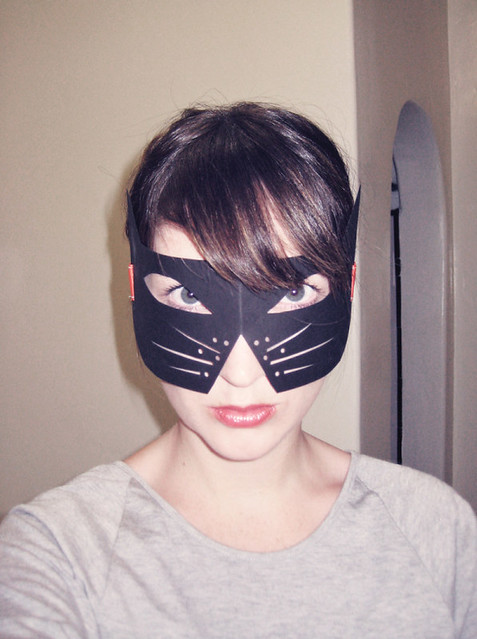
MerMagBlackCatMask1
Hi friends! I wanted to pop in with another Halloween Flashback for this week. But before I get into that, I wanted to let you know that our baby girl arrived on Monday, Oct. 1st at 8:15 AM! We are so in love and are trying to quietly settle into life with this new little angel. I'll try to share pics of her next week!

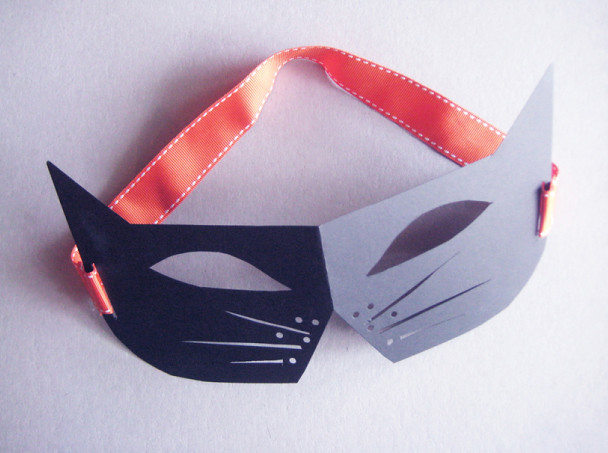
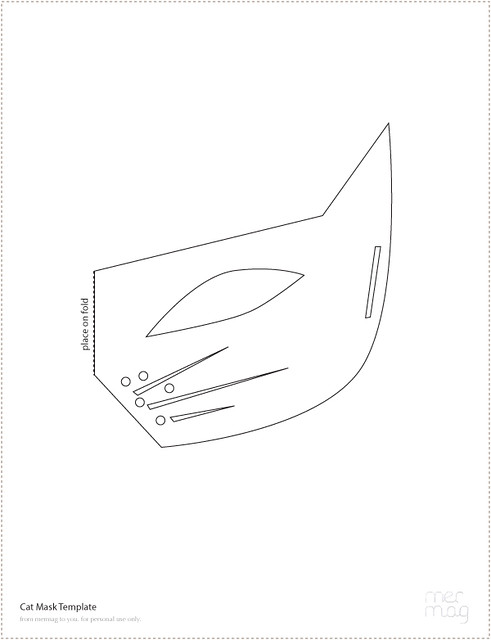
And as for our next Halloween Flashback installment, I wanted to share with you the template for this simple and fun black cat paper mask!
MerMagBlackCatMask2
Simply print out the template and then trace it on a folded sheet of black card stock (or any color you chose). Just be sure to place the center part of the mask on the fold. Follow along the cutting lines to create your eyes, whiskers and slots for the ribbon. I used a 1/8" hole punch for the dots surrounding the whiskers.
CatMaskTemplate
For the ribbon, simply measure how large you need it and then slip it through the slots and stitch ribbon together. And there you have it! One simple but striking black cat mask. To see the original post, along with A's fox paper mask, go here.

Enjoy!