12.31.2011
New Years Eve hat making party
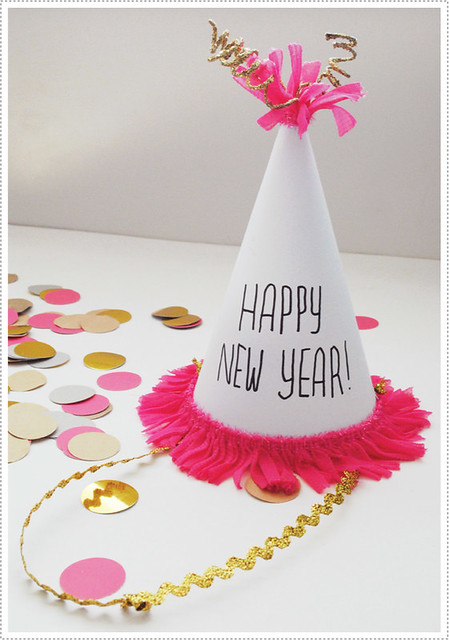
A couple of years ago Jon and I had family in town for New Years and we decided to make our own hats to celebrate the festivities (one year we even stuck a sparkler out of the top of Jon's hat and lit it for the count down into the new year!). We had loads of fun doing it and have since started a little tradition of hat making for each New Years Eve.
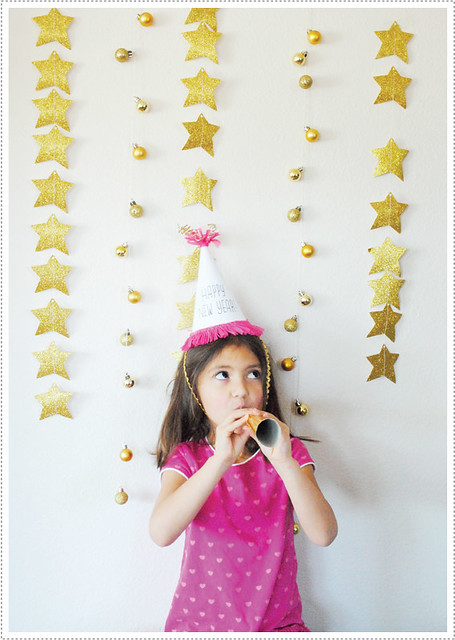
This year, as we're still in Colorado, we decided to bring the tradition with us to share with all the extended family. Everyone loved it but the nieces and nephews were the ones who really got into it and ran with it.
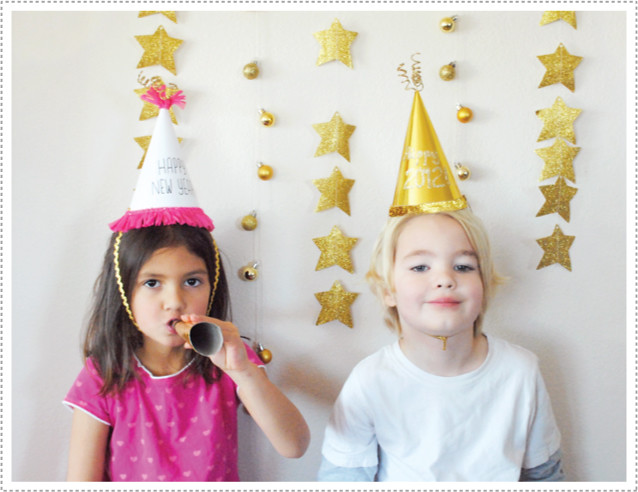
I laid out piles of white, pink and gold card stock and let everyone decide which color they wanted their hats to be. I used the template for the hats found here. I then set out a number of decorative trimmings, glitter puff paints, markers, etc. and let everyone go at it. (I found that after-Christmas-sales are a great go-to for sparkling New Years fan fare. I made these gold glitter star garlands from old Christmas tags and I used gold baubles from the marked down dollar bins at Target for the other garlands. Their are so many gold and silver holiday items that really work well for New Years festivities).
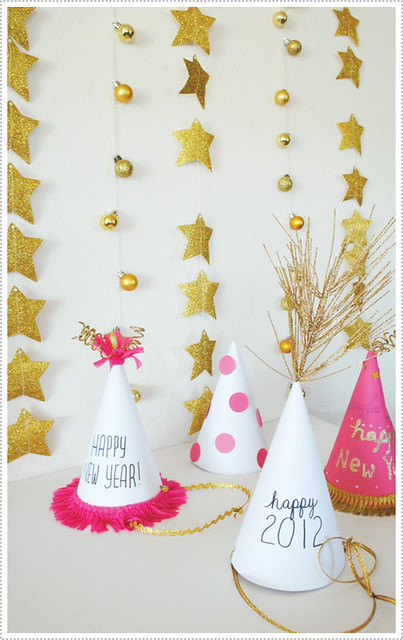
My sister helped the Littles with puff painted lettering and I adhered some of the more difficult trimmings.
I loved to see what everyone came up with and the Littles were very proud of the specific touches that made their hats their own.
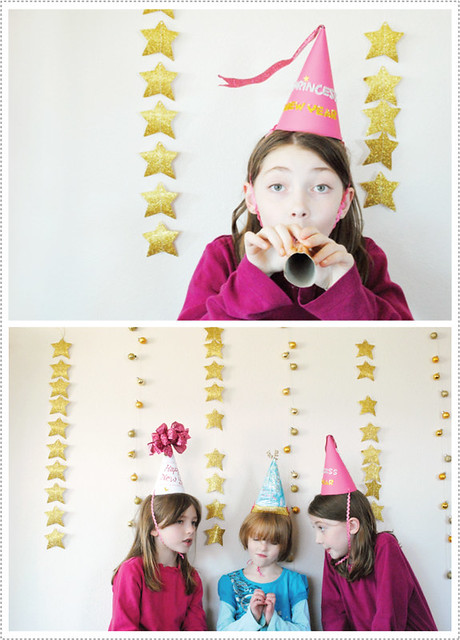
I especially loved my little niece who insisted that she completely color her hat blue, as she wanted to do things different from all the others. Another niece came up with the darling idea of making hers a princess New Years hat, complete with a dangling princess ribbon.
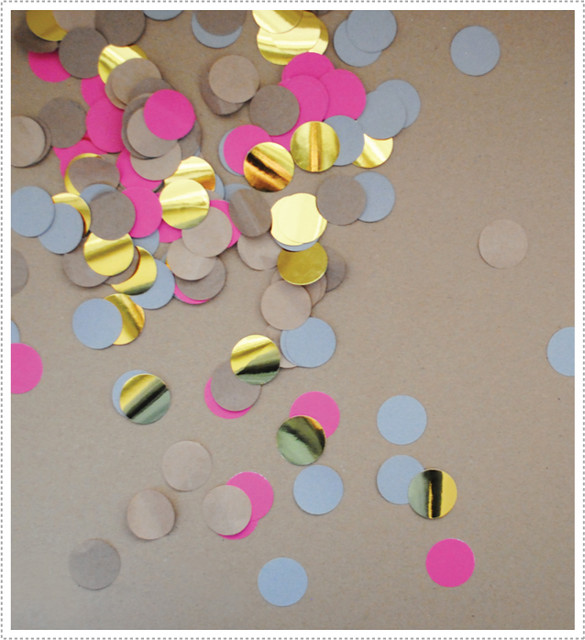
For fun festive confetti I cut circles out of various colored paper with a 1 inch circle punch.
The confetti was a big hit with the Littles and a new favorite of mine to make any simple celebration more festive.
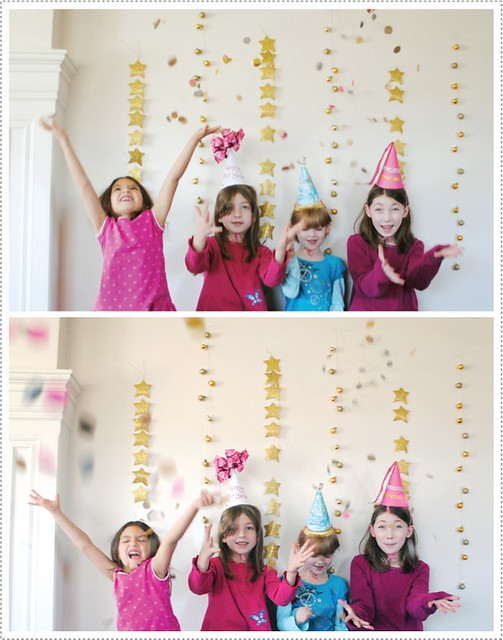
I think all had a great time with this little hat making craft. Little A had a lot of fun with creating the hat but then opted out of the photo shoot early to continue playing his Starwars Lego WII game that Santa has brought him.....He then, sadly, shortly thereafter contracted the flu that Jon and Little O have had, so the poor boys were cooped up in bed with 7-up and saltines while I finished up the photo shoot with my nieces and then wrung in the New Year without so much as a celebratory kiss.
2011 has been a full year complete with changes and many an up and down. I'm happy to say that a great deal of the ups have been in the past couple of months and I'm excited to enter the new year with an air hope and possibility!
So here's to 2012! Happy New Year!
12.26.2011
cookie plate for Santa
We're enjoying a White Christmas here in the frigid lands of Colorado visiting family and dear friends. The boys are happy as can be playing with their new treasures and enjoying precious time with cousins. Being with extended family, although at times happily hectic, is one of the most prized gifts for me this time of year.
I can't believe that the season is coming to an end. I still have SO much to share with you. We've been so busy traveling, making, gifting and playing that I haven't had a moment to check in with you all. But I'm more than happy to share all that we have been up to keep the holidays going...for at least a little bit longer.
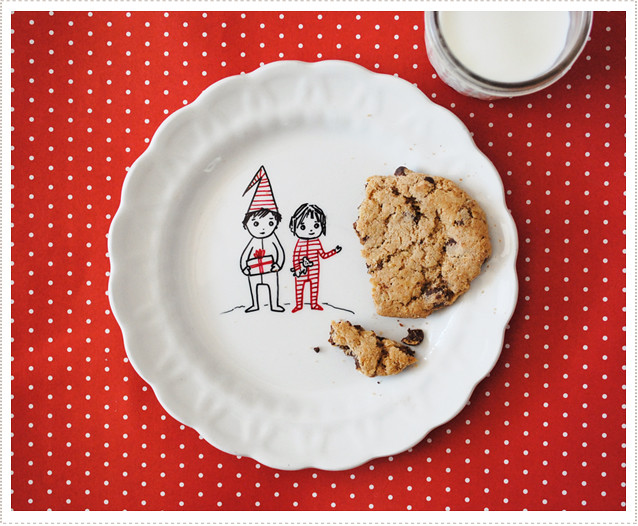
One thing that I'm excited to share is our new personalized Santa plate. I thought it would be fun to make our milk and cookies gift to Santa a little more special this year so I created a custom plate with playful illustrations of the boys on it.
I used American Crafts Slick Writers to draw on simple images of the boys on a ceramic vintage plate. I then put the year on the back of the plate to commemorate this particular Christmas. If you want to do something similar, but question your drawing abilities, I think a simple assemblage of stick figures would be pretty cute and your children will be sure to love it.
The boys loved the idea that Santa would see images of them sharing their milk and cookies with the Jolly Old Elf. And I loved that we would have an heirloom for years to come.
I have more to share as well as more fun to be had with friends and family (I'm thinking snow forts, midnight movies and outrageous family banter with eggnog and delicious goodies)! In the mean time, happy boxing day to you all. I think we might be doing something like this today!
12.15.2011
personalized gift tags with...
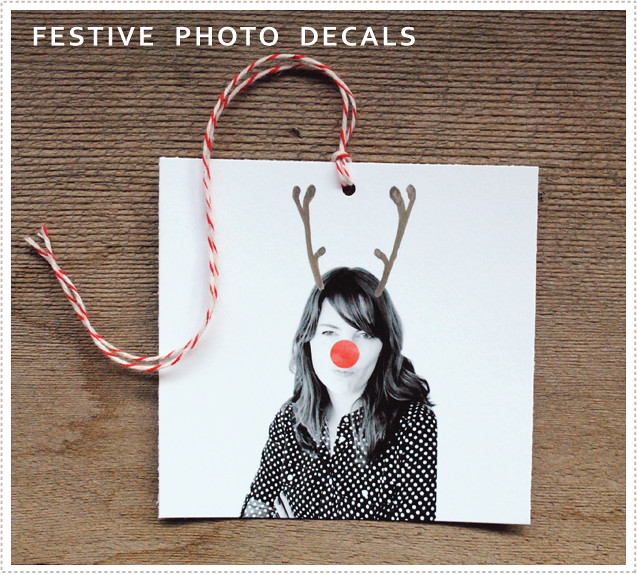
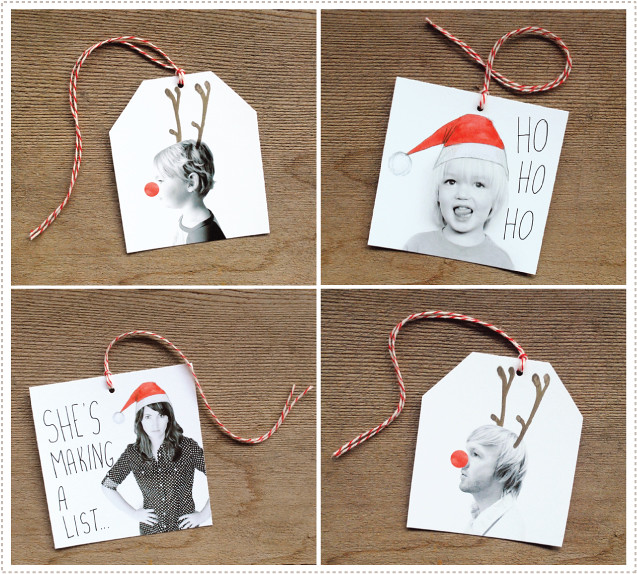
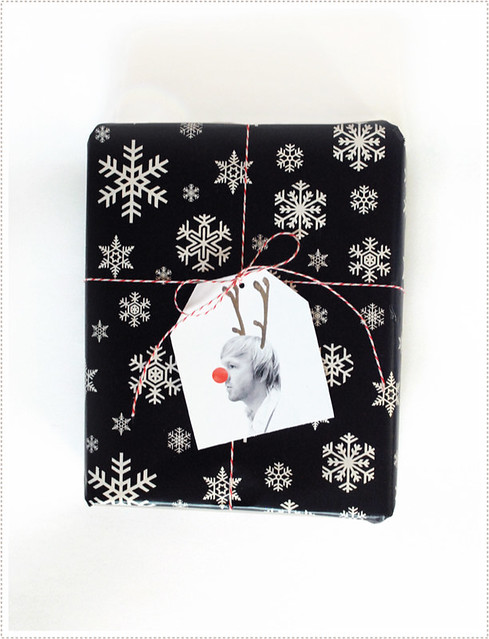
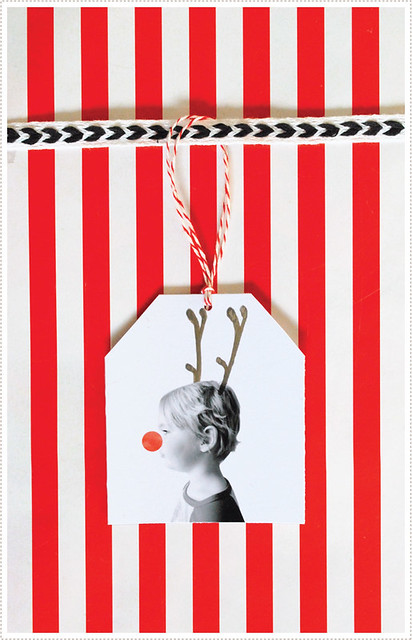
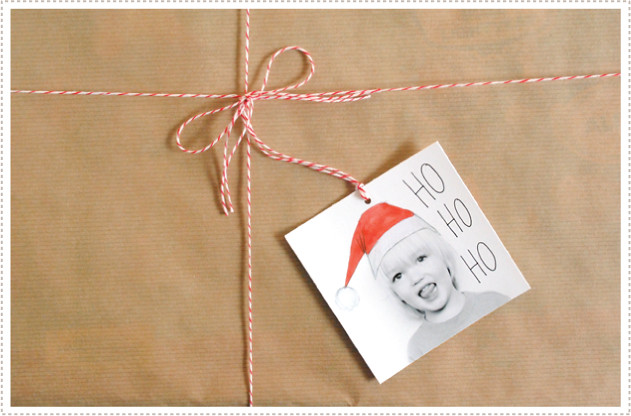
I thought it would be fun to personalize our gift tags this year. I knew the boys would be thrilled to run to their presents to see their own faces on the packages. I was just going to go with good old fashioned photos when I thought, "hey, why not spice things up a bit?". So I created some digital photo decals to make things especially festive.
The boys managed to get a sneak peek at these tags and they love them. They couldn't contain their giggles when they saw, not only themselves but mom and dad as silly reindeer.
And to spread some Christmas cheer I'm gifting you with the download for the decals so that you can spruce up your own set of personalized gift tags! Just click HERE.
To use these just open up Photoshop and you will see everything in a layered file. I would recommend turning your photos black and white first (click convert to grayscale in photoshop) and then turning them back into CMYK files before dragging the hat and reindeer decals onto the photo.
Then print out your tags and feel free to add a personal saying or just a good old "love, mom and dad". Then sit back and watch your littles race to their personalize gifts on Christmas morning!
12.13.2011
what things really look like around here...
It seems like every year December gets just a bit more busy than the previous year and every year I recommit myself to trying to simplify during this month. Yeah...I'm still working on it. Right now, while little A is at school, I've been busy filling etsy orders, drawing and painting portraits and working on illustration jobs, all while little King Kong does a number on his toys in his room and I try to keep the season merry and bright for all. In actuality, I love having this activity as it adds to the spirit of giving for me. I love to send out packages to customers knowing that they are a special gift for a loved one. I love being able to share in the joy of it all. I do however have to be careful to keep things balanced...well at least to some degree...
So what about you? What is your secret to keeping things in check? Are you like me and love the hustle and bustle, so long as it doesn't start spiraling out of control? Or are you good at just taking things slow, kicking your feet up and warming you bones by the fire?
12.09.2011
New Pillows in the shop and a print sale!
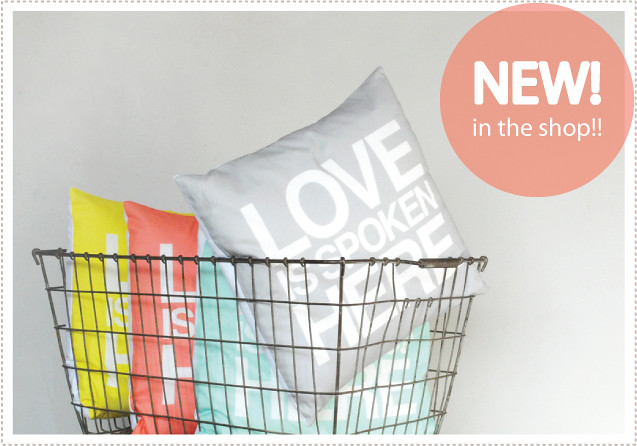
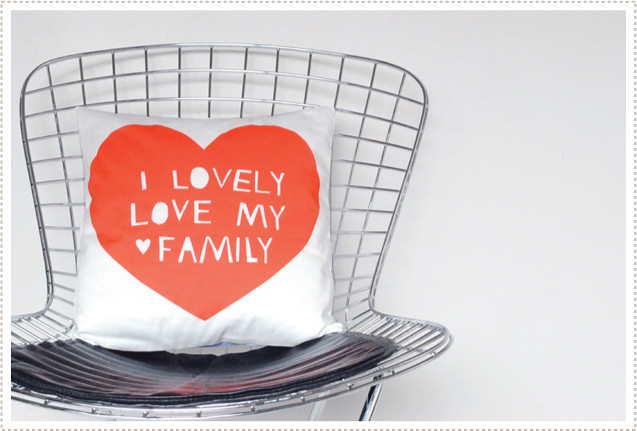
I've been having a lot of fun adapting my work to fabric and wanted to share a few items with you. Now in my shop I'm offering some of your most beloved prints in pillow form!
Shop Love is Spoken Here and I Lovely Love My Family pillows here!
Order before Dec. 15 for Christmas delivery.
And this weekend get 20% off all print purchases! Just enter "lovelysale" in the convo section and I'll refund the difference!
12.05.2011
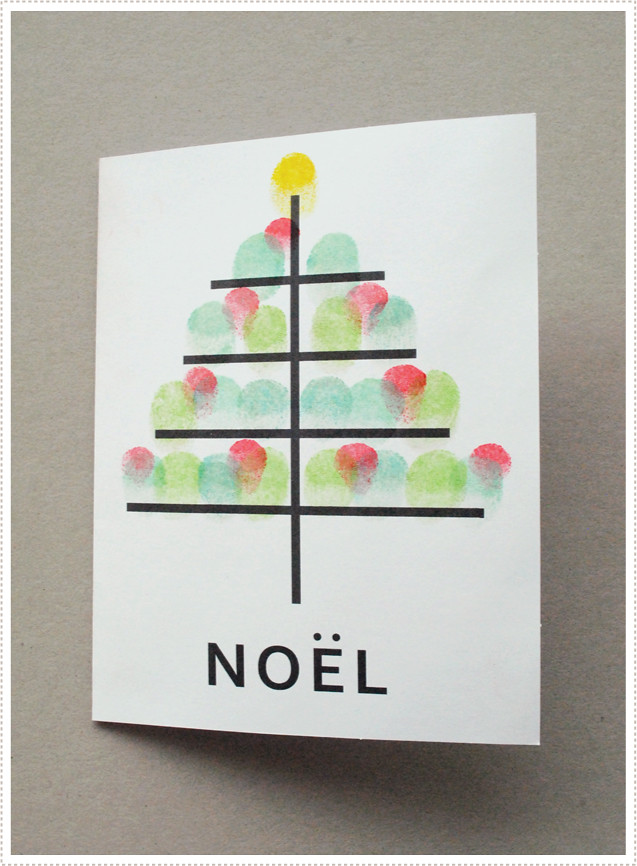
[fingerprint Christmas tree cards]
We like to do handmade Christmas cards for the teachers, etc. during the season and apparently we've hit on a tree theme that we just can't shake.
This year we had a lot of fun "finger painting"...but not in typical sense of the craft.
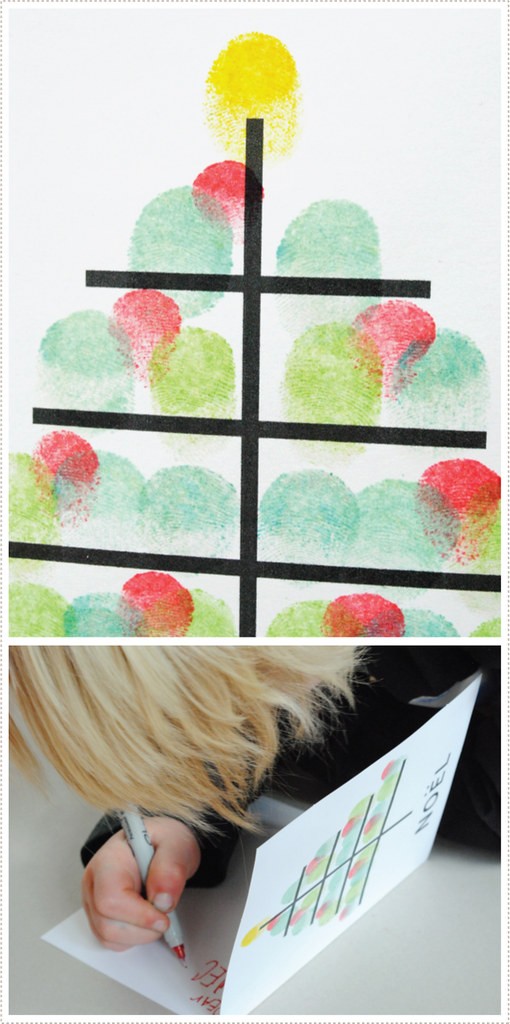
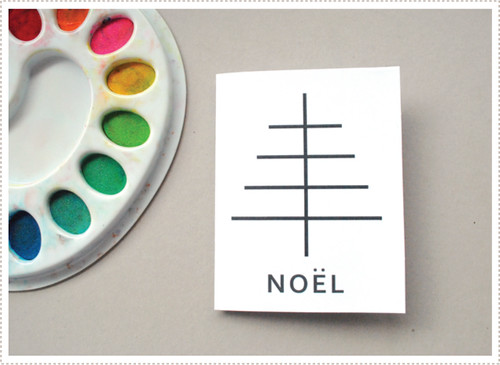
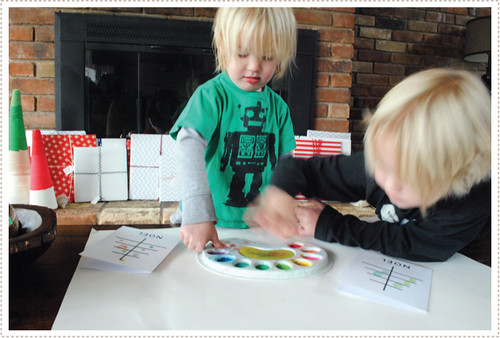
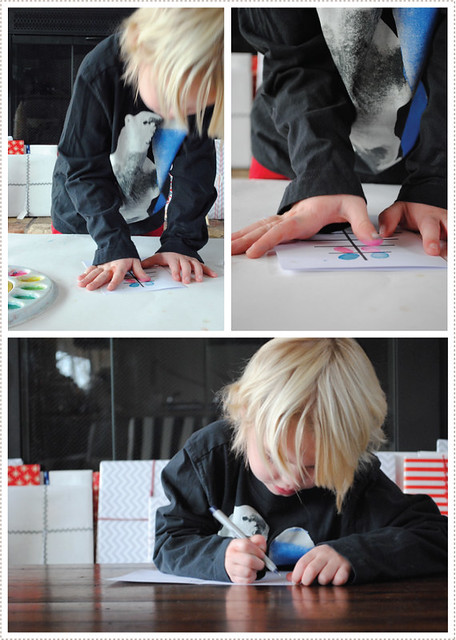
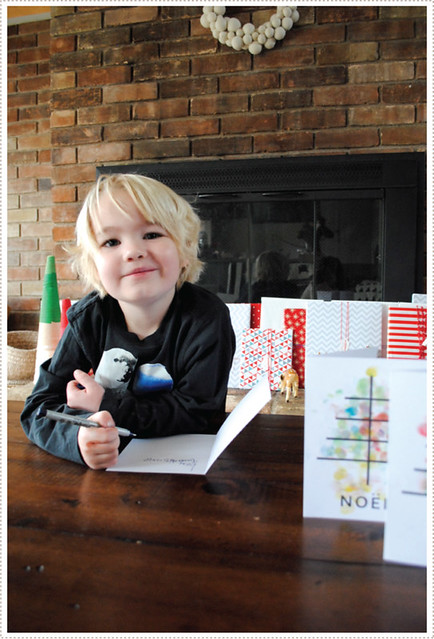
I made a simple tree graphic and printed it out on Recollections 5" x 6.5" white blank cards (found at our local Michaels). We then we pulled out our fingerprint ink pad (from Lakeshore) and went to town.
It was so much fun to see what the boys came up with. There is really no way you can go wrong. Little O did one with a lot of brown and I was worried it would look a little muddy but it ended up looking beautiful to me. I love how they sort of end up looking like a medley of out-of-focus Christmas lights.
And Jon couldn't help but get in on the fun as well which thrilled the boys.
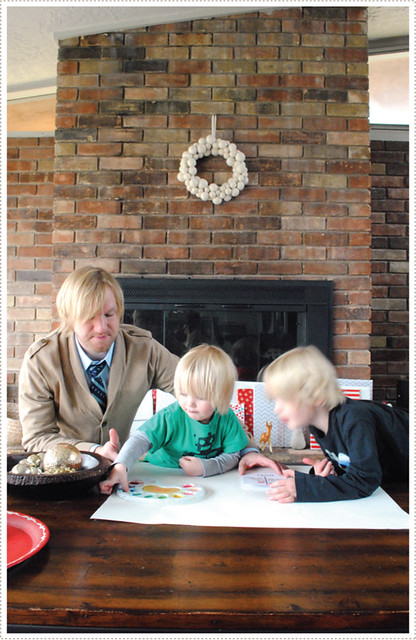
But Little A was the one who really went to town on this. He had a handful of friends from our old haunt, So. Pas, that he wanted to make cards for.
He got really into it and I love that he can write his own cards now. It's very empowing for him and so fulfilling for me to see. My favorite was when he desperately wanted to send one to a particular little girl. He was very serious about this and wanted me to make sure she gets it. I told him I would.
This made him very happy.
If you are interested in doing a few of these cards yourself (you'll get hooked if you do!) then you can download a temple of the simple tree design by clicking here.
Happy finger printing!
11.30.2011
[children's picture book...]
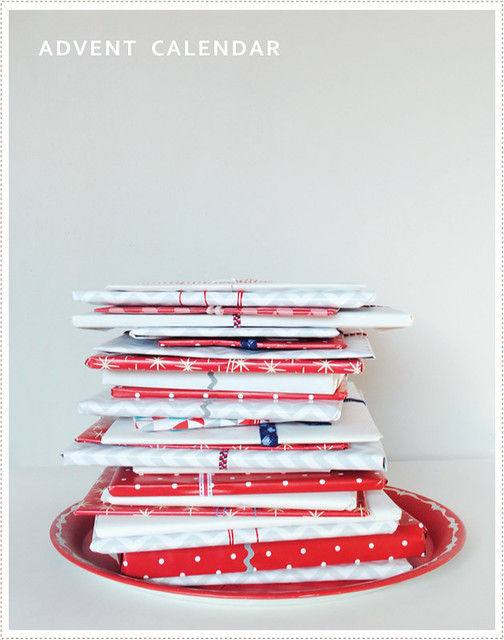
In addition to our Random Acts of Advent calendar, I wanted to introduce a new advent idea for this Christmas season. I love and adore children's picture books and, being an illustrator myself, have quite a collection of them. As of last year, I decided that I wanted to collect enough children's Christmas picture books to be wrapped, opened and then read every day in December up until Christmas. I was hoping to share this idea with you before the first day of December, but I just recently completed my entire collection of 25 Christmas themed picture books! So what a better day to share the advent fun but on the first day of December?
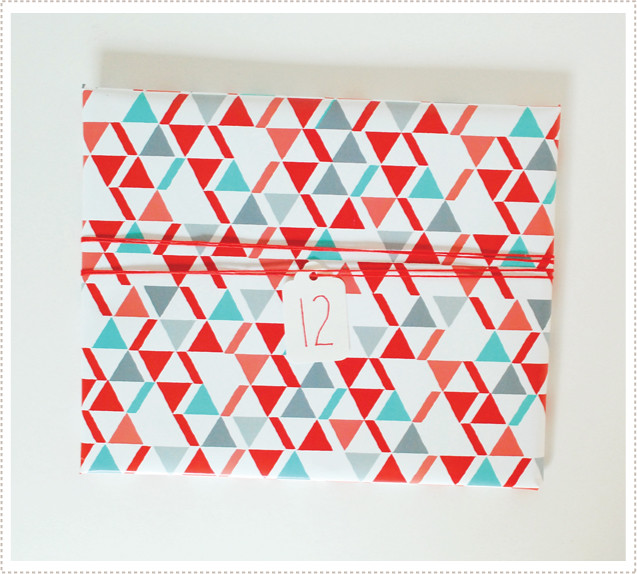
I had a lot of fun wrapping and adorning these books. I used a variety of papers including white butcher paper and a selection of really fun wrapping papers from Fifth & Hazel. The above geometric print is one my fav's.
I then used an assortment of trimmings and trappings including simple little tags on which I wrote the days of the month, counting down to Christmas.
I know a lot of advent's end on the 24th but I thought it would be fun to read one more story on Christmas night (the 25th) to end the season on a nice note.
Collecting 25 books might seem like an endeavor but it's actually not too bad as there as so many great Christmas and winter themed books out there. In fact, it might be hard to pick just 25! Our little collection began from a few books that were given to us along with a few we had purchased. Last year, when I knew I wanted to do this, I decided to wait until the after Christmas sales to purchase a number of books, which I highly recommend if you want to do this next year. I also purchased a number from the Scholastic book club, which made things more affordable. But I have to say, some of my favorite purchases were made recently from thrift stores. I was able to find an original Golden Book Rudolf and the super great Babaar and Father Christmas book. This one is utterly gorgeous and I can't wait to read it.
So these are the books we're going to be reading this December (and I have to confess that I can't vouch for all of them as I wanted to be surprised with a few of them as well...but I'm sure they're all going to be great).
1. Footprints in the Snow by Mei Matsuoka (I was drawn to the illustrations in this book)
2. Llama Llama Holiday Drama by Anna Dewdney (we haven't read this but my boys love the first Llama Llama book so I'm sure they will be delighted with this one)
3. Golden Book's The Christmas Donkey by T. William, illustrated by Andrea Brooks
4. I'll Be There With Belzon by Kirk Richards (Kirk is an old high school friend of Jon's and we love his work)
5. Babar and Father Christmas by Jean De Brunhoff
6. It's Christmas, David! by David Shannon
7. Stella, Queen of the Snow by Marie-Louise Gay
8. Christmas Tapestry by Patricia Polacco
9. Christmas Lights by Susan Mitchell (this book was given to Little A for his first Christmas. I love remembering those precious times when we read this and the boys love to see all the flashing ligths)
10. The Gingerbread Pirates by Kristin Klastrup, illustrated by Matt Tavares
11. Ho, Ho, Ho, Tucker! by Leslie McGuirk
12. The Stable Where Jesus Was Born by Rhonda Gowler Greene, illustrated by Susan Gaber
13. The Snowman, lift-and-look book, by Raymond Briggs (Love this classic and my boys can't get enough of the flaps)
14. The Elves and the Shoemaker by John Cech, illlustrated by Kirill Chelushkin
15. My Penguin Osbert by Elizabeth Cody Kimmel, illustrated by H. B. Lewis (I'm a big fan of Elizabeth Cody Kimmel - I was lucky enough to illustrate her Suddenly Supernatural series - and My Penguin Osbert doesn't disappoint. We love it.)
16. How the Grinch Stole Christmas! by Dr. Suess (a classic, need I say more?)
17. B is for Bethlehem by Isabel Wilner, illustrated by Elisa Kleven
18. Auntie Claus by Elise Primavera
19. Auntie Claus and the Key to Christmas by Elise Primavera
20. Golden Book's Rudolph the Red-Nose Reindeer
21. Angela and the Baby Jesus by Frank McCourt, illustrated by Raul Colon
22. The Nutcracker adapted by John Cech, illustrated by Eric Puybaret
23. Snowman at Christmas by Mark Buehner, illustrated Caralyn Buehner
24. For Christmas Even, First Christmas a changing picture book beautifully illustrated by Sophie Williams
25. and for Christmas night, we went with Silent Night, illustrated by Susan Jeffers
When the books were all wrapped I placed them in front of our fireplace. I'll have to find a new place for them when we want to light a fire of course but for now, we are enjoying it.
Oh and I had to share with you the vintage serving tray I found at a local thrift store. I'm seriously in love with it. I mean a retro fondue party scene? Does it get any better than that?
At any rate, we are excited to start the count down and I'm certain that this new little tradition will add such a nice touch to the season.
Now all we need is a tree...I'm thinking left of the fireplace should do quite nicely...
- Oh, and what I need from you now is for you to tell me your favorite Christmas book. With this new tradition, we'll always be in the market!
[A lovely little sneak peek...]
Hello friends! Thanks so much to those of you who took advantage of my Cyber Monday sale over in my shop. I always love to see what you are drawn too and I'm always so happy to see my little prints go off to enjoy themselves in your homes. In fact, I was especially delighted to spot one of my I Lovely Love My Family prints in a recent before-and-after dining nook makeover on Design Sponge. Kelly, of Let's Die Friends, did a great job and her makeover turned out fantastic. And I'm so flattered to see a spot of Lovely Love in her home!
And now on to some more good news! I have created a small batch of my very own Lovely Love and Love is Spoken Here pillows. I'm super excited about them! I am teaming up with a few of my favorite South Pasadena gals for a little craft fair of sorts and these pillows will be making their debut there. After that...whatever is left will be in the shop for you to have your pick from! So stay tuned.
Oh and I just found out that MerMag was listed as one of Babble's top 50 Design blogs for Mom! I'm so thrilled and very humbled to be listed among some seriously great gals with some seriously great blogs. Thanks babble!!
11.28.2011
[CYBER MONDAY SALE!]
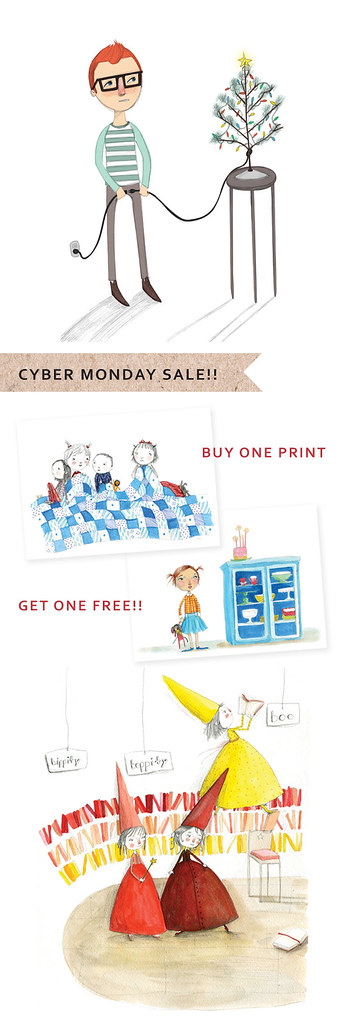
How was your Thanksgiving?! Are you stuffed to the gills and sick of the Black Friday crowds? I love how on Monday we can all sit in our jammies, recuperate, and...shop some more online!!! And...In celebration of Cyber Monday I'm offering a buy one get one deal in my Tuesday Mourning shop!
Just purchase the first print and mention in a convo which print you want for free!! I've listed a slew of new prints that you'll love. And your tried and true beloved prints are there as well! Happy Holiday Shopping!
11.22.2011
[an easy and quick Thanksgiving craft]
Thanksgiving is just a couple days away, can you even believe it?! We have been put in charge of bringing pies and I'll be making my favorite simple, yet super delicious, apple pie. Jon is going to experiment with a caramel pumpkin pie of sorts. Yuumm, I'm getting hungry just thinking about it. Can't wait!
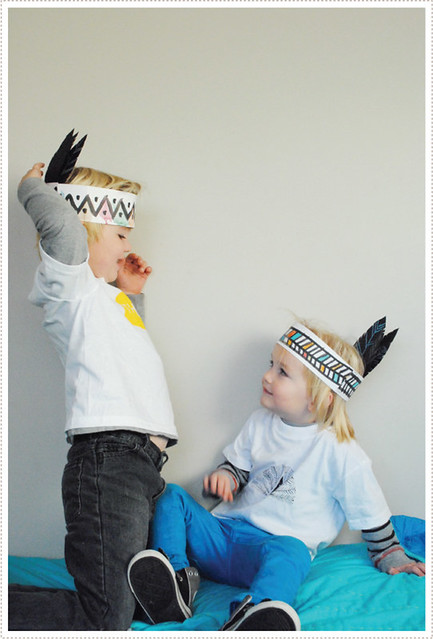
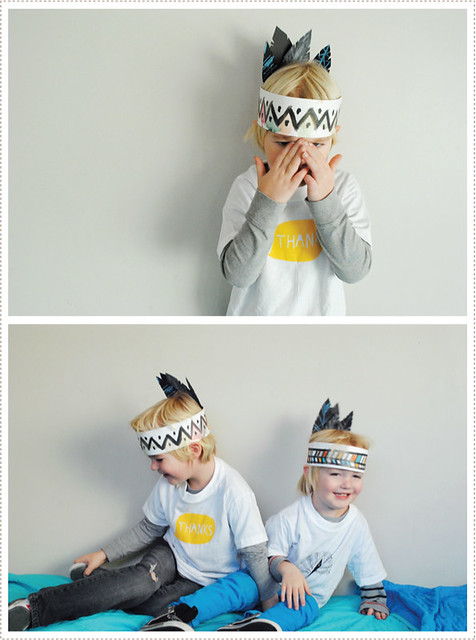
We have also been put in charge of coming up with a simple craft to keep the kiddos occupied while we cook, cook, cook! And I think we've come up with just the thing. These simple DIY festive turkey feather headbands are just the thing to keep your Littles entertained while you stuff those birds and mash those potatoes. And to make things extra easy for you, I've provided downloadable templates of both the headbands and the feathers.
I printed the headbands out on a 13"x17" sheet of bristol paper (but any sort of stiff cardstock/poster board paper should work). If you don't have a large format printer, you can take this file to your local copy shop and have them print out of few for you. You'll see on the template that I added a bit more of the pattern beneath as you'll most likely need it to wrap fully around your child's head. Once printed you can have your kids decorate the headbands with watercolors, crayons, colored pencils, you name it...basically whatever you kids are into and what makes things easy on you.
Little O really enjoyed delving into the watercolors. I painted a few spots to get him started and then just let him go at it.
I then created a number of feathers out of black scrapbook paper and had them decorate them with white colored pencils and chalk. Little O (3 years) did a little scribble and was pretty much done after that. Little A (5 years) on the other hand really got into it.
I was so in love with what he did. I was really impressed with his variety and restraint. On his own he chose to color one feather completely with white colored pencil. Then he did another where he drew in the feather lines with blue chalk. For the last one he chose to do just a touch of blue on the end of the feather. Love the variety kiddo. I'm seriously impressed. You'd think I was a proud mama or something :).
He then chose to decorate his headband with water colors after we adhered the feathers. True to his nature, he took it pretty seriously. Little O was adorable as he was completely enamored with what his big brother was doing.
I loved how they both turned out.
And the boys were very into them as well. In fact, they wore them the rest of the afternoon and into the evening.
I think they really loved doing something for Thanksgiving as they keep stating to me, in response to my Christmas music listening, "Mom! it's not Christmas yet. It's Thanksgiving!" It was like they were just waiting to officially do something to celebrate this holiday. I'm so glad too as it lead to a conversation about the first Thanksgiving and how so many came together in a time of celebration, despite their differences.
I also made a few freezer paper stencil shirts for them and Little O refused to take his off. For the cute little turkey I used this stencil from Alison's cute blog.
I'm so glad we did end up doing something festive for Turkey Day. They were so happy. And quite adorable.
And what about that black Friday shopping. Any plans? I hope to hit up a few shops...and then I'll being doing some sort of Cyber Monday sale at Tuesday Mourning, so check back in after you are stuffed to the gills and all rested up. Have a fabulous Thanksgiving week/weekend!
11.16.2011
[personalize your festivities with...]
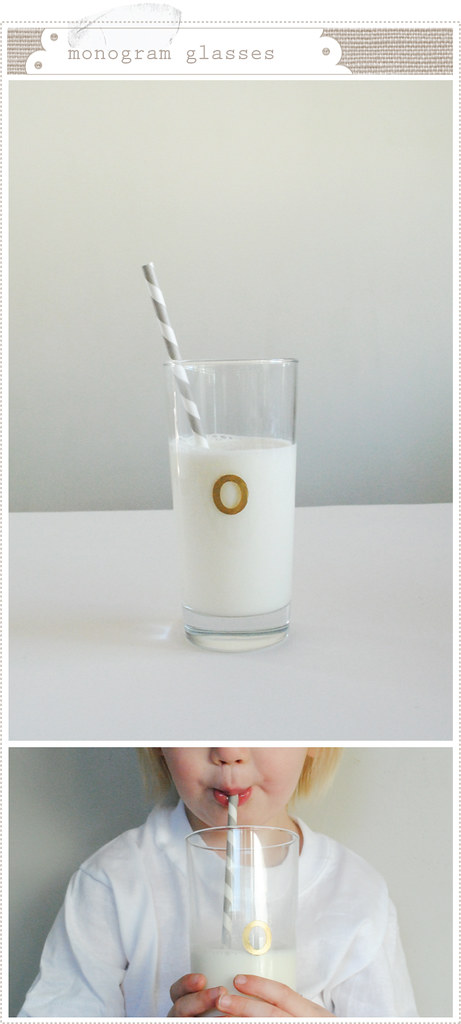
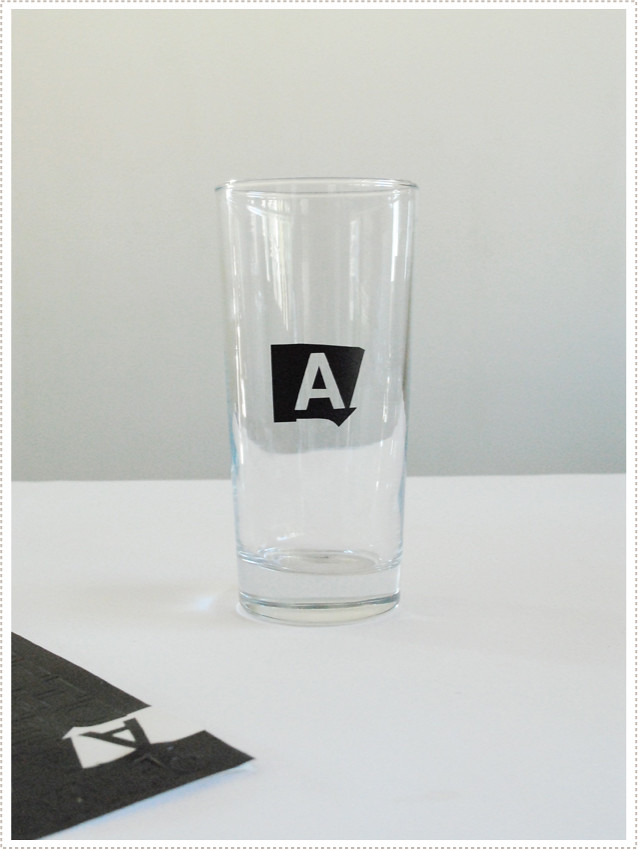
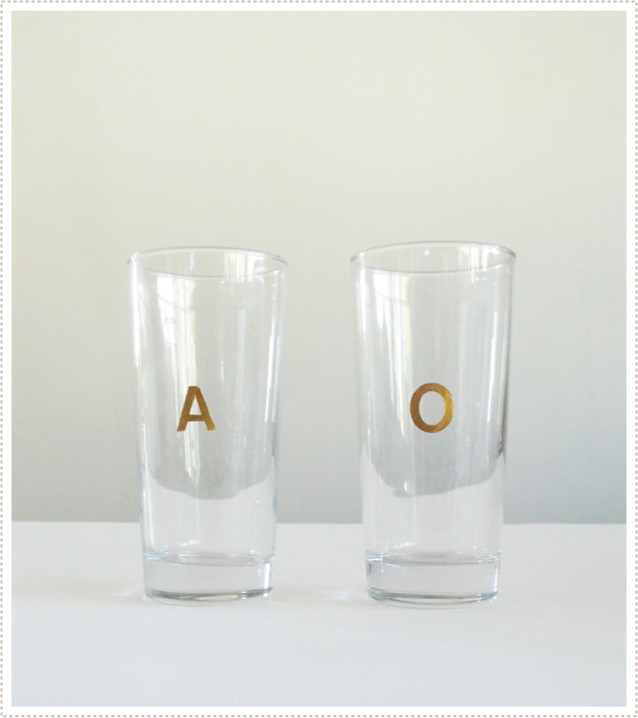
Forgo the name plates this year and spice up your holiday parties with these simple DIY gilded monogram glasses for your family and friends. Best part, it's so easy you'll have them all done in one afternoon!
I had a few stacks of vinyl letters on hand which proved perfect for sticking onto glass. I cut out the reverse portion of the vinyl letter in order to use it as a stencil.
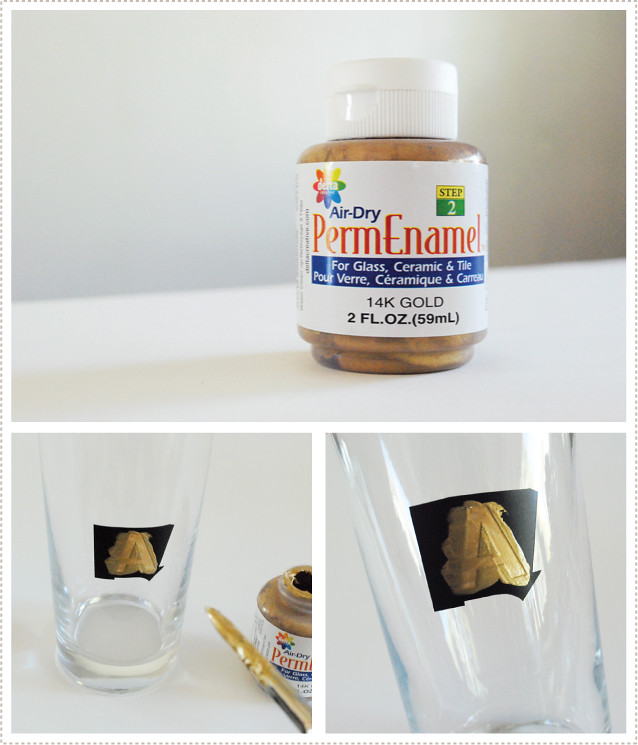
I then used a paintbrush and PermEnamal in 14K gold (Follow manufactures instructions) to fill in the stencil. I had to apply a couple of coats (letting the first coat dry a bit before reapplying) in order to get full coverage. I then let it dry for quite some time before removing they vinyl stencil (again refer to manufactures instructions for drying times as well as how long to wait before washing, etc.).
I was pleased with both the simplicity of the finished look and craft project itself.
And by using IKEA's godis glasses, the project was easy on the pocket book. And there are few things I love more than an elevated look - for less.
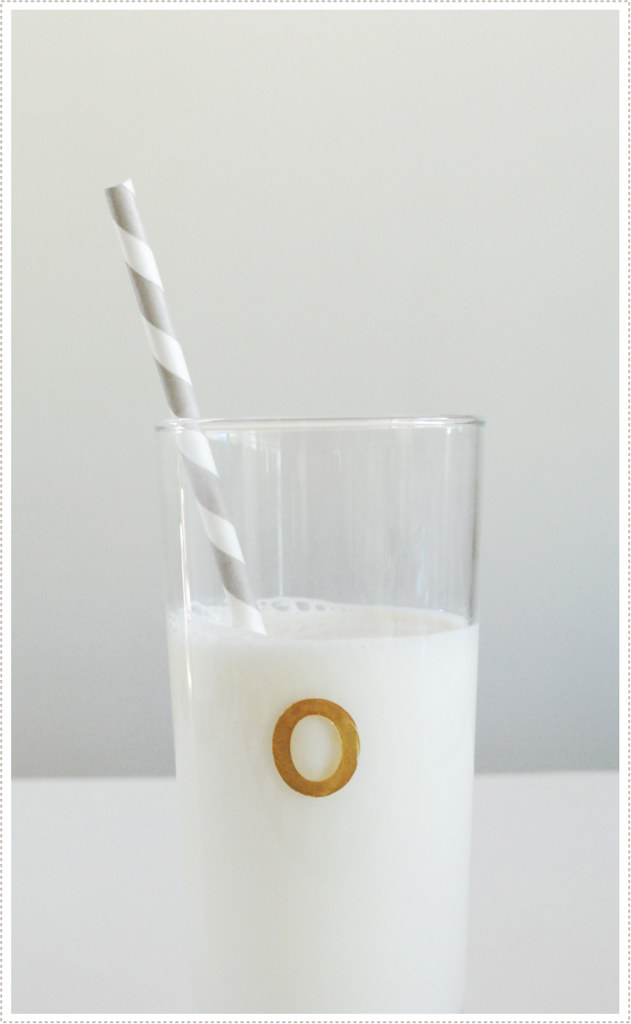
Put these out for Thanksgiving, or any other upcoming holiday get together, and have the guests take them home as favors. Or just make a set for your family. Your kids will love getting their own glass out - which will help make setting the table a breeze.