10.29.2010

[Last minute ghost costume: how-to]

cloak1
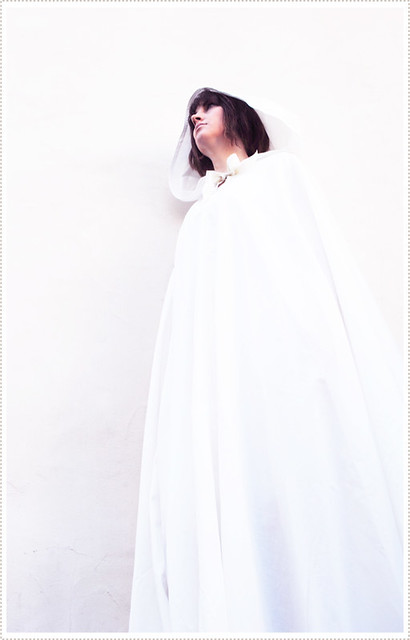
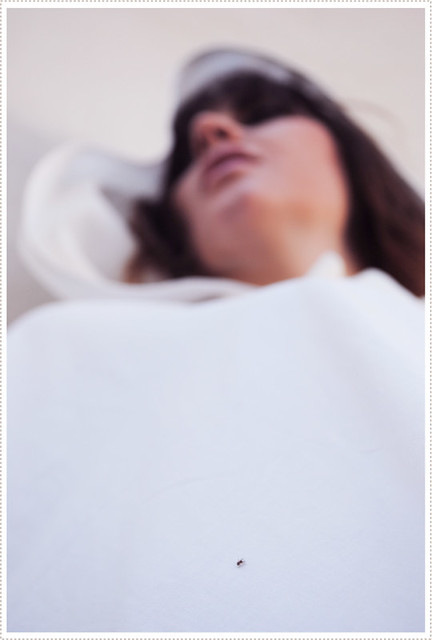
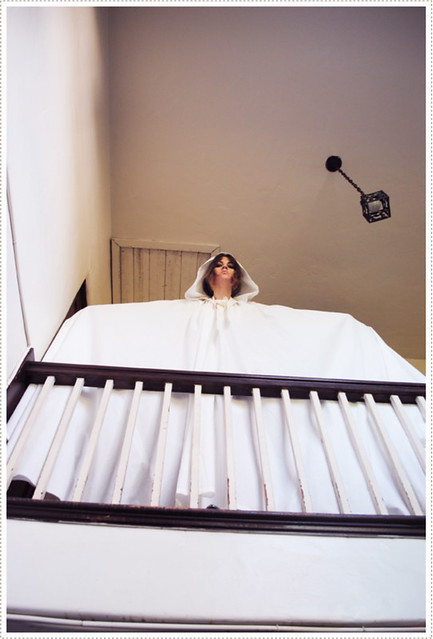
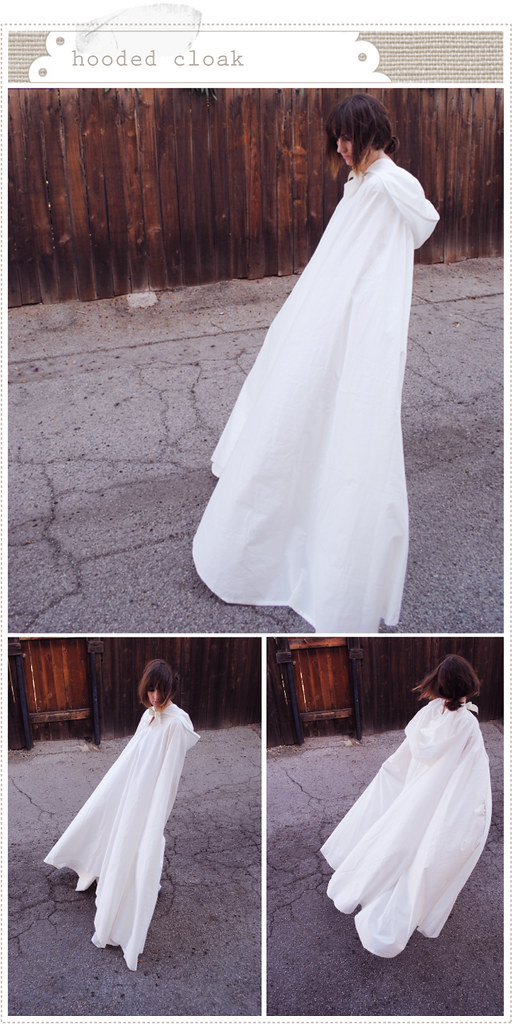
If you're like me and are slightly manic about what you want to be for Halloween (Frida Kahlo? Liz Lemon from 30 Rock? Cool spooky ghost?) and have been waiting up to the very the last minute to put something together, well you're in luck. With this simple hooded cloak ghost costume (made from two twin sheets) you'll be haunting the halls in no time!

cloak2
cloak3
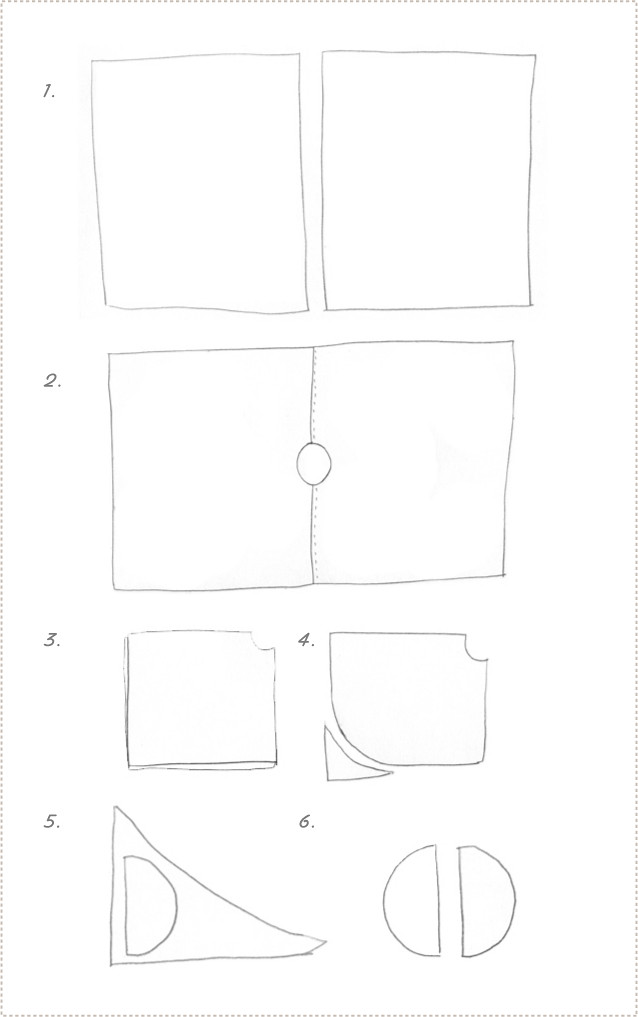
Step 1. Grab two white twin sheets (I purchased mine from Ikea).
Step 2. Sew them together length wise. Cut out a head hole in the very center of both sheets (or do like I did and just seam rip the center stitches until your head can fit through and you are comfortable with the size of the hole).
Step 3. Fold fabric in fourths so that the head hole is in upper right hand corner.
Step 4. Trim corner opposite of head hole, rounding out the base of the cloak.
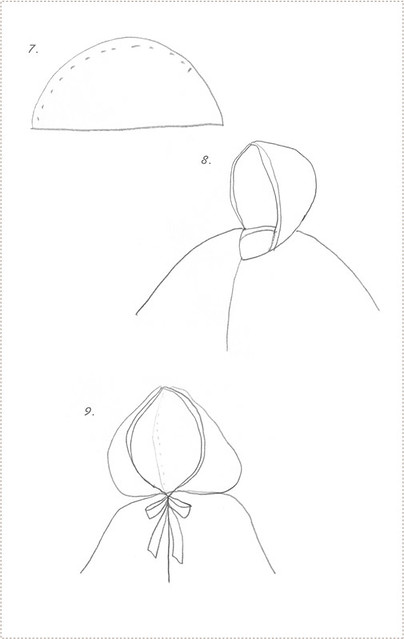
Steps 5 & 6. Using remaining, trimmed fabric, cut two semicircles for hood (you can measure from the high forehead to the base of your neck and then add 3 inches of ease of just eye it based on how large you want it to be).
Step 7. Sew semicircles together stoping about two thirds of the way through (this will be the neck area where you will attach the cloak). Hem edges of hood.
Step 8. Sew hood onto cloak at the neck hole - leaving a bit of room at the base of the neck for tie.
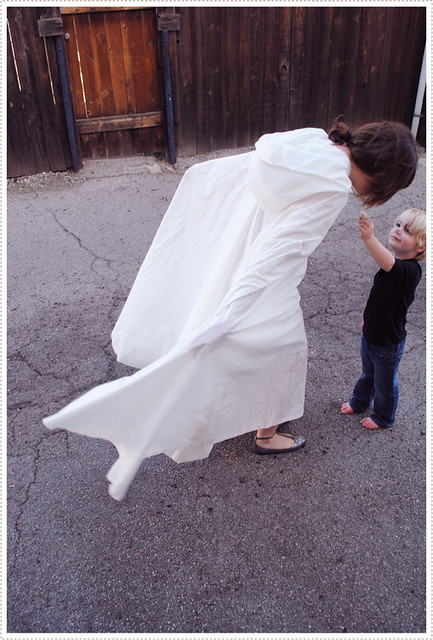
Step 9. Sew ribbons on to each side of the neck hole at the base of the hood for tie. Place your costume on, add a bit of ghoulish make up and let the haunting begin!
cloak4
cloak5
cloak6
cloak7
This concludes our 5 full days of Halloween marathon! I hope you have been frightfully inspired.

Happy haunting this Halloween weekend!!

10.28.2010

[oldie but goodie...]

pumpkinflakes1
For day four, of our five days of Halloween, I bring you an oldie but goodie - paper snowflake pumpkins! Making these fun and festive paper decorations has become an annual family favorite for us. So gather around your little ghouls, grab your scissors, decorative papers and loads of imagination and your sure to have frightful, delightful time crafting each unique and surprising spooky face!

pumpkinflakes5
For how-to instructions, click here.

And for a few more Halloween oldie's but goodies click here and here.

10.27.2010

[pumpkin cream pies and...]

boxes1
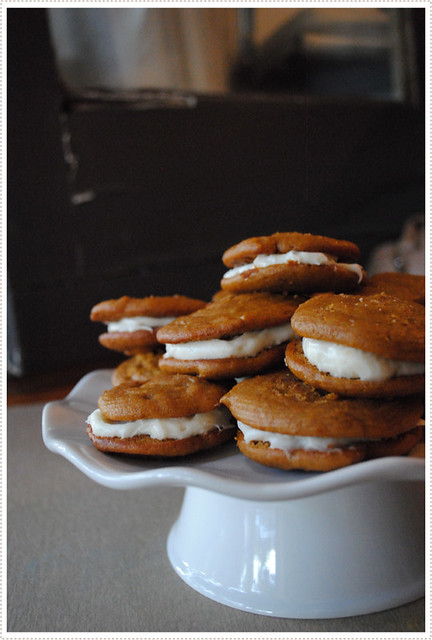
Jon and I have been stuffing our selves silly on some pretty fantastic pumpkin cream pies (also know as pumpkin whoopie pies) and we've been loving every bite of it. But what's Halloween if not a time to share our sugary loot with others?
boxes2
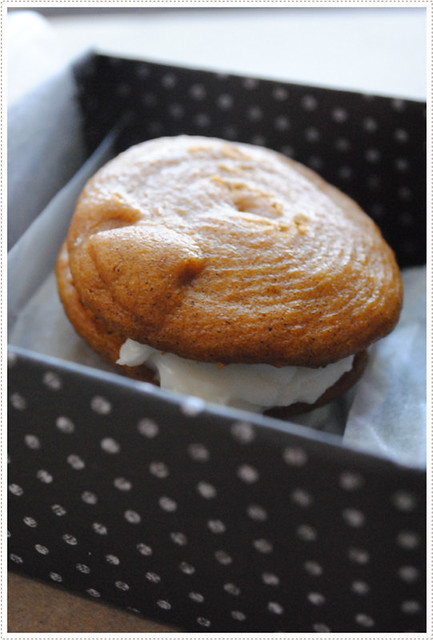
So I got to work putting together some origami treat boxes (using my sister's fab tutorial here) so that we could share our baking delights with those we so hauntingly adore. These boxes are deceptively simple to make and quite addictive (...almost as addictive as these cookies!).

boxes3
For the boxes I used 12"x12" scrap book paper but, as my little sis frequently does, you can use wallpaper- or really just about any paper that has a stiffness to it. Add a bit of wax paper, a couple of cookies and you're set.
boxes4
Top it all off with a few embellishments and you are ready to share your tricks and treats with all your ghoulish friends!

10.26.2010

[from paper bags...]

bats1
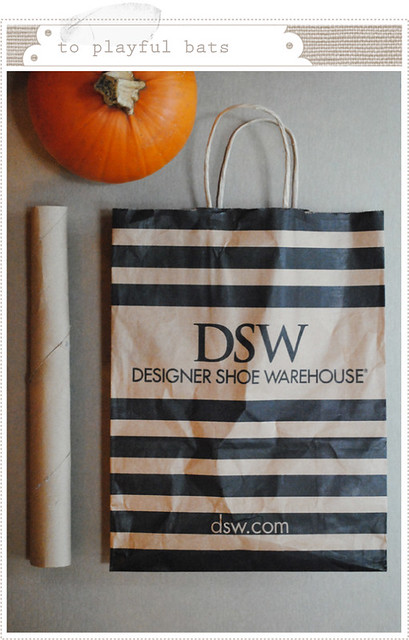
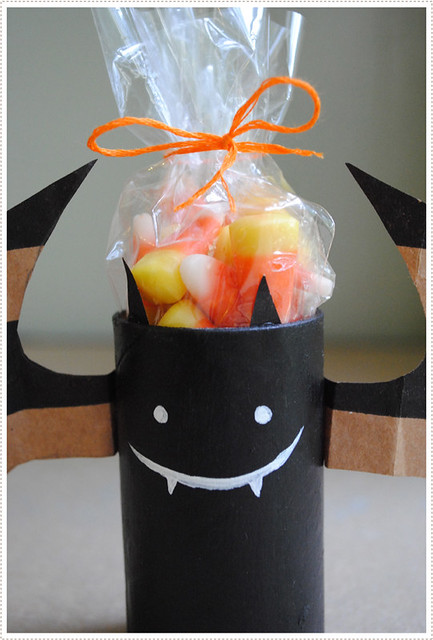
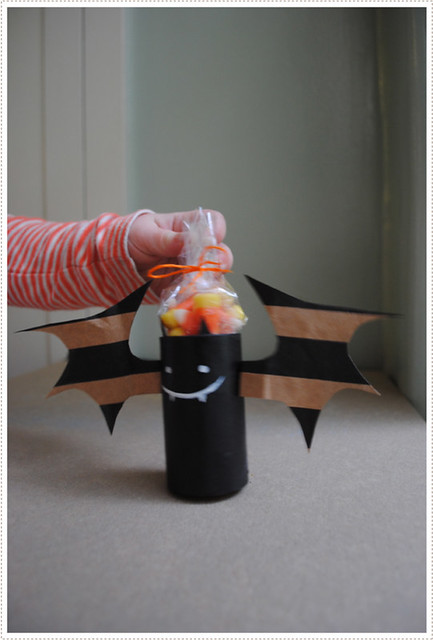
OK ladies, like we need another excuse to go shoe shopping. But it certainly doesn't hurt if we know we will be reusing our shopping bag afterwards, right!? I've been particularly fond of this DSW striped shoe bag for sometime and have been saving it for just the right project. I think I finally found it! So today, for my second Halloween installment, I'm sharing with you how to make these super easy, super cute bat holders out of a cardboard tube, a little paint and a paper bag (or any other fun, thick paper you have lying around). This project is a fun and easy project for your kids to do as well.

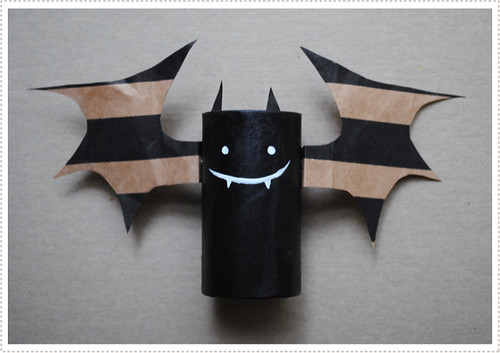
First thing you do is cut the card board tube down to the size you want (you can use old paper towel or toilet paper rolls, etc.). Then you paint the tubes with black craft acrylic paint. While the paint is drying, cut out some bat wing shapes out of your bag/paper. (Because this bag has been around for sometime, it's a little wrinkled, but yours will most likely be smooth). Be sure to leave a little extra room where the wing will be attached to the cardboard roll as that part will be folded over and attached to the roll. Now cut two small black triangles for the bat ears.
bats2
Once the tube dries, go back and paint a simple bat face using white craft acrylic paint. After that dries, adhere the bat wings onto the body of the bat by folding over a bit of the wing and placing adhesive on the folded tab (I used glue dots for this but you could use simple elmer's glue). Place a dot of adhesive to each bat ear and then adhere them to the inside of tube wherever you want your ears. Give it a moment for the adhesive to do it's magic and then, voila! you have yourself a fun little bat in a matter of minutes!
bats3
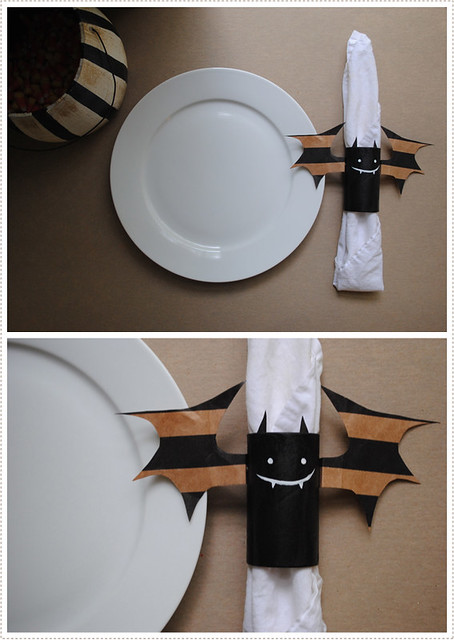
The real batty magic happens when you decide just want to do with these little bats. You could use them as finger puppets and put on a spooky show or just set them out as a Halloween decoration but I really like their utilitarian value. For example they make great napkin holders and would be darling as a last minute addition to a haunted feast!
bats4
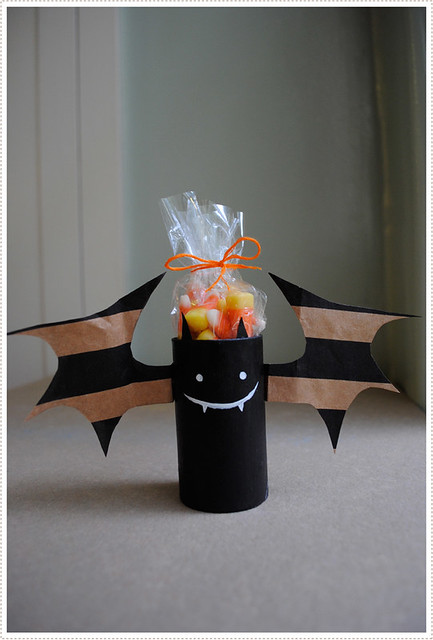
Or my personal favorite, candy holders. Don't you think these would make great favors at a Halloween party or serve as a fun way to package a treat for coworker, friend, etc. ?
bats5
In fact, they are so enticing they won't stay around for long. Watch our for little hands trying to sneak away with the candy!
bats6

10.24.2010

[five full days of Halloween!]

pumpkinfaces1
OK, the countdown is on. Whether you're scrambling to finish up your last minute costume preparations, parading through corn mazes, carving out those carefully selected pumpkin patch treasures or gathering with friends and family for hot cider, apple bobbing and spooky movie marathons...Halloween is in the air! And isn't it about time for Mermag to reflect that? Yes, Yes, Yes!! In fact, I have so much to make up for that I'm doing five straight days of Halloween! (a Mermag first)! So everyday for five days, starting today, I will post one fun Halloween craft, idea, activity, goodie, etc. to help you count down the last few goulish days before Tricks and Treats!

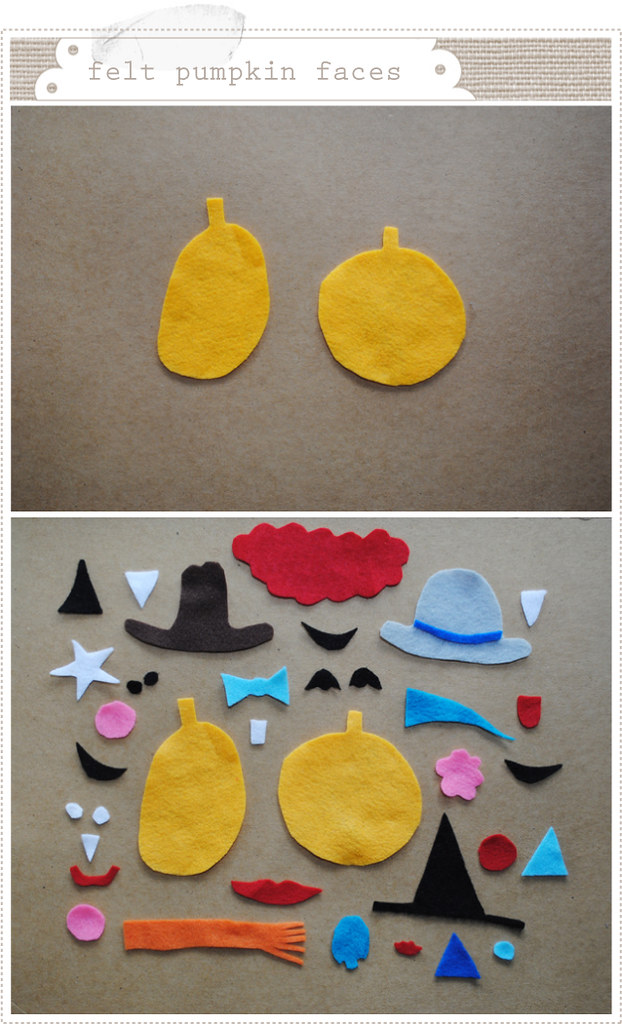
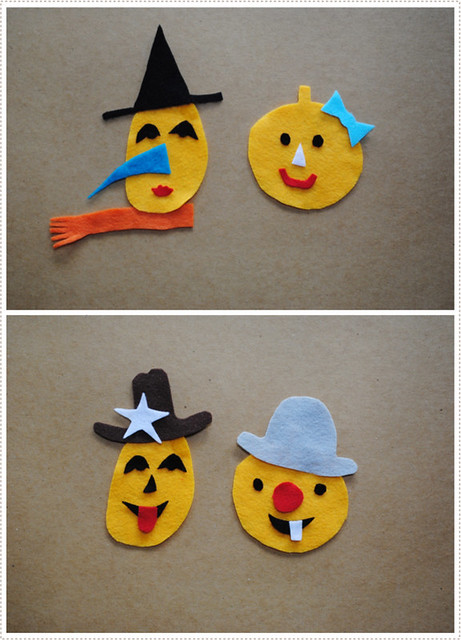
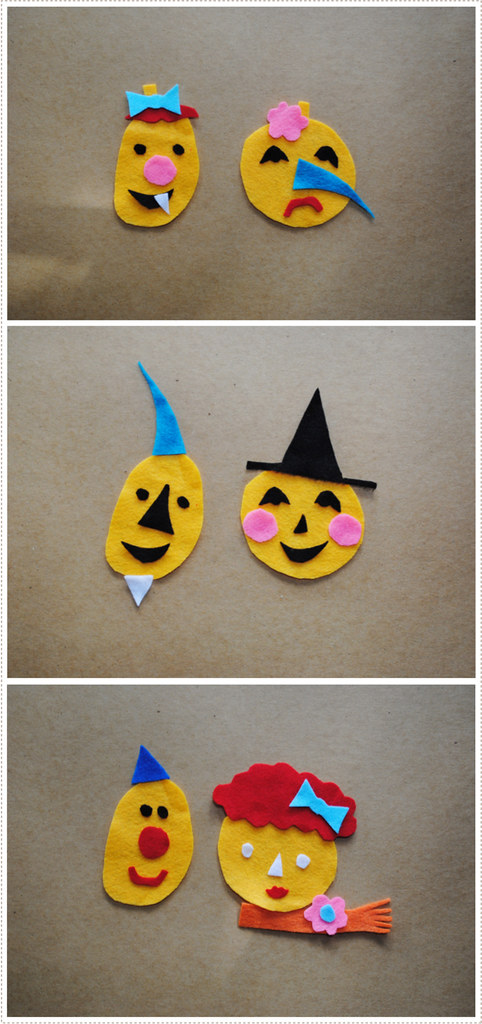
To start the countdown off I'm sharing a fun little felt pumpkin activity that has kept my Littles (and myself) entertained for hours. It's easy and pretty fast to make - always a win win combination. Simply cut out one or two (or however many you like) simple pumpkin shapes out of felt (I like having a tall one and a shortie to keep things interesting). Then grab your scissors and continue to snip away at various colors of felt, creating features and accessories for your little pumpkin pals.
pumpkinfaces2
I personally like the free style cutting approach as it adds a bit of character so don't be afraid to just cut away and see what you come up with. If you are someone who likes things more uniform you can always draw out your shapes first either on paper (to then be used as a pattern) or right on the felt before cutting.
pumpkinfaces3
It's so much fun to see these little pumpkins come to life and the combinations are truly endless. And...I must confess, for as much fun as my Littles are having, I think I'm the one who has become a bit obsessed with it (the more combinations I make, the more ideas I have...so I just keep cutting!). Little A has taken to scolding me randomly so that I'll leave it alone for a bit and let him have a go at it!

10.21.2010

[summer round up: part 3] (final installment)

fam1
OK, I know your thinking..."Um, Mermag, I'm sipping hot apple cider in a chunky sweater and curling up inside with a good book, thinking of my final Halloween preparations...so why are you posting about summer?" Good question readers! All I can say is that this is the last summer installment and we are off to more appropriate spooky and chilly subject matter. I promise!!

So...moving right along...
fam2
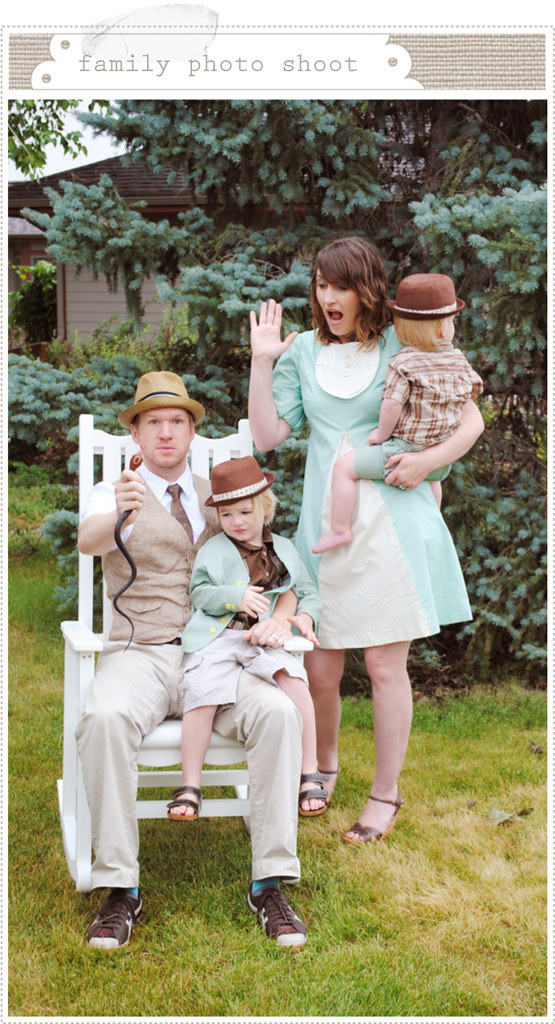
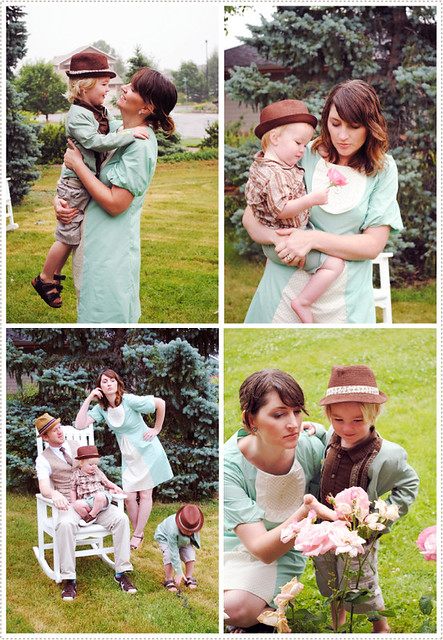
It's sort of become a tradition for us to have a little family photo shoot during our themed 4th of July festivities, and this year was no different. Following a sort of vintage Hawaiian (meets I'm not sure what?) we hammed it up in front of the camera. My little sister and her artist husband were kind enough to take a few shots for us in the middle of a misty drizzle and various children running this way and that. Thanks guys!
fam3
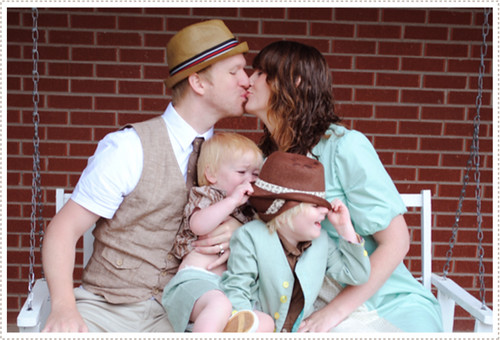
The above pics is one of my favs as it shows life as it really is: Jon and I trying to blissfully ignore the tormenting and fighting that goes on daily between my sweet littles. And speaking of littles...my baby is 2 today!!! I can't believe it. So I'm off to celebrate the rest of the day with him and family!

...Oh and I'll be back soon with Halloween goodies...and hopefully a birthday party wrap up!

10.11.2010

[summer round up: part 2]

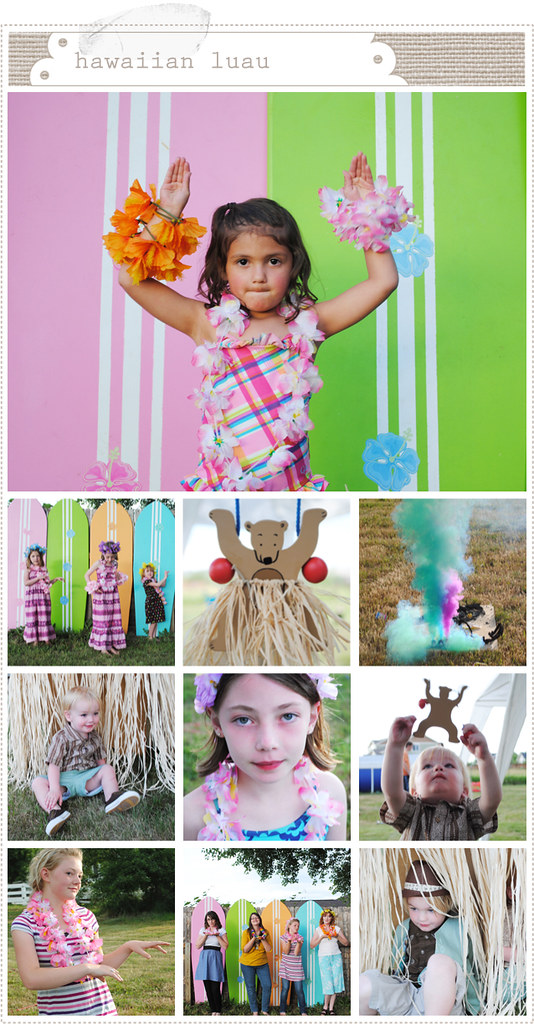
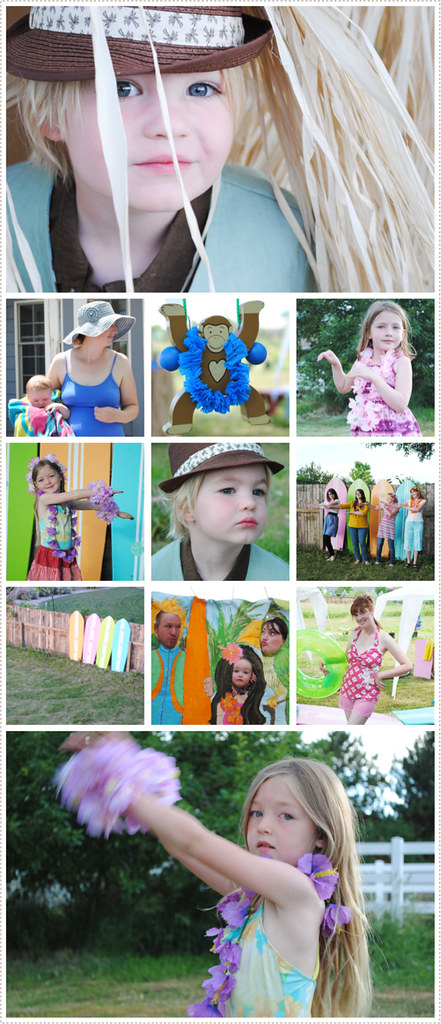
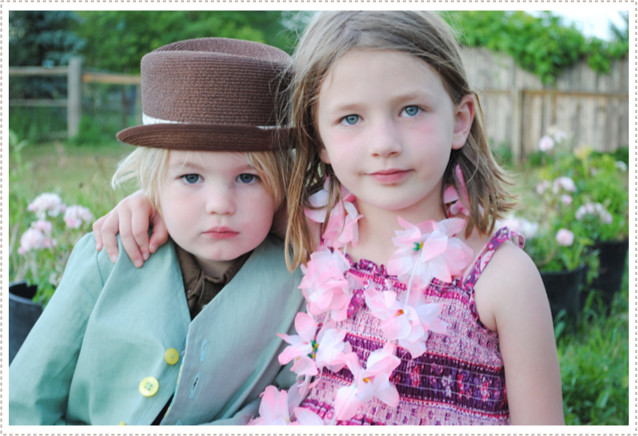
luau1
Aloha! I know we are well into October, and Halloween in on the radar...So...the only thing I can say is that I have to hurry and get this summer round up completed so I can delve into skeletons bones and black cauldrons!

Shortly after the super-hero reunion we made our way out to Colorado for a patriotic 4th of July weekend with a Hawaiian luau twist...Allred style. My fabulous mother and sister, D-lyn, did most of the party prep creating giant, brightly colored surfboards that were used as benches (and then for photo back drops), organizing our annual hot dog bar, making fishing booths and lolli-pop ring toss games for the kiddos, adorning everything with grass skirts and much, much more (D-lyn even managed to make her very own vintage swim suit!).
luau2
The kids enjoyed the day show complete with colored fireworks and Mentos and Diet Coke explosions. D-lyn taught all the little girls Hulu lessons (after becoming a self-trained instructor via library videos) which they were head-over-heels for. There was also a lot of swimming, slip-and-sliding, chatting, eating, reminiscing, giggling, running, playing, laughing, chasing, movie watching, napping, game playing, fire work watching and more going on throughout the weekend. I can't think of a more perfect way to have celebrated the 4th. (Although we all agree that for next year's theme, we're going to have to keep to the red, white and blue color scheme...makes things really feel more patriotic...naturally. Plans for a nautical/pirate 2011 4th of July are in the works...I mean, it just wouldn't be an Allred party if we didn't put a slant on it...right?).
luau3