And if you couldn't make it out to the journal event (or if you just want to make more!) I am giving you the super easy DIY instructions here. If your child is older, they could most likely do this entire craft, from start to finish, by themselves!
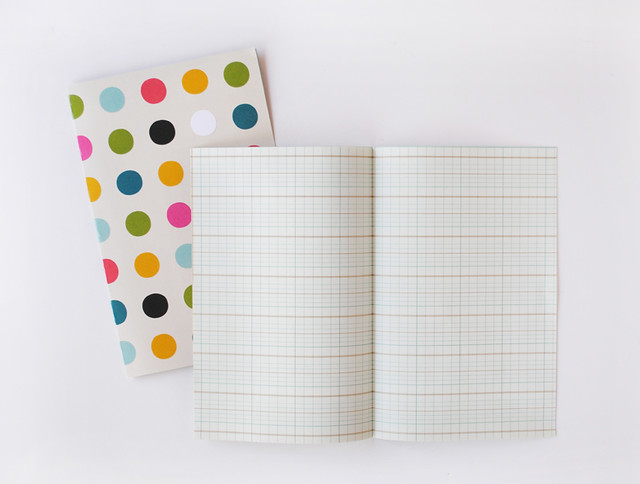
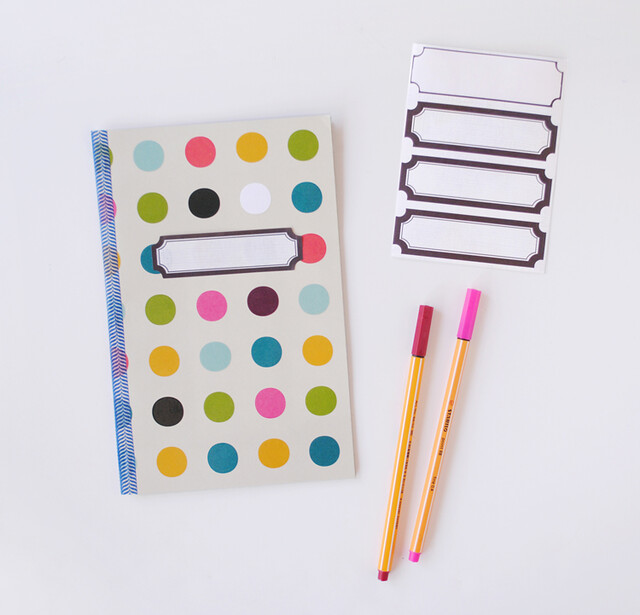
Start by selecting some fun patterned, textured or solid card stock. If it's not already 8.5"x11", cut it down to this size. Then cut at least 7 sheets of interior paper at the same size (or even slightly smaller - say 8"x10"). I like using graph paper for the interior as it give little journal keepers so many options for their personal record keeping. Drawing and creating patterns, alongside writing, can be a fun way for your little one to express themselves. You will also need some fun washi or masking tape for the spine and anything else you might want to pull together to decorate the journals: stickers, gems, etc.
Now fold your interior papers as well as your out card stock in half.
Then simply place the interior papers within the cover card stock. From here you can explore a number of fun binding options, such as punching holes and binding the spine with a number of sewing/lacing techniques. For the Gap events, we made things extra simple by stapling together the papers at the folded spine. It's best to keep the staples close to the edge but make sure you are getting through all layers of paper.
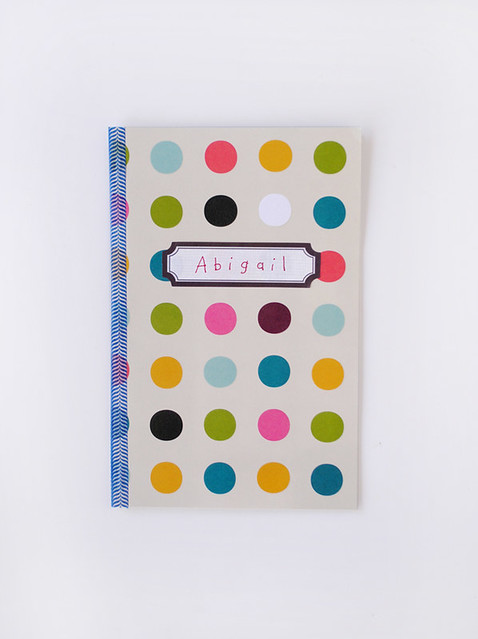
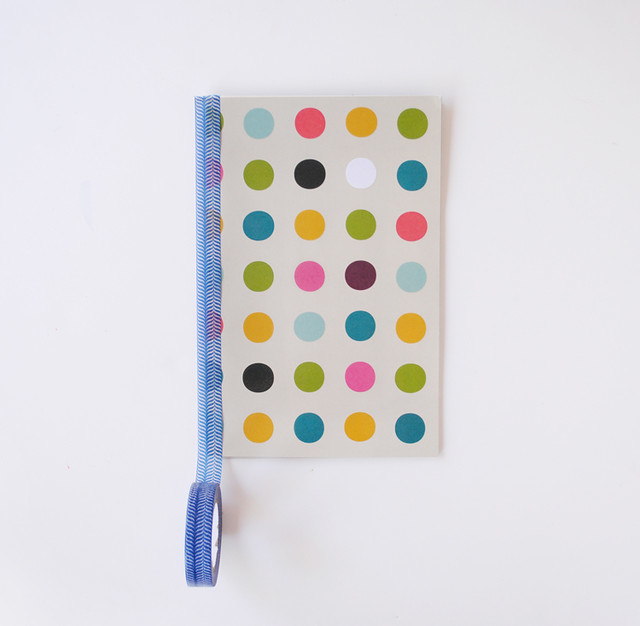
You can then have fun with different patterned washi or masking tape when taping off the spine, hiding the staples. Fold the tape over to the back side of the journal.
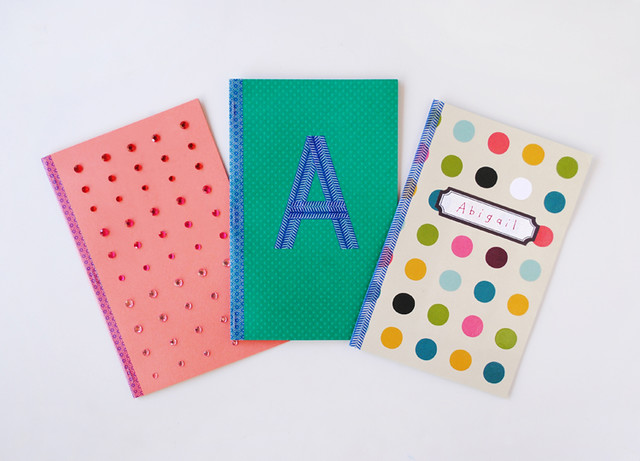
And now for the fun part! Decorating your journal. You can add a label for your child's name or pull out a number of fun stickers and decals. Feel free to get really creative!
I love the idea of creating a grid of ombre jewels or using the washi tape to create a monogram for your child's first name. You could also use the tape to create patterns, such as stripes or a plaid atop a sold paper, which could be really really fun!
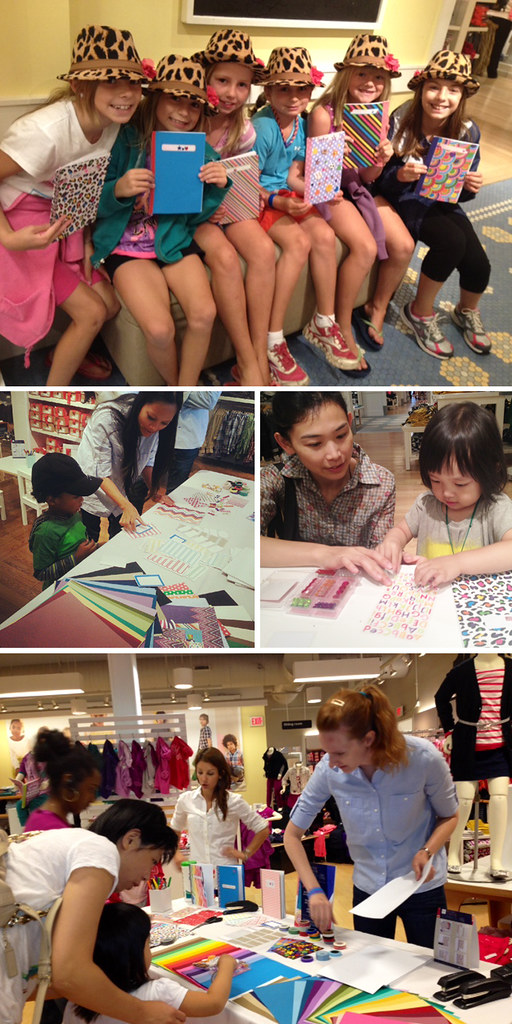
And speaking of getting creative and having fun, just take a look at these little cuties and all of their journals! I so wish I could have made it out to one of the GAP Kids journal making events, but seeing these photos is almost just as good.
I love it when the kids add their own personal "stamp" to these crafts. For example, how brilliant is it to use the gems for a crazy jeweled eye monster like this in this drawing below? Nothing short of brilliant, I tell you. I think the graph paper also helps make these journals more boy friendly. Sometimes we associate journal writing girls (as we love to write our hearts out, right?!) but I think it's so important for boys as well, particularly when they are young. If they can find a way to express how they are feeling, with words and or pictures, it will do them a world a good in years to come. And honestly, I think my husband is a better journal writer than me at this point (my blog has kind of taken it's place for the time being).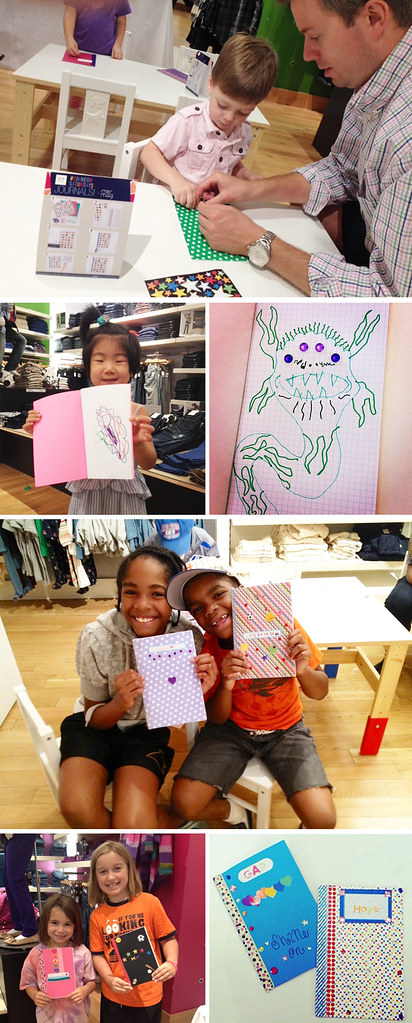
If you have any pics of your kids at any of the events, or if you decide to make any of these crafts afterwards, I'd love to see them.
And don't forget to mark you calendars for this weekends Gap Kids craft! We'll be making animal badges that you will just love. I seriously am so excited for these!! I'll share more details on the craft and specific locations tomorrow but set aside from 10 Am to 1 PM on Saturday and you should be all set for now.



Oh, I didn't realize they were so easy to make. The wahsi tape over the staples is brilliant. I love all the photos of the children personalizing them. What fun! Can't wait for the animal badges!
ReplyDelete