10.25.2011
[a mix and match 'em monster...]
This year for Little O's third birthday, being a little obsessed with puppets as of late, we decided to take the the puppet show on the road and visit my sister and her Littles. Being as this was supposed to be Little O's year with the family I felt this fit and we wanted to keep things low key. So the morning of the party I gathered all the black card stock I could find, grabbed an x-acto knife and started cutting out monster parts.
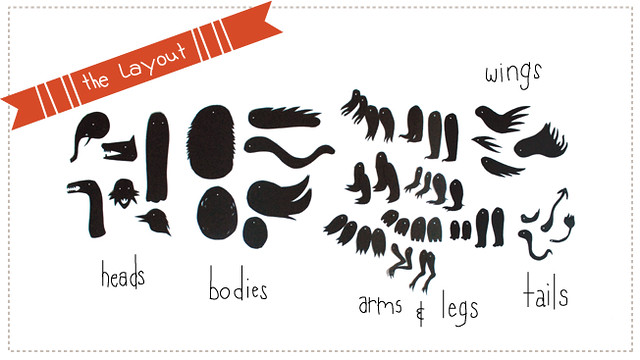
I created a number of heads, bodies, arm and leg sets, some crazy wings and a few tails. I then used a 1/8" hole punch to create eyes and holes for the brads where the creatures appendages would be connected. I only put one hole in the bodies for the heads as I wanted to children to be creative about how they were going to attach the legs, wings and tails themselves. I put an assortment of brads in the middle of the table and then let the children go crazy, mixing and matching, creating spooky creatures and silly monsters.
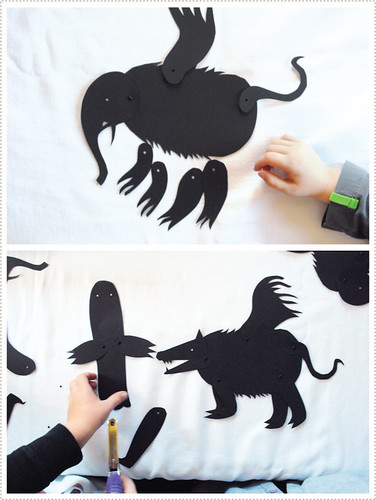
The younger kids needed a bit of help with the hole punching and attaching the brads but they loved the freedom and creativity of it all. I was delighted to see what sort of creatures they came up with and the adults couldn't help but join in on the fun. The ideas were endless and the creatures created were nothing short of amazing!
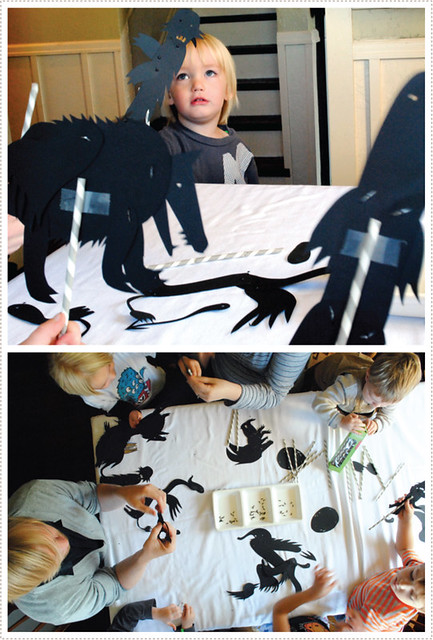
We taped paper straws to the back of our puppets and let the puppet show begin!
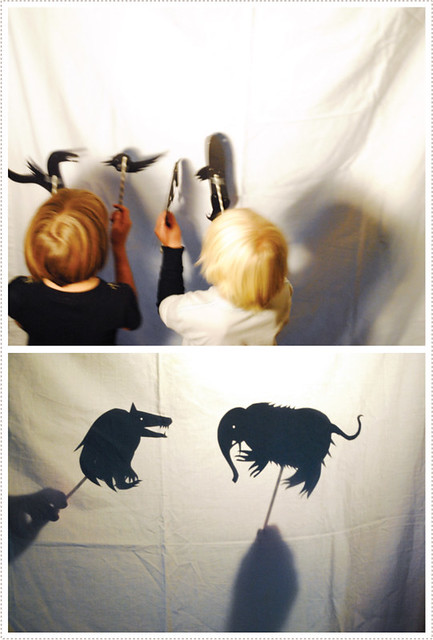
After hanging a white table cloth, my sister held up a studio light from her husband Trent's art studio. The Littles held their newly assembled creations up to the cloth and we had a grand time creating silly, spooky and spontaneous stories.
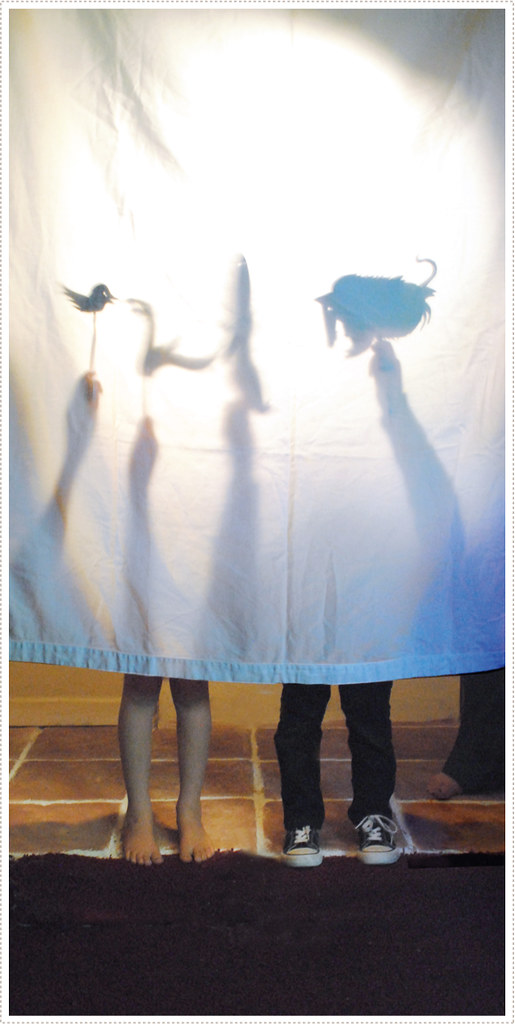
The Littles had just as much fun watching as they did puppeteering (and I dare say, so did the adults!).
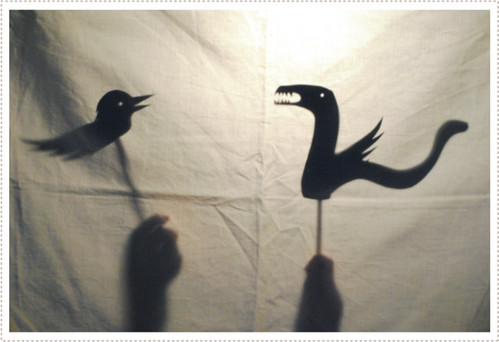
Little O was due on Halloween but came 10 days earlier and I must say, he is definitely a Halloween kid. He is obsessed with anything and everything Halloweeny, spooky and somewhat scary. These puppets were right up his ally but if your Littles might be a little too spooked by these creatures, I suggest using scissors to create more rounded shapes (x-acto's aren't the best tools for curvy corners) and do away with the jagged teeth.
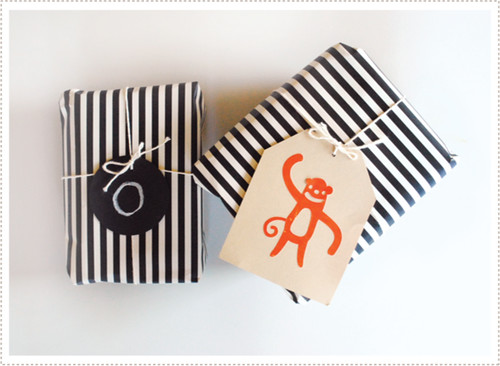
After a wonderful time of puppet play, we headed to the back yard for a low key party spread of doughnut holes, apple cider, festive store bought cupcakes for the Littles and of course...presents.
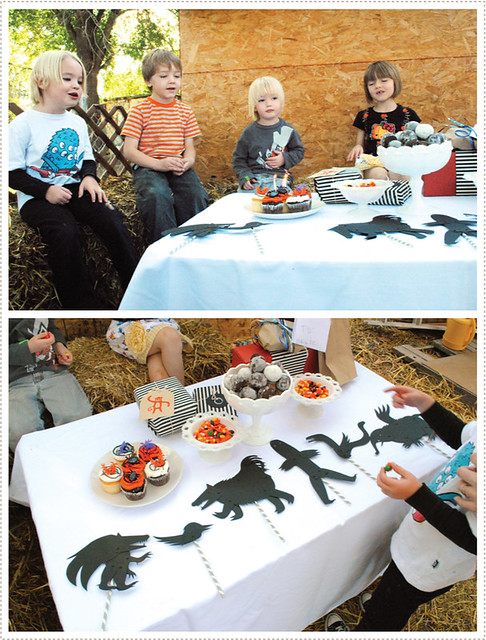
Little O loved the festivities and the attention. It was fun to see how he "got it" this year and he relished the fun of it all.
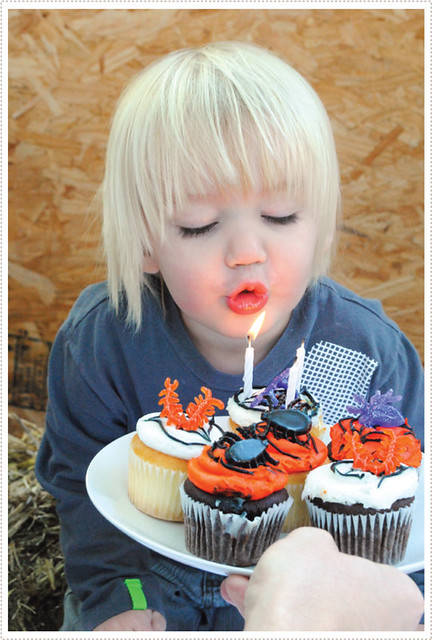
It was great fun for all and it really got us all geared up for a delightfully spooky Halloween!
Happy Birthday my little baby. May your third year of life be full of delight, wonder and happiness.
10.16.2011
[get frightfully festive this Halloween with...]
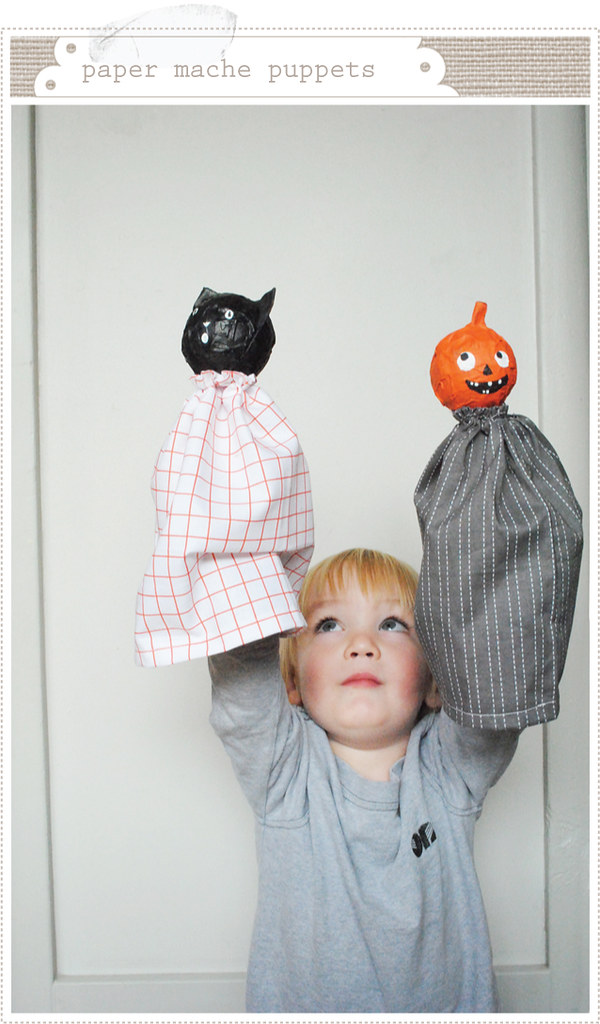
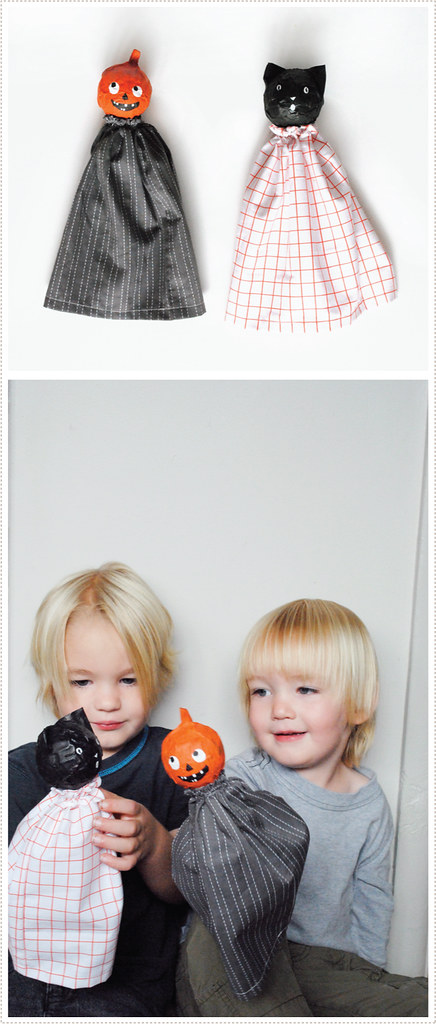
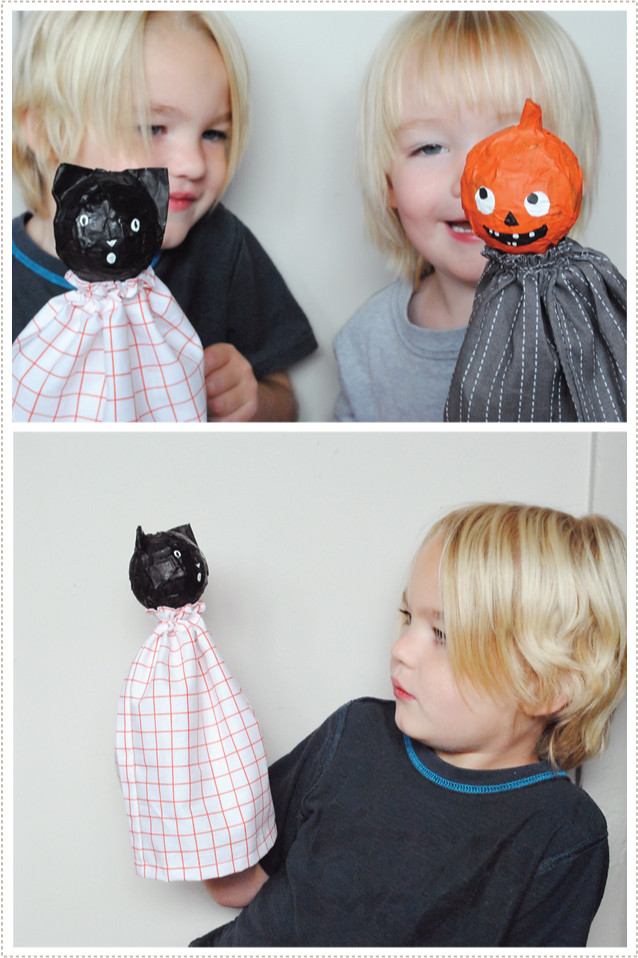
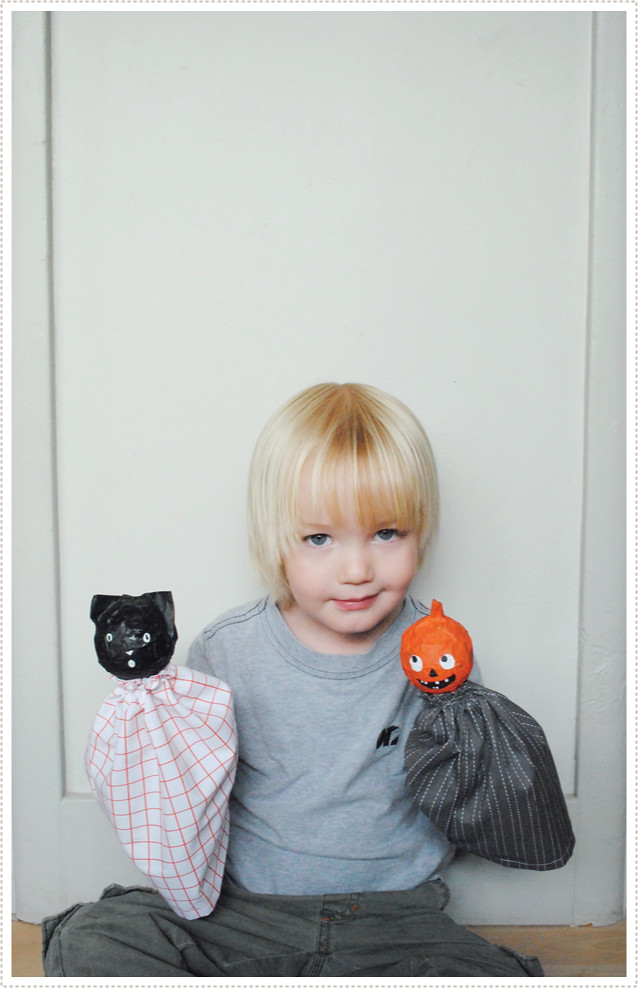
We've been having a lot of spooky fun over here - attending gigantic pumpkin contests, going on school field trips to Pumpkin Land and most recently making these very fun paper mache Halloween puppets.
They are pretty simple and the boys are in love with them. In fact, little O now asks to play with them every other minute.
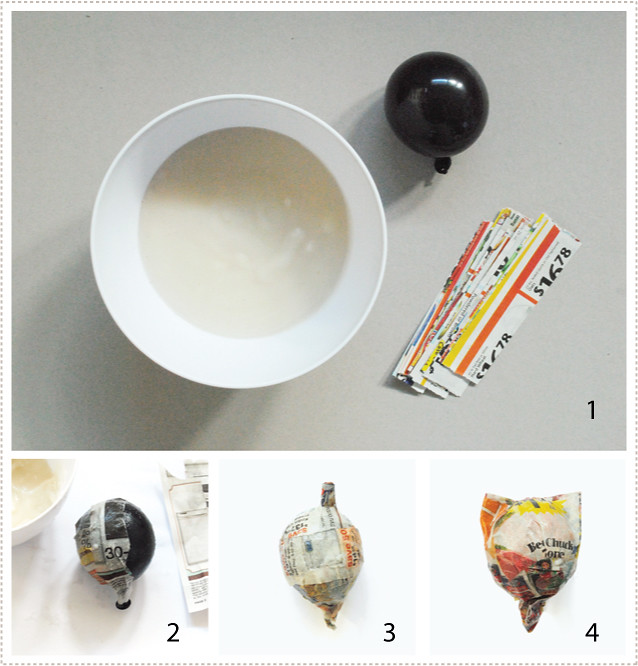
1. To get started, all you need is a small balloon, some basic home made paper mache mix (1 part flour to 5 parts water... boil about 3 minutes and let cool) and a few strips of newspaper.
2. Dip newspaper strips into the paper mache mix and place over the balloon.
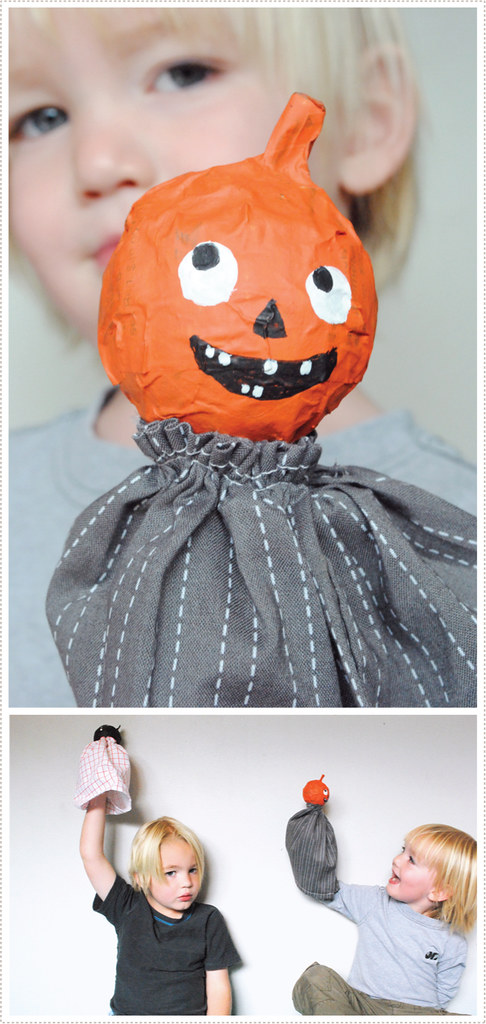
3. Using no more than four layers, cover the balloon thoroughly. You can add additional shapes such as a pumpkin stem...
4. or fold up some paper for some cat ears. Let dry overnight.
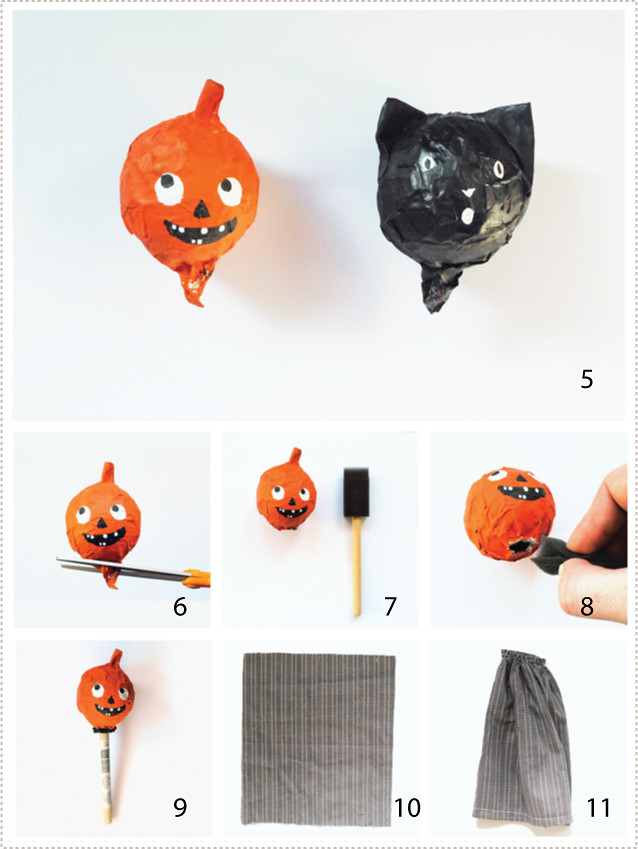
5. Once completely dry, paint on desired face.
6. Clip off the part of the head where the tail end of the balloon is. If this doesn't pop the balloon, pop it and then take the balloon out.
7. Grab a handy sponge brush to use as the perfect puppet stick.
8. Fold up sponge brush and carefully place inside of head.
9. Leave the very tail end of the brush outside of the head to act as a stabilizer.
10. Now that you have your puppet structure assembled, you can choose what type of fabric you would like. I cut 2 sheets of fabric at 10"x 9".
11. Sew sheets of fabric together at the sides (with right sides facing each other). You can either choose to hem the fabric at the top and bottom or leave it as it for a fun, unfussy, spooky look. From there, use a gathering stitch to gather the top of the fabric together.
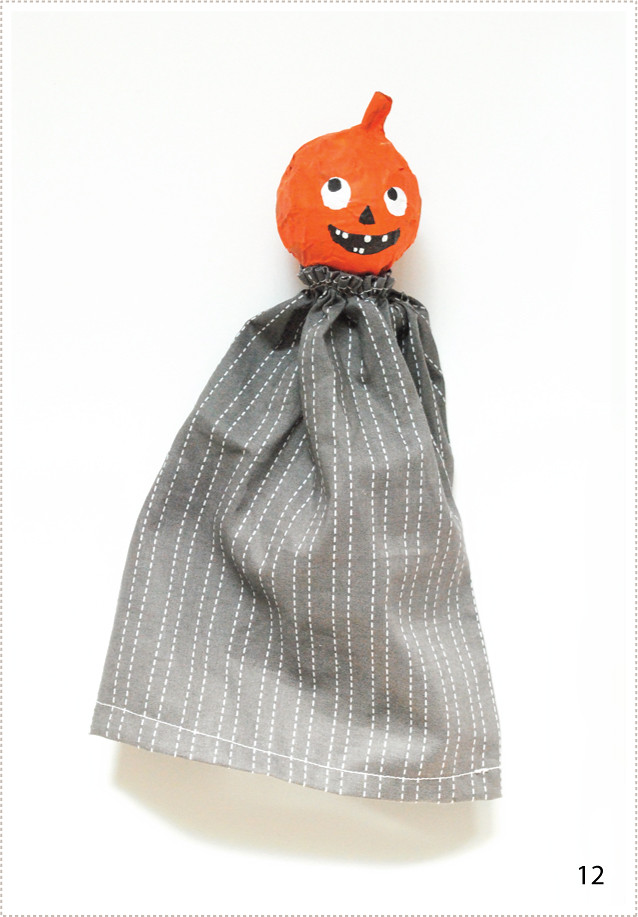
12. Hot glue the gathered end of the fabric straight onto the base of the puppet's head. Let it dry. Feel free to repeat the process for any number of festively fun puppets! Have lots of fun puppeteering for the rest of the afternoon!
And having fun puppeteering is just what we did! It's always so exciting to see which projects really pull the boys in, and I'm happy to report that this one was a real winner!
They spent hours with the puppets and I spent the rest of the afternoon seeing happy faces and little orange and black heads bobbing up and down.
Little O was particularly taken with them and will still ask me if he can play with them nearly every other minute, promising me that he will be Oh so careful with them. It's so adorable, so I of course let him.
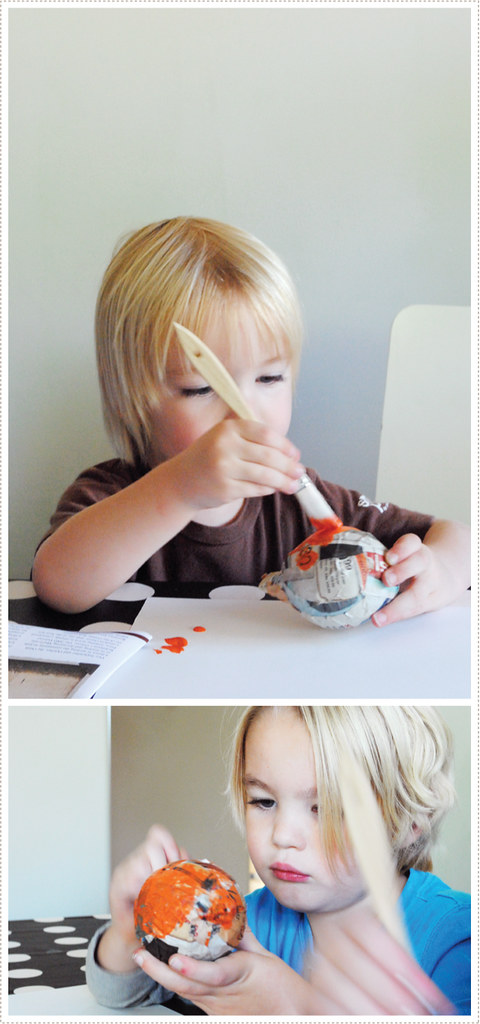
This project is also a great one to pull the Littles in on. I made a few extra pumpkin heads for them (or you can have them get their hands dirty and do the paper mache themselves! They'll love it!). Simply use the tail end of the balloon as the stem, give them some orange and black craft paint and then and let them have at it.
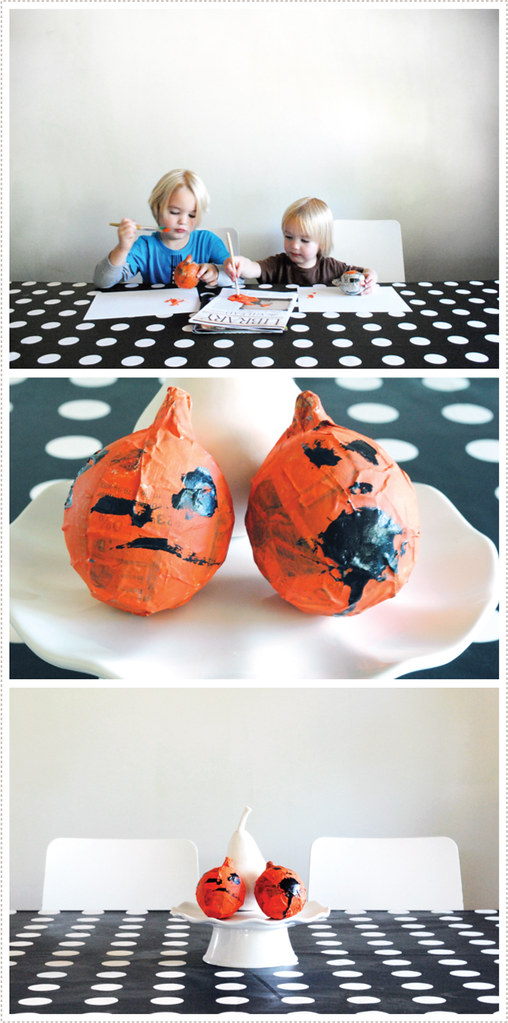
They really got into painting their little Halloween creations. I'm especially fond of the creepy black paint dripping from Little A's pumpkin head. So fitting.
And they make great center pieces which happily remind me on the fun we had. And I must say that it's nice to have a set that is more kid friendly. When the boys threw them around the house and smashed in their sides, I was perfectly OK with it.
The puppets on the other hand...
well those are showcased in a safer place and come down only with some supervision...which merely means I'm supervising...A LOT.
10.06.2011
[easy breezy KIDDIE...]
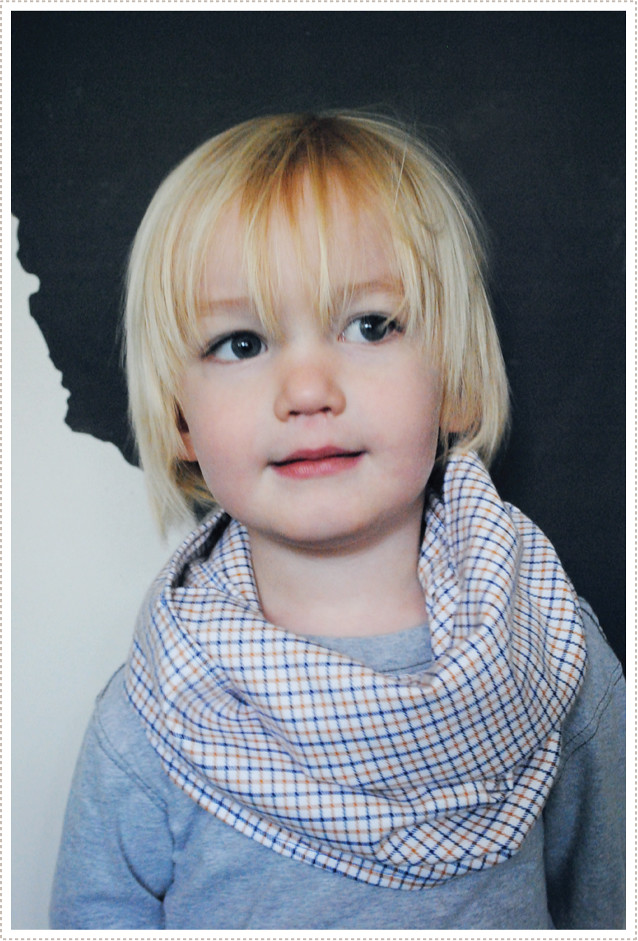
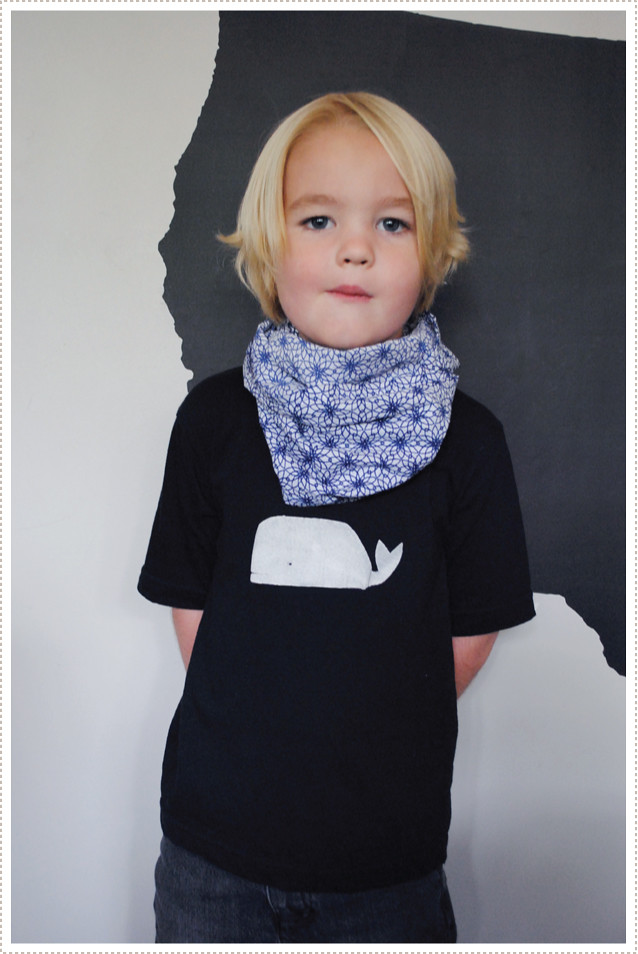
Remember these Easy Breezy End-of-Summer scarves? Well, as temperatures are dropping and fall is at our door step, I've been itching to make a few more of them, but this time for the Littles.
And if you think the first version was easy breezy, you'll be more than happy with how quickly you can whip these mini-little variations out.
In fact...it's so easy you'll probably want to bring your Littles in on the fun. And I can think of no better beginning sewing project than these. It is a perfect "learn how to sew a straight line" kind of endeavor. And depending upon the age and ability of the child you can have them just sew the initial straight seam which connects the two ends of the fabric together and then sew the french seam and hem it for them. Or you can have them do it all, walking them through it step-by-step, offering any needed help along the way.
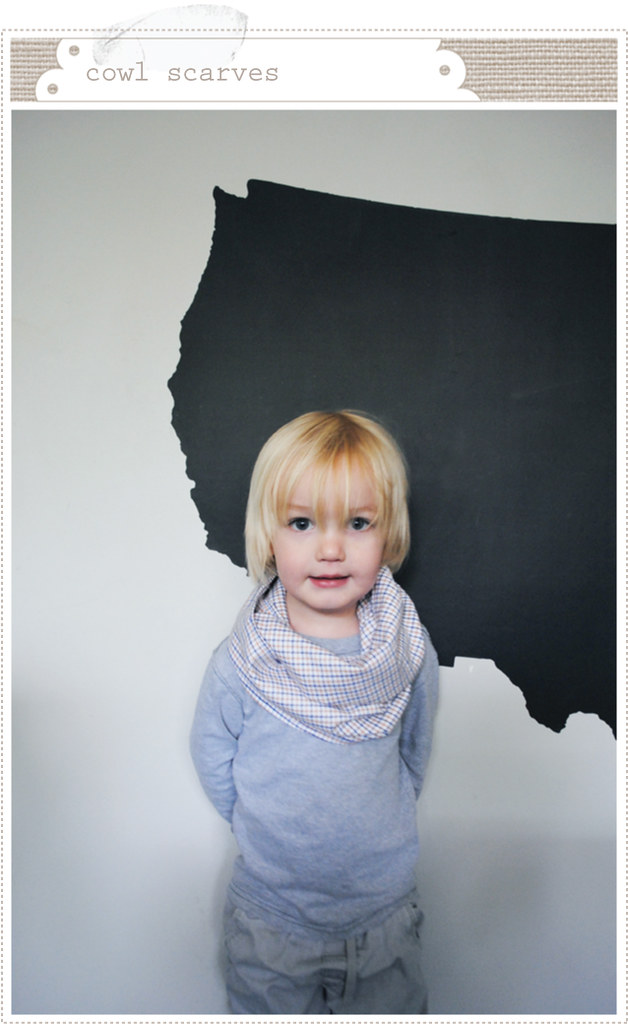
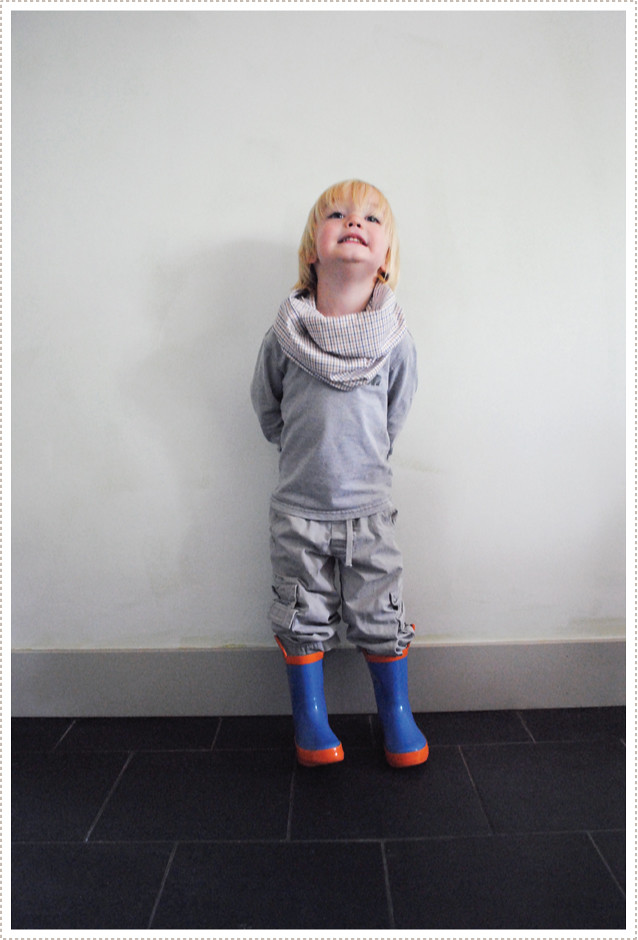
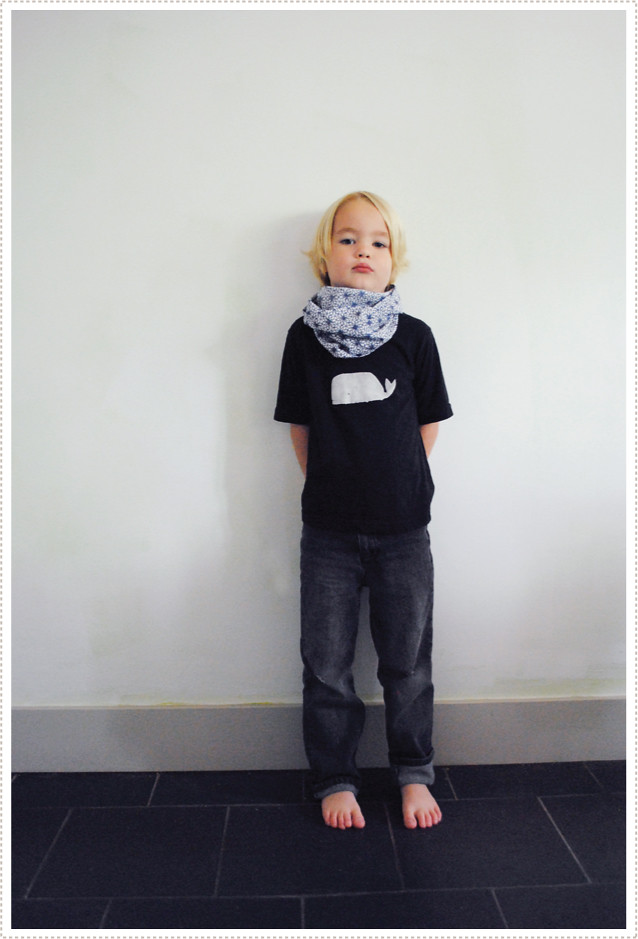
And as for sizing, I would have fun with it. Choose whether you want it a little larger and billowy (Like Little O's in the above three pics) or if you want to have it fit more snug and slightly bandana-like (such as Little A's in the following two pics). Mix it up. These things are so fun and easy to make you won't want to stop experimenting. In fact, I've got a mind to cut up a few old sweaters for when things get really chilly.
(And can I just insert that I've had to start bribing Little A to pose for pictures? Now that he's a grade school super star, he's too cool for mom and her photo shoots. He still loves the crafts mind you, but posing for the camera is so blasé. So yea, he gets a couple of marsh mellows and then he's off to conquer dragons and pester his brother).
And, with all this cowl fever going on over here, I couldn't let the boys have all the fun.
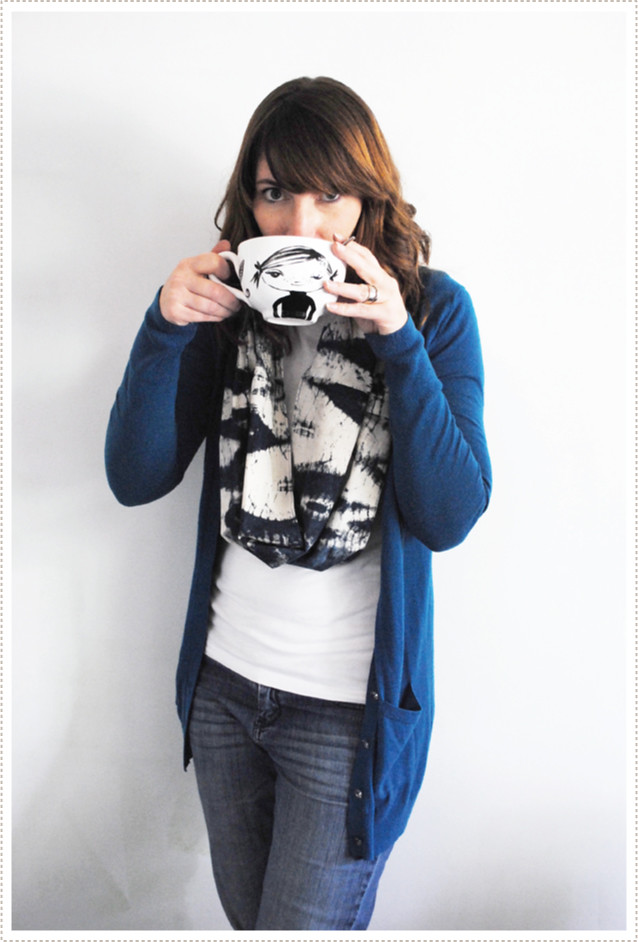
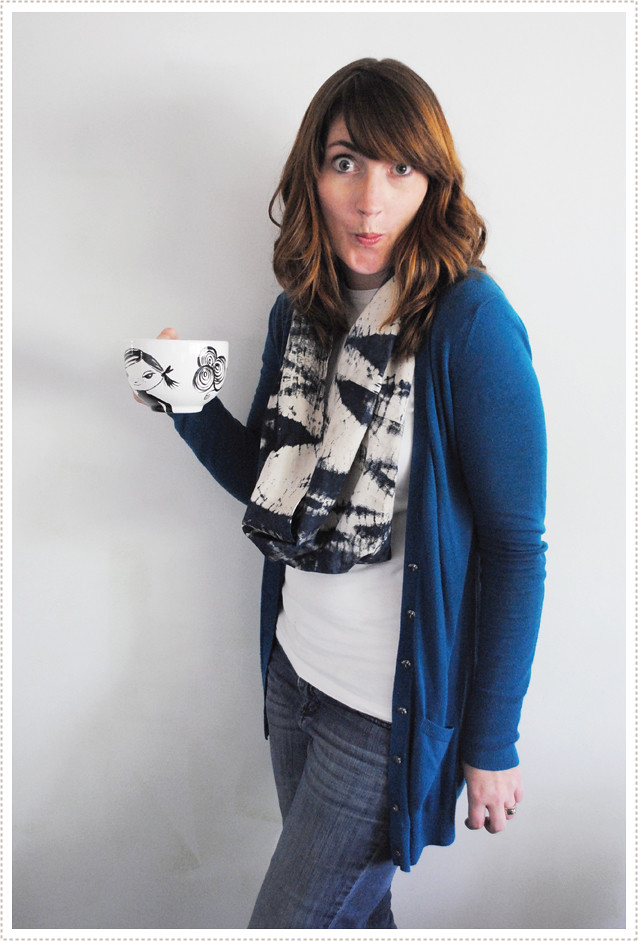
So I made a variation for myself, using my newly-most-favorite-fabric ever - a gorgeous indigo Indonesian Batik found at the tried and true, JoAnn's.
This fabric came in a 45" bolt so I solved the "too tight to wrap around twice" problem by simply leaving it hanging as one simple loop. And I must say, I completely love it.
And you don't have to twist my arm to pull on a cardigan (my new all time favorite wardrobe staple) and wrap around a scarf to cozy up to a delicious cup of hot cho (especially when served in this little mug that I seriously don't use as much as I should!) in front our first fire of the season in our new fire place.
HELLO FALL.
You are indeed welcome here.