7.30.2011

[sisters, smiles and...]

tshirts1
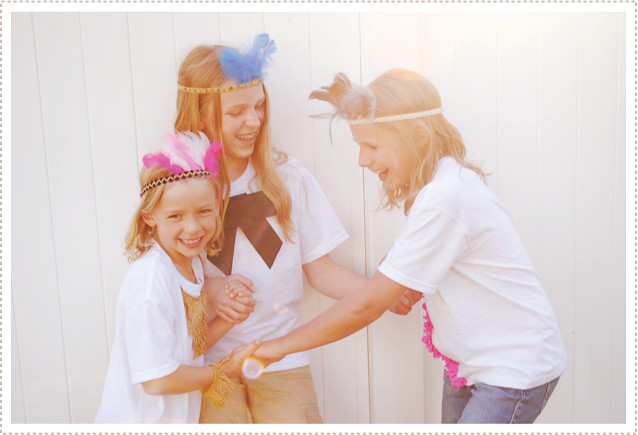
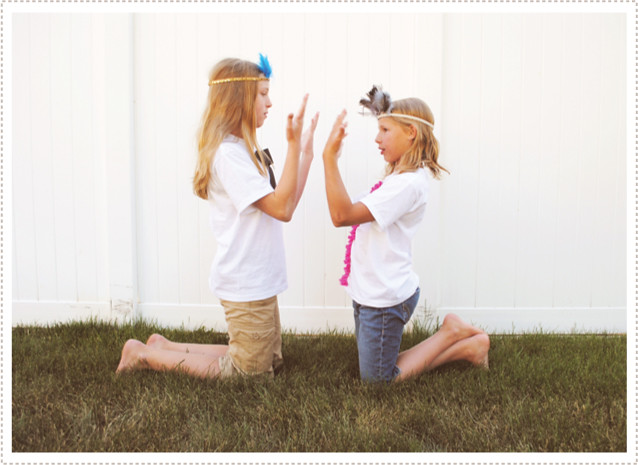
While on our recent travels to see family and friends I couldn't help but be inspired by my lovely nieces. After spending a couple of days with them I knew right away that I wanted to do a simple sewing/dress up craft with them. Lucky for me, they were willing to indulge their silly I-must-create-while-even-on-vacation aunt.

tshirts2

We went to fabric store and purchased 3 simple white t-shirts (on sale at Joanns for a steal). I was inspired by their carefree, flowing gold locks and felt that they were just begging for flapper inspired feathers and gold sparkly head bands. So we went straight to the trim section and picked out a few strands of trim. Then it was straight to the feathers. Bright fun feathers.

tshirts3

From there we proceeded to pick up some gold fringe (I was loving the majorette meets flapper idea) very wide black grosgrain ribbon for a giant sized bow and 1/8 a yard of bright pink spandex for a little ruffly pop of color.

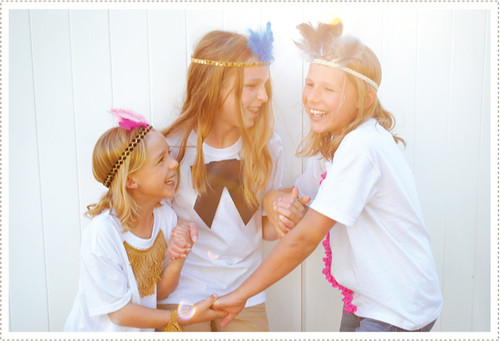
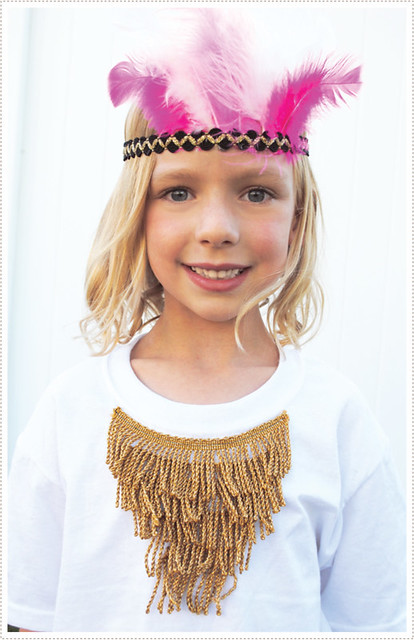
We then went home and got to work. I wanted to have the girls involved with the creation of their shirts and head bands as much as possible. Sarah, the youngest, needed little help in deciding just how she wanted her head band to look. She seriously has a natural eye for things. For her shirt, I helped her to lay out her gold fringe in a reverse tiered fashion. From there I machine stitched the fringe on for her. She later, on her own, decided to use a piece of fringe to create a corresponding bracelet which I thought genius.

tshirts4

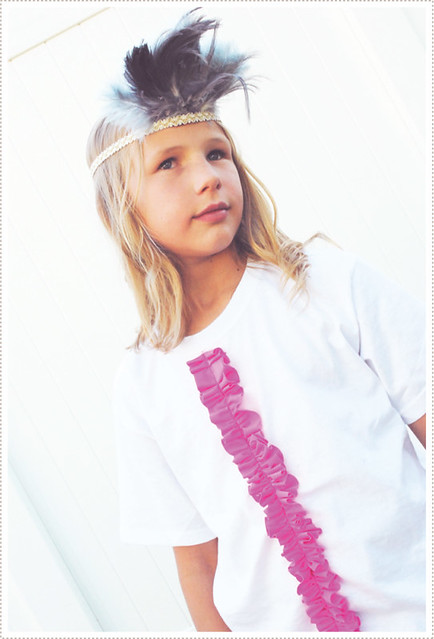
For Anika we decided to do a long thin strip of ruffled pink down her shirt. We loved the bright neon pink color but didn't want it to be too overpowering so we settled on a 1 1/2" ruffle.

tshirts5

Anika already knew how to ruffle up the fabric by hand, using a needle and thread, so I just let her get to work. Once she had the ruffle to her liking, I sewed it on the t-shirt for her.

tshirts6

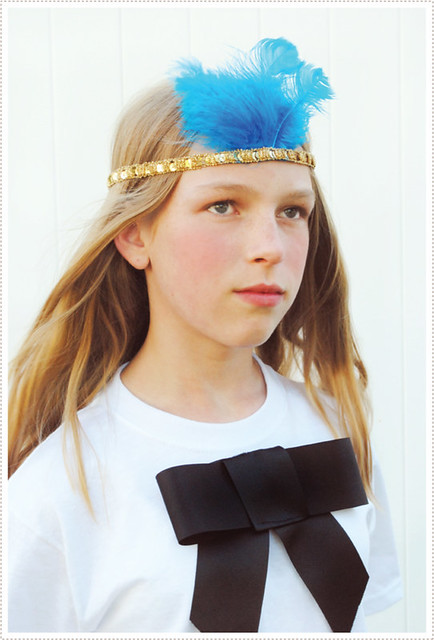
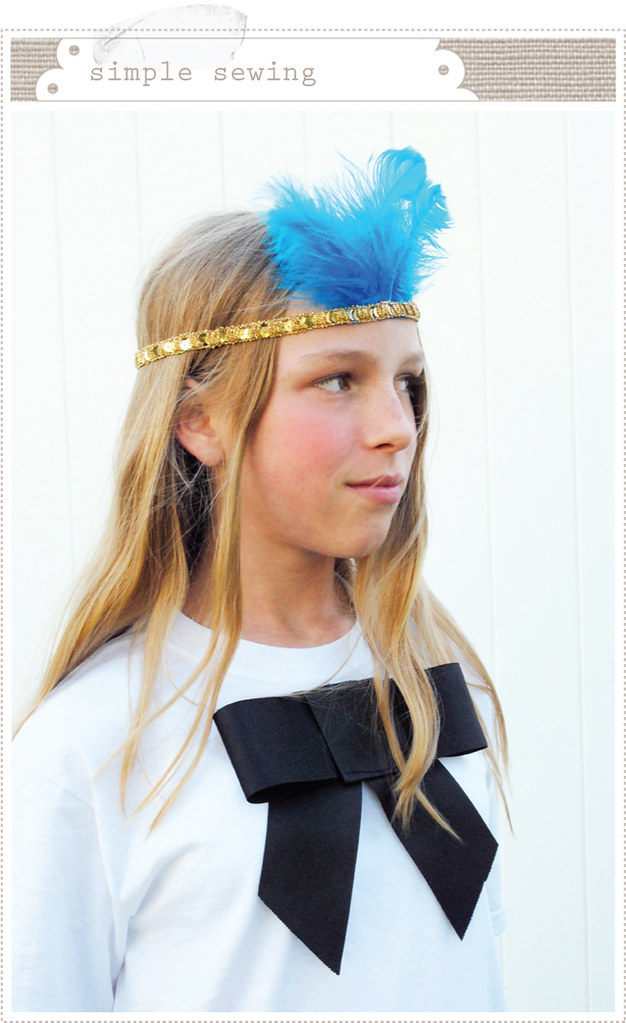
For Katie, the oldest, we knew we wanted to create a giant bow. We played around with a few ideas but most of them looked sloppy. So finally we settled on cutting two strips of ribbon and sewing what would be the two tails of the bow strait onto the shirt. From there we created one large loop for the main bow by sewing two ends of the ribbon together. We then created another loop to go around that one in the same fashion. Katie then hand sewed the top of the bow on top of the tails, straight onto the shirt. We were really happy with how it turned out.

tshirts7

And as for the headbands, I had the girls choose a feather color that would correspond well with their own shirts as well as look good all together as a whole. They then picked out their own feather placement and we hot glued them onto their headbands. They girls then hot glued the ends of their head bands together to complete the project. I loved the headband craft as it was really something they were able to do completely by themselves, from start to finish.

It was loads fun for all and I think the girls were happy with their final creations. I think this would be a really fun birthday party craft don't you? You could get a bunch of t-shirts, trim, ribbon, feathers, etc. and let the kids (or adults!) go at it.

7.24.2011

[Scenes of Sunday...]

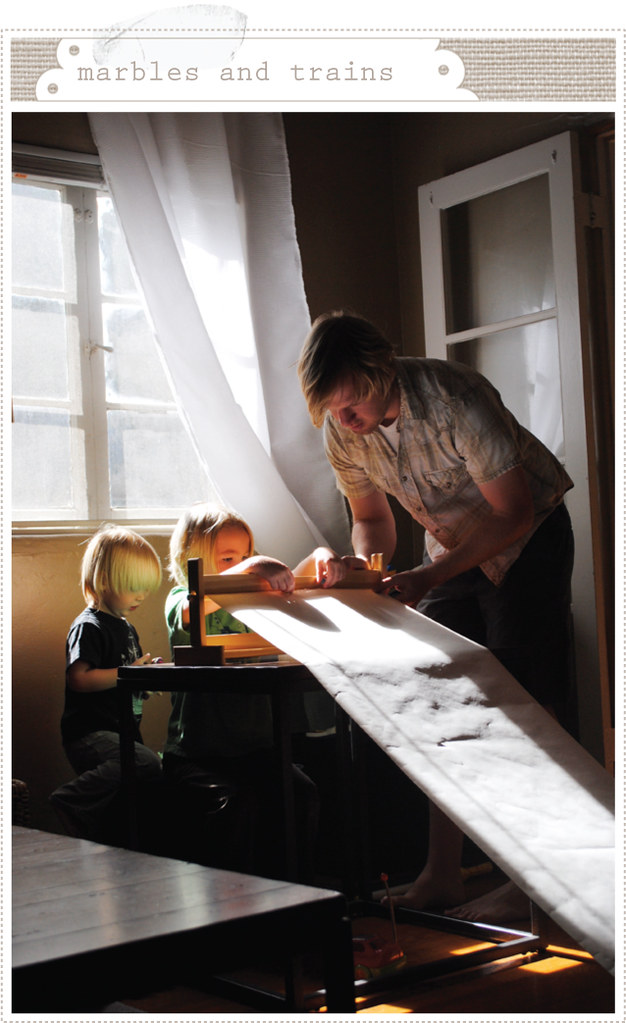
marblesandtrains1
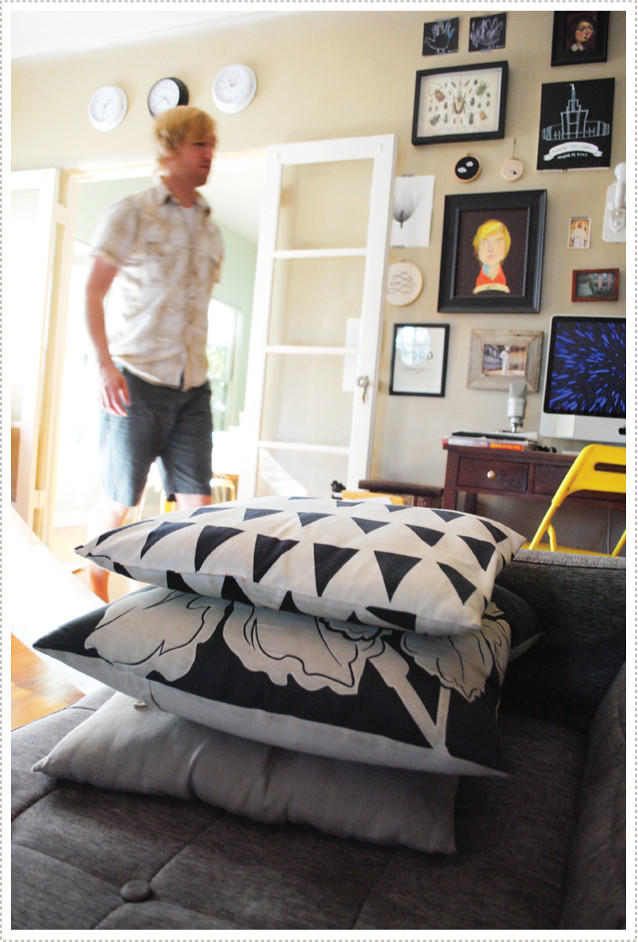
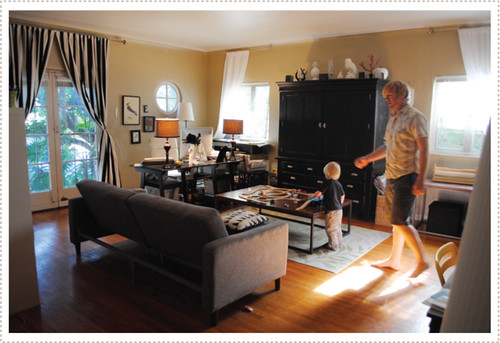
We had another dreamy Sunday afternoon and can I just say that this is my all time favorite day of the week? I love regrouping, spending time with loved ones and just plain keeping things looooow key. If I had to choose a time and a day when things are happiest and pretty darn near perfect in our house, it would have to be on a Sunday afternoon.

On this particular nearly-perfect-afternoon Jon decided to introduce a make shift marble ramp for the boys (and lets be honest, himself) to enjoy. He used the boys IKEA drawing paper roll for the marbles to slide down and thew a couple of broom sticks and shoes on opposite end to create a "goal" of sorts for the marbles to slide into. Needless to say, all boys were in love with it.

marblesandtrains3
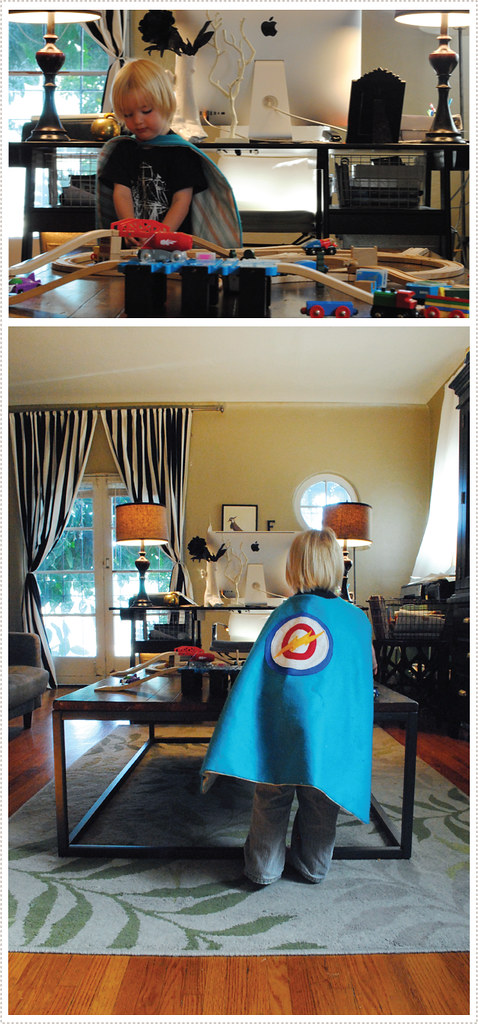
We also had some train table playing going on which kept Little O and I occupied for hours.
marblesandtrains4
I have to confess, it's incredibly satisfying setting up a train track in various configurations. I seriously think I should be a city planner. I mean the possibilities are endless.

marblesandtrains5

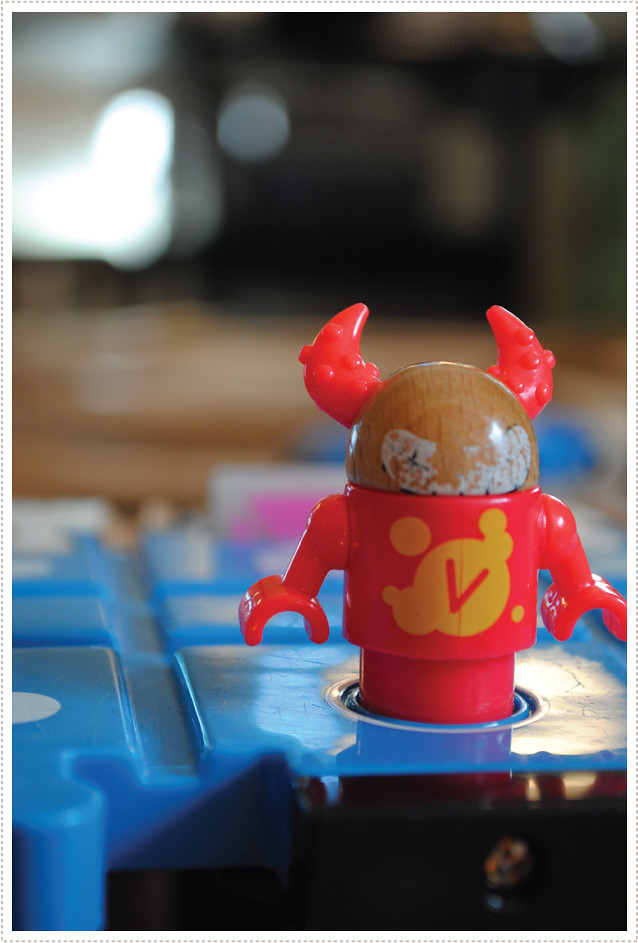
We're big fans of the Brio Network train set (which is unfortunately hard to find in the US). The virus characters are super fun and they even have little "emails" that they transport around the track which can then be placed into little slots that make silly jumbled electronic noises when a virus triggers it. The boys go nuts for it.

marblesandtrains6
So yeah, like I said. A pretty great summer Sunday afternoon. sigh...But I think we're relaxed and ready a new week now...maybe...just maybe...

7.22.2011

[back-to-school shopping with...]

pinecone1
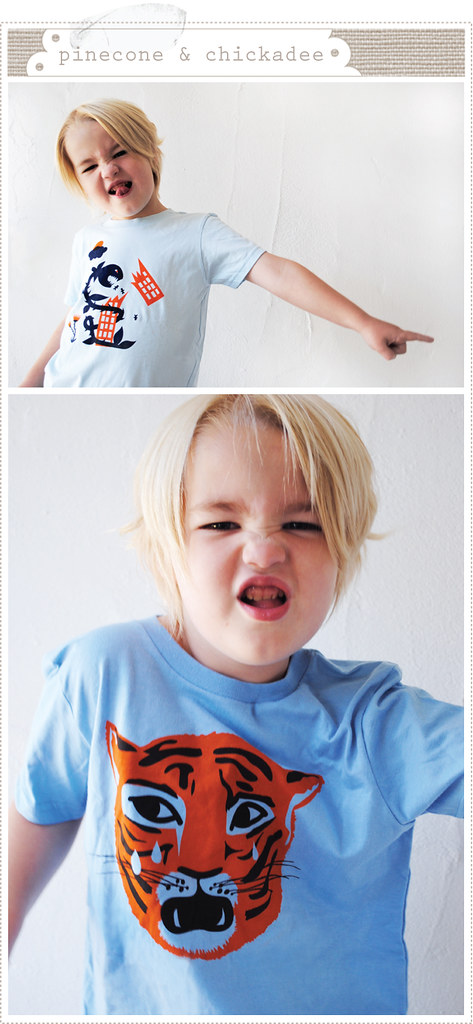
Last weekend we were able to attend the fabulous LA Renegade Craft Fair which has become a favorite Los Angeles experience for us. It has also become a beloved spot for finding unique, one of kind, back-to-school t-shirts for Little A and this year we made it a point to be on the look out.

We loved quite a few shirts showcased by a number of different vendors but it seems like our tried and true favorite is Pinecone & Chickadee (It didn't hurt that they were the most affordable, and with an in person deal of two for $30, well, we just couldn't resist).

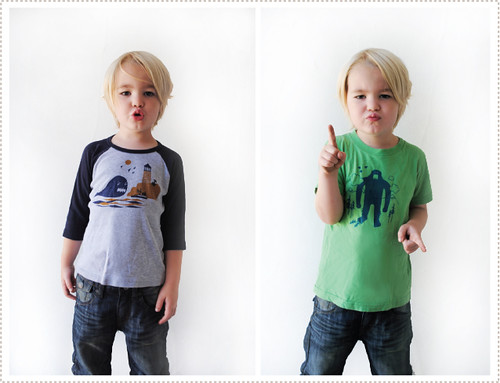
Last year we scooped up the Kids Whale baseball jersey and Sasquatch T-shirt (seen below).

pinecone2

This year we couldn't resist the bright colors and fun graphic illustrations on the Kids Plant and Tiger T-shirts (seen in the top two pics) and Little A is over the moon about them as well. We have our sights set on the Strong Man Tee for next year. After that, here's hoping they come up with more versions, because we're officially hooked!

7.20.2011

[my new go-to baby gift...]

herringbonequilt1
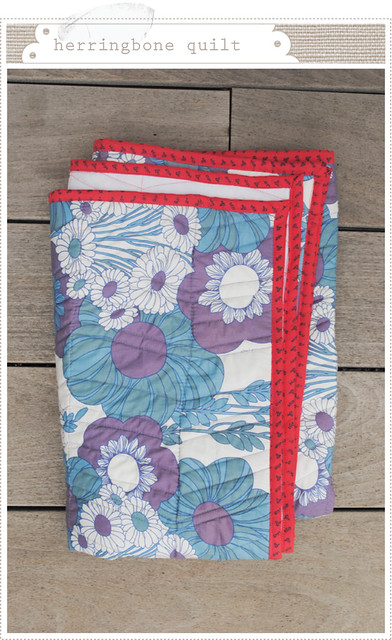
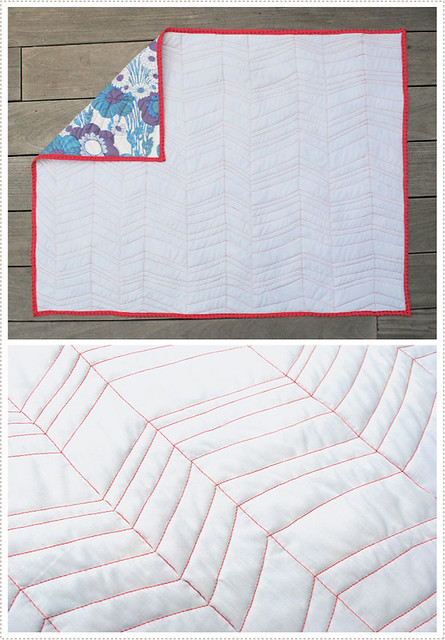
My older sister recently welcomed her 4th little girl into the world (5th child total, as she has one boy) and I couldn't be more happy for her. I wanted to celebrate this new little darling, baby Ella, so I decided to make her a quilt. I have had this idea for a simple herringbone quilt for some time now and was excited to have a chance to try my hand at it.
I chose to make this a smaller quilt, approximately 30"x 40", so it would be something baby Ella could snuggle up in while young and then perhaps convert it into a "lovey", that she could tote around with her, as she grew.

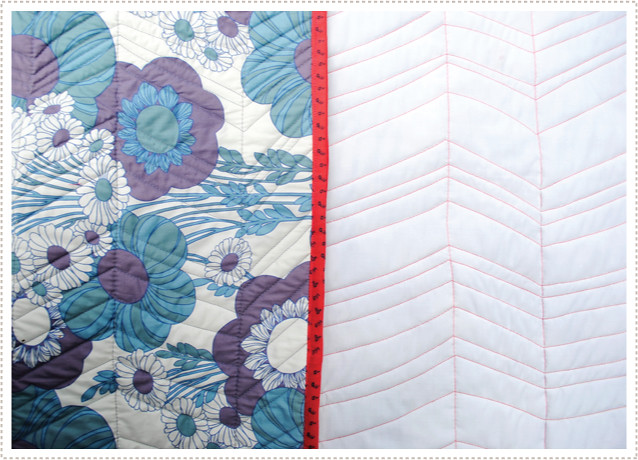
I knew I wanted the fabric and herringbone quilting to be the main focus so I chose to go without patch-working and to use only two sheets of fabric. I chose a floral vintage inspired fabric, that I purchased from reprodepot, back when they still sold fabric, and went with a solid white for the back side.

herringbonequilt2
After placing batting between the two sheets of fabric I pin-basted everything together. I chose a coral pink top thread that corresponded with my binding and a blue bobbin thread that complimented the floral fabric and placed the white fabric side up to make it easier to see my stitches. I then chose where I wanted my vertical lines to go and machine quilted those first. I liked having them various widths apart but you could make yours more precise if you like. From there I just chose one end and started connecting my lines in a chevron/herringbone fashion. Again I liked the organic, freestyle nature of this project so I wasn't picky about how perfect the stitches were and made a point to vary the lines up a bit.
herringbonequilt3
When the quilting was done I did a zig-zag stitch around the edges to make it easier to attach the binding. I wanted to binding to pop so I chose a bright coral pink fabric that had small blue flowers (found at Walmart for 1.99 a yard. score!) that I thought went well with the vintage quilt fabric. I love Heather Bailey's continuous quilt binding tutorial and referred to this when finishing up the binding.

I was happy with how easy it was! Not to mention slightly addicting. I seriously think this is my new go-to baby gift from here on out.

7.18.2011

[a dilapidated barn and a...]

familyphotoshoot1
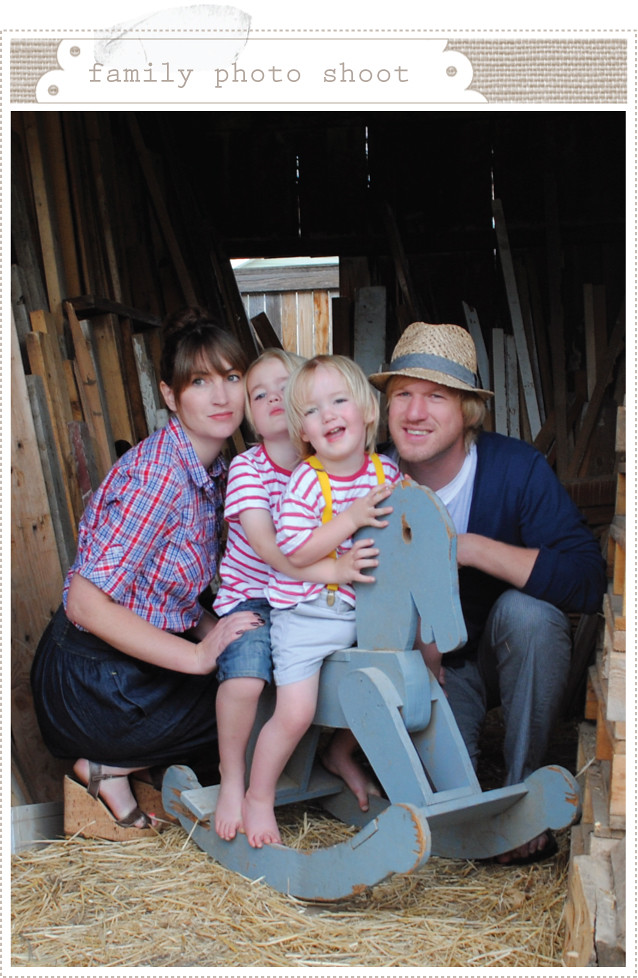
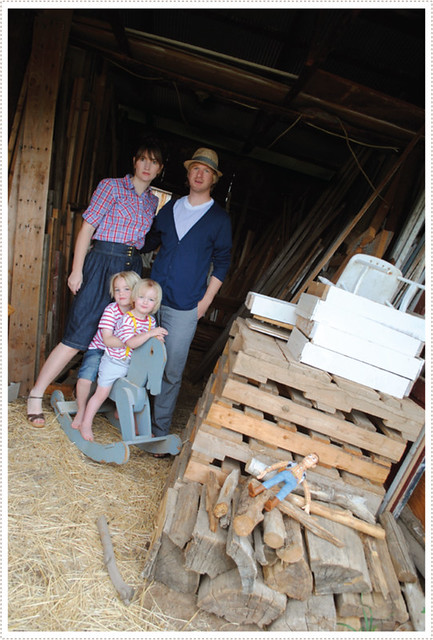
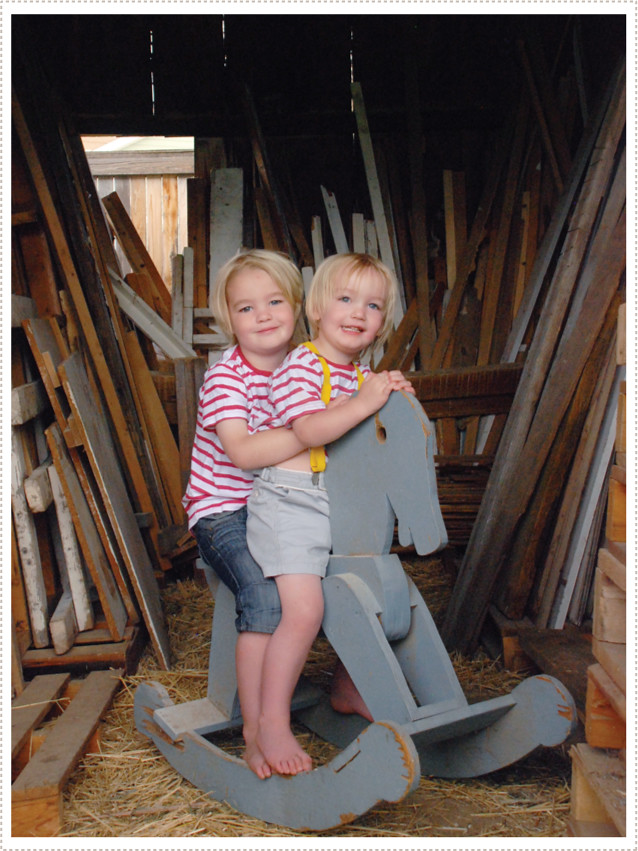
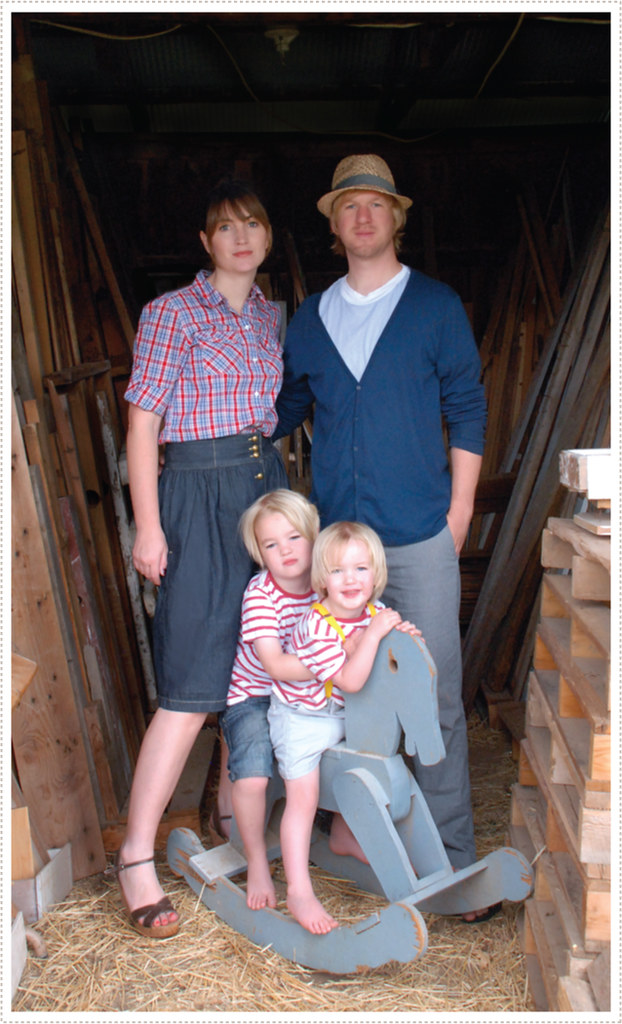
We had our annual photo shoot whilst on vacay, as is now the tradition, and what better backdrop than my parents out-of-service barn? We've used this fond location before but this time we decided to venture on inside and we were delighted with what we found.

familyphotoshoot2
Not only was there a delicious amount of woodsy debris, but right in the midst of everything, was our vintage blue wooden rocking horse made by my father (he made this for my older sister when she was a little girl and we've all had a turn on it at some time or another whilst growing up). Honestly, it was perfectly placed in the middle of everything and all we had to do was put the boys on it and click away. Totally kismet. (Oh, yes, and Little O made sure that Woody came along for the fun...so very like him. If you notice, Muno came along for the pirate pics. He's pretty much never without a famous friend of sorts somewhere near by).
familyphotoshoot3
The above pic is the best one we got of Little A. He's apparently, at the very "old" age of 5, over his parents and couldn't wait to get back to all the fun with the cousins. I think it was something short of torture for him to be pulled away from it all, if even only for a moment.
familyphotoshoot4
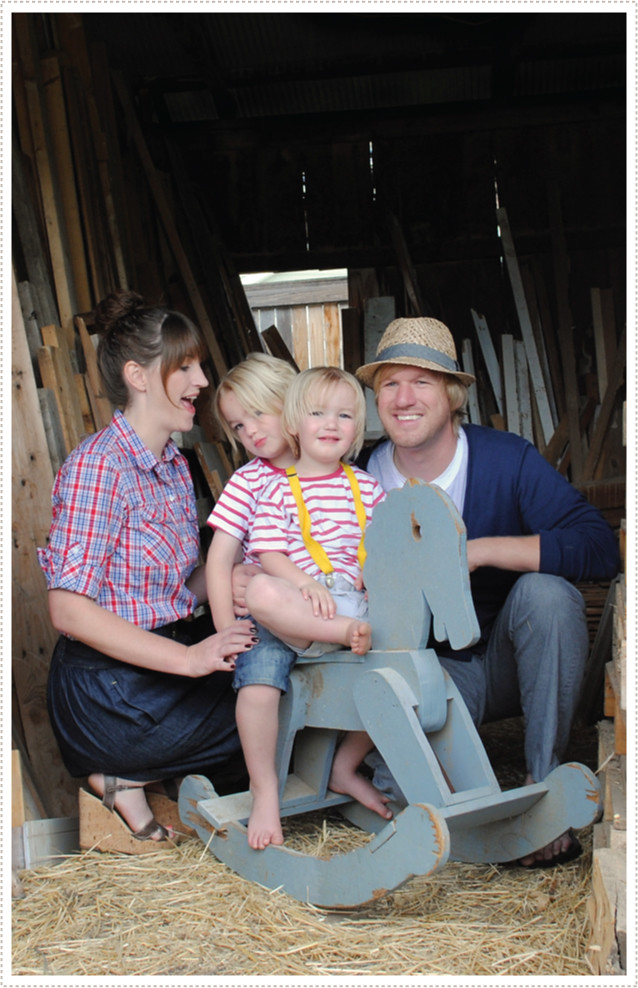
The below pic is my favorite. I like the playful nature of it and Jon is such a cutie, don't you think?
familyphotoshoot5
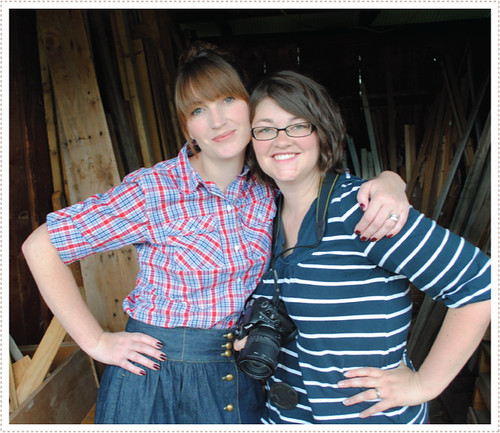
And I had to get a pic of me with my little sister, Lorajean, our resident family photographer. I love her vision she's a natural behind the camera.

Thanks so much little sis' for letting me pull you away from the fun for a bit of photo mania!
familyphotoshoot6

7.16.2011

[fireworks and a...]

pirates1
Whew! We have finally returned home from our annual summer reunions to see family and friends and as usual, had a most excellent time. The kids were over the moon with seeing grandparents and cousins and we couldn't have been happier either. We pretty much didn't see Little A at all in the past 3 weeks as he was playing non-stop with his cousins (and one time even asked us to leave so that he could play with the other kids without us around) so I'd say he was pretty happy. Yeah, it pretty much was a smashing summer success.

pirates2
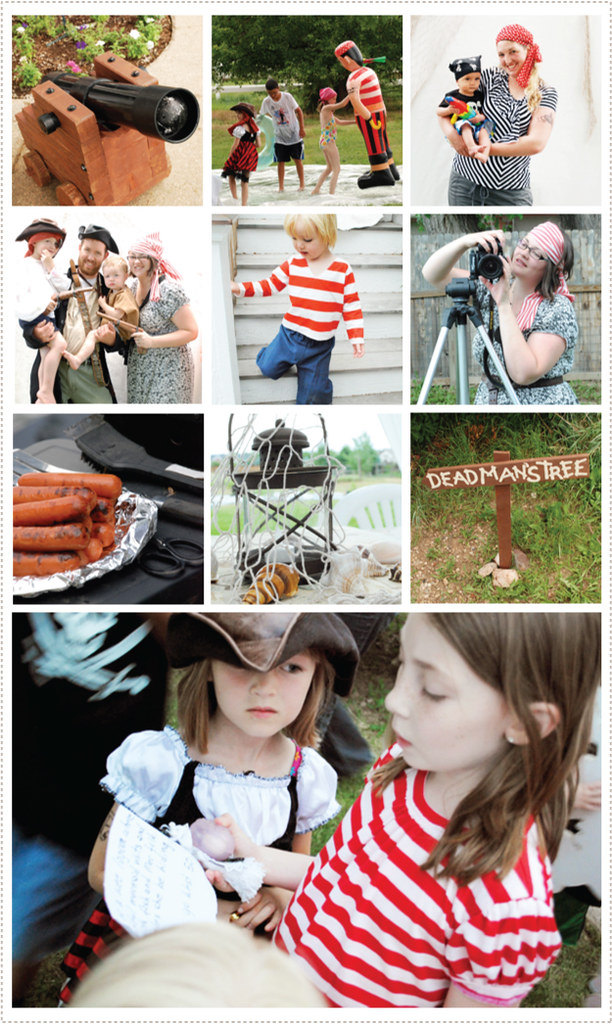
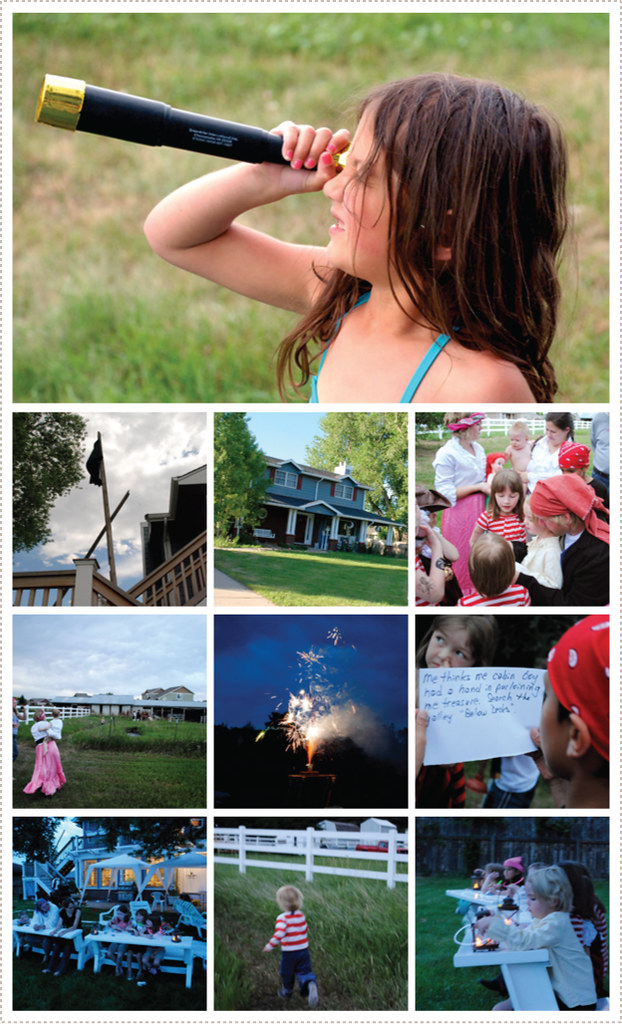
This year for the 4th my family hosted a pirate party themed reunion. We started things out by attending the Real Pirates exhibit at the Denver Museum of Nature & Science where we were able to see the one and only pirate treasure ever discovered and actually got to touch real live actual pirate treasure coins. Yeah, it was pretty cool and a great way to get us all on the mood for some pirate partying.
pirates3
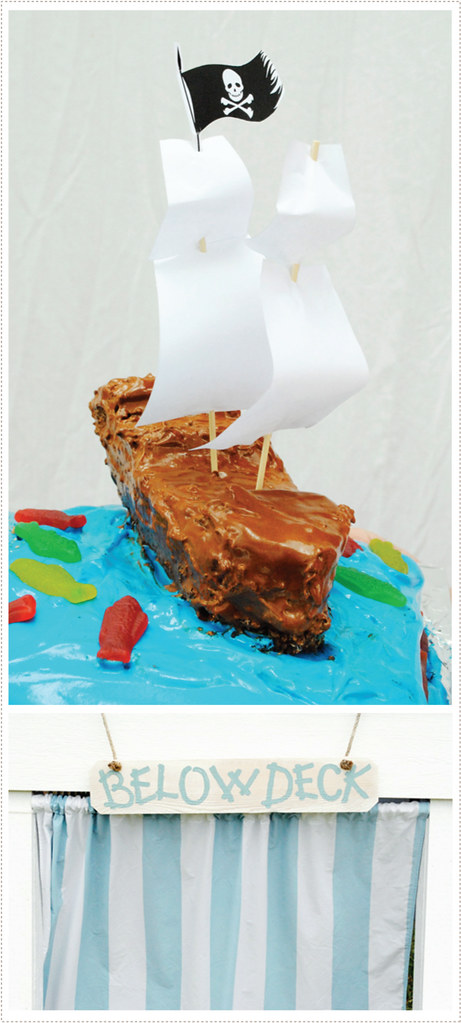
As usual my mother went above and beyond, transforming her home into a pseudo pirate ship of sorts. The small spot below the balcony stairs became "below deck" where a play kitchen was placed for little cooks to "prepare" grub for the crew. The tree in the front yard was de-limbed on one side within the tree to create "dead man's tree" where various pirate toys were placed, complete with handmade styrofoam mountains, for the little buccaneers to play with.
pirates4
My father and brothers made miniature cannons that really worked! They were so cool, you have no idea. All I can say is that they were made from black PVC pipe, styrofoam balls painted black and fire extinguishers that gave a great smoke illusion when firing. How they were assembled is a mystery to me, I'm sure you could find it on youtube or something. Needless to say, we had some fun with those.
pirates5
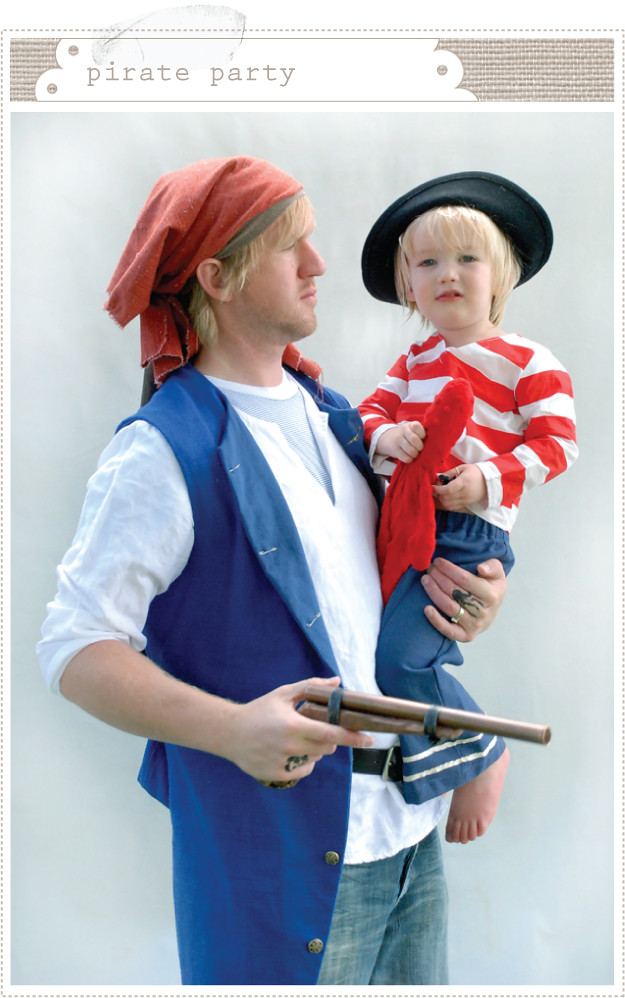
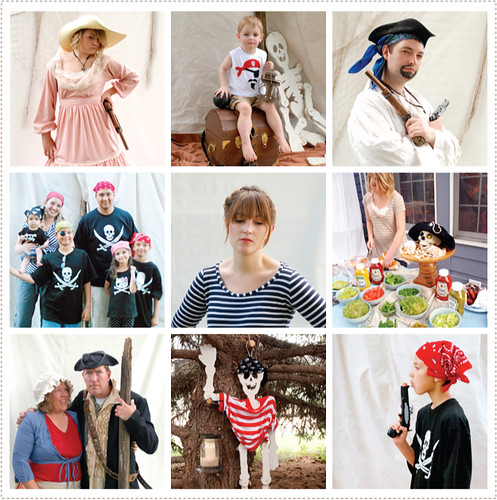
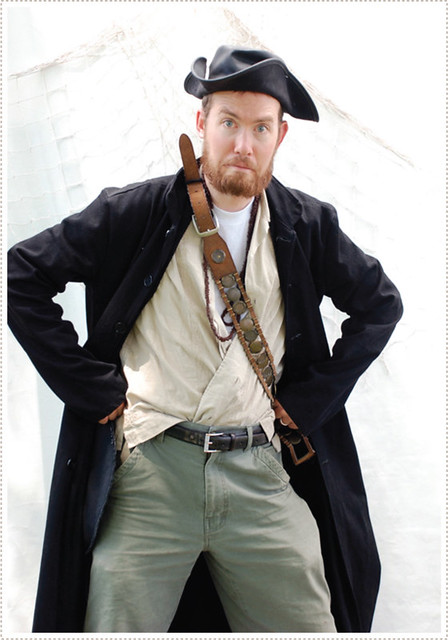
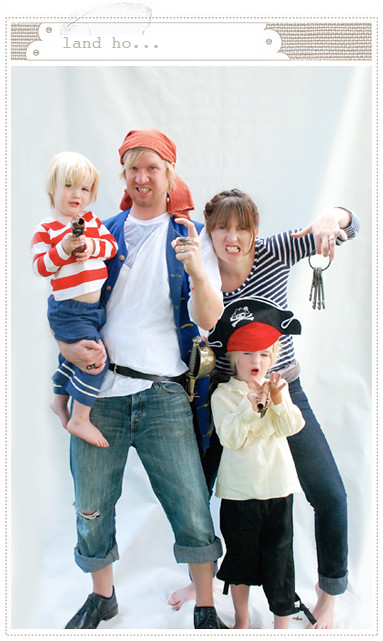
My little sis set up a pirate photo booth and we all dressed up in our pirate best. (This is my brother-in-law Trent in the pic above, who wins "best pirate look" for his overgrown beard and just overall piratey stances and gestures. Don't you just think he looks the part?).
pirates6
Jon led the littles in a pirate treasure hunt and they loved every minute of it. He pretty much had the accent, swagger and humor down to a science.
After our annual hot dog bar and loads of delicious salads and sides we devoured a most scrumptious pirate ship cake.

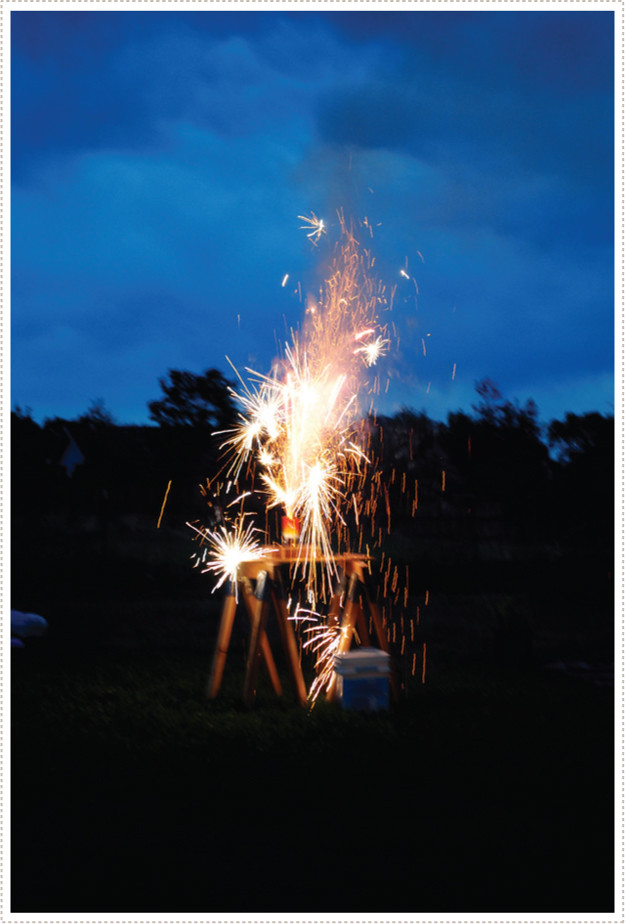
Jon finished up the night up with a bang by presenting an exciting display of fireworks that we picked up on our way over.
pirates7
Then a few of us headed to City Park to see the big overhead fireworks display. Little O fell asleep on my lap while we laid under the stars celebrating the land of the free and the home of the brave.

Another great 4th of July.

*to see more great pics of the party click here on LJ's site.

7.11.2011

[arrrrg...we be lookin' for...]

piratesintemp
I'm not sure what ye land lubbers have been up to but we be sailin' the desert seas with our sights set on plundering some pirate treasure.

We have many a more piratey adventures to share when we sail on back home and will be sure to share them with ye all then! Stay tuned...or ye just might be finding yerself walkin' the plank...

7.01.2011

[arts and crafts corner]

drawing1
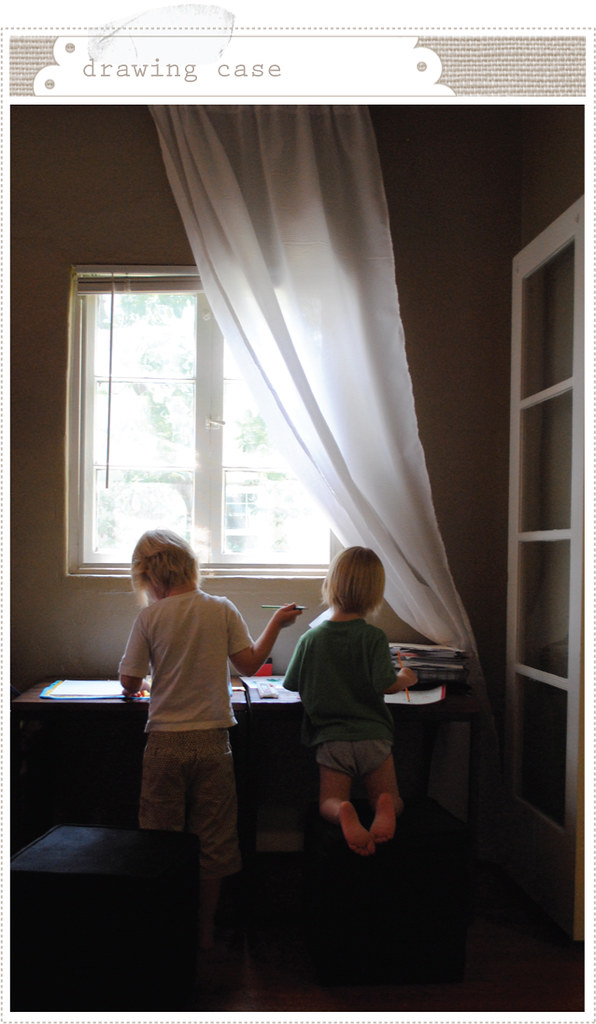
We've been doing a lot of drawing and painting around here. Little A is getting older and is more capable and willing to really learn how to draw and Little O is just over the moon to do whatever his brother is doing (and of course loves getting his hands on any sort of messy, colorful, creative substance - and doing it in your undies...well, does life get any better for a 2 year old?). Because of this we decided to get a family annual pass to the LACMA this year. After attending for the first time (thanks to Tim Burton!), I knew right away that we needed to bring along a pad of paper and pencils for the Littles to soak it all up (Little A drew his first Jack Skellington interpretation on a museum brochure and I was over the moon).

I've been wanting to create some sort of art/drawing carrying case of sorts for the littles for sometime now and after this recent museum trip, I knew it was time.
drawing2
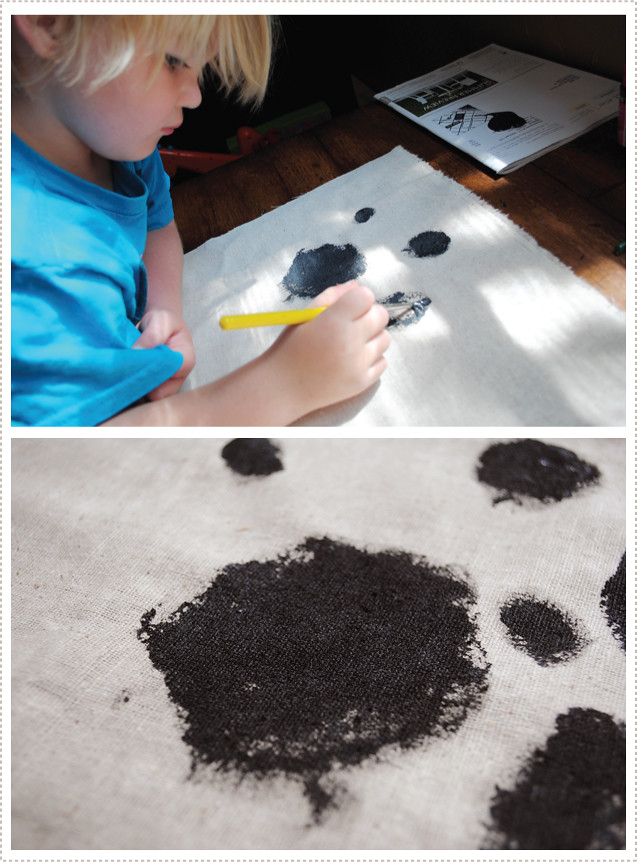
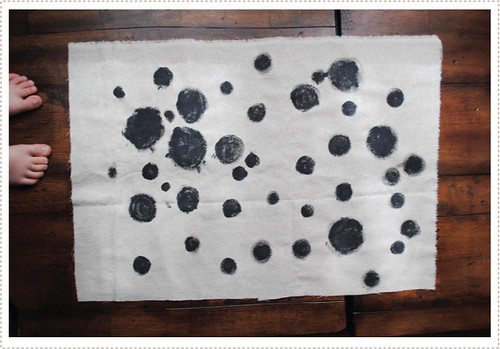
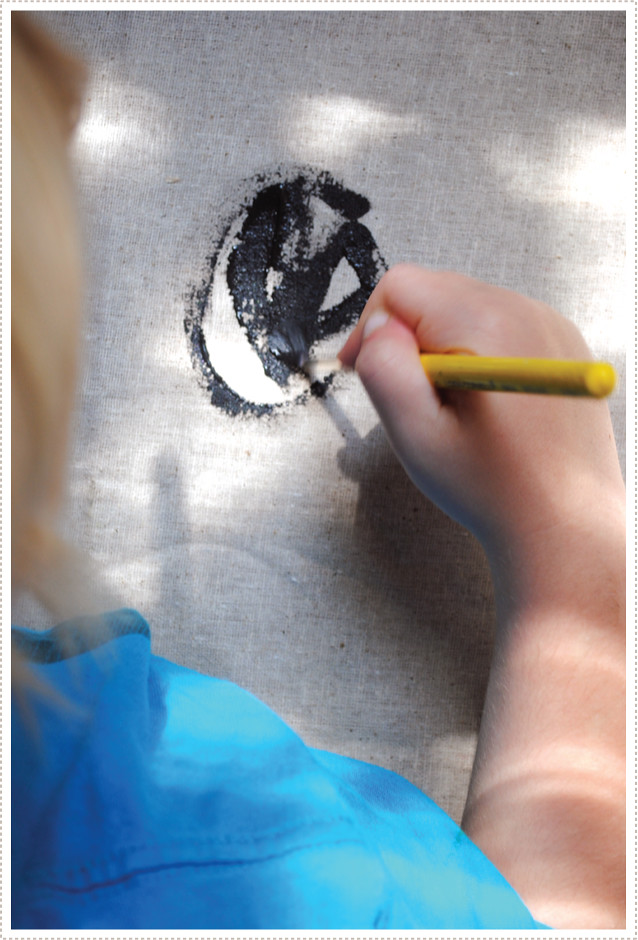
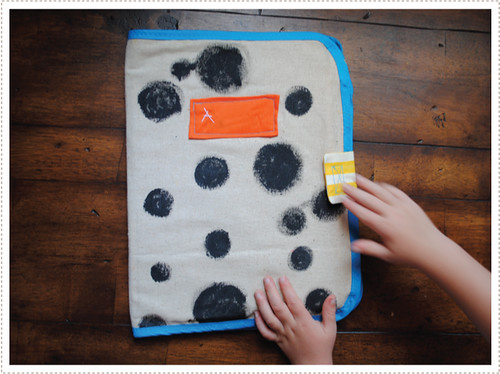
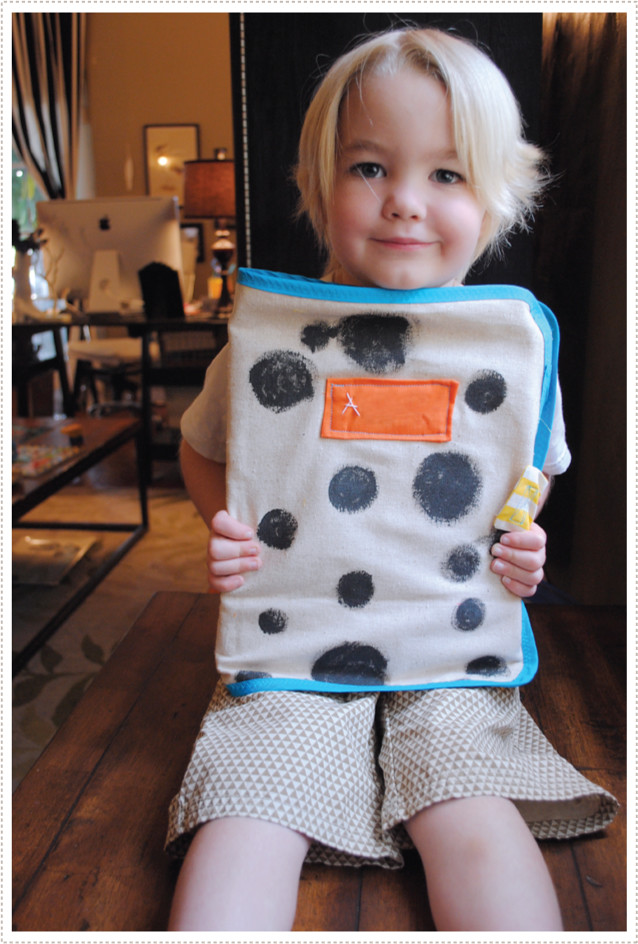
I thought it would be fun if Little A had some sort of ownership involved with the carrying case so I had him paint black circles onto linen that I would then use as the outside of the portfolio.
drawing3
I will confess that he did lose interest in this after a bit so I helped fill in a few spaces. This then got him right back into it and grabbing the brush back out of my hand for him to finish up.
drawing4
I then proceeded to sew the portfolio carrying using this new "custom" fabric.
drawing5
I pretty much just made everything up as I went along (so there are a few rough patches here and there) trying to accommodate all the needs of sketching and painting on the go.

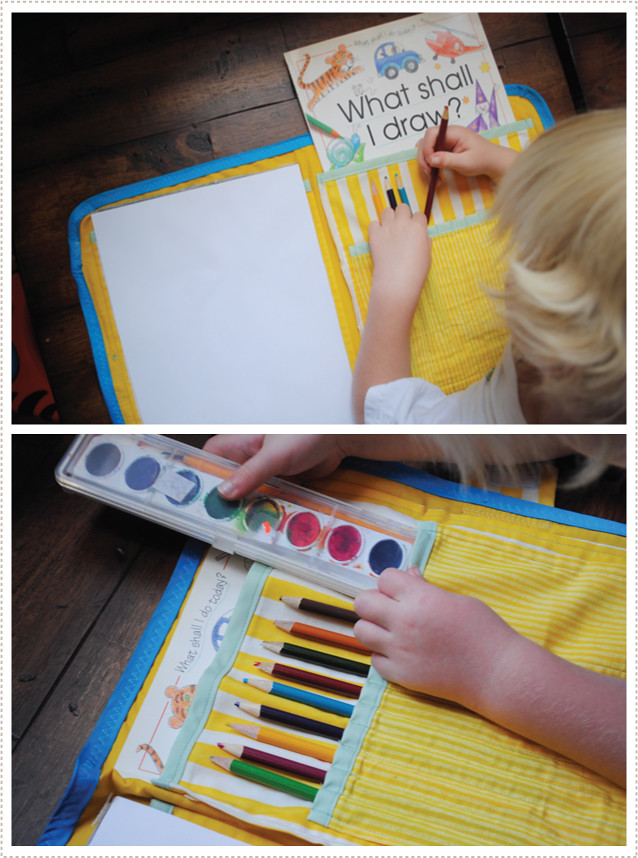
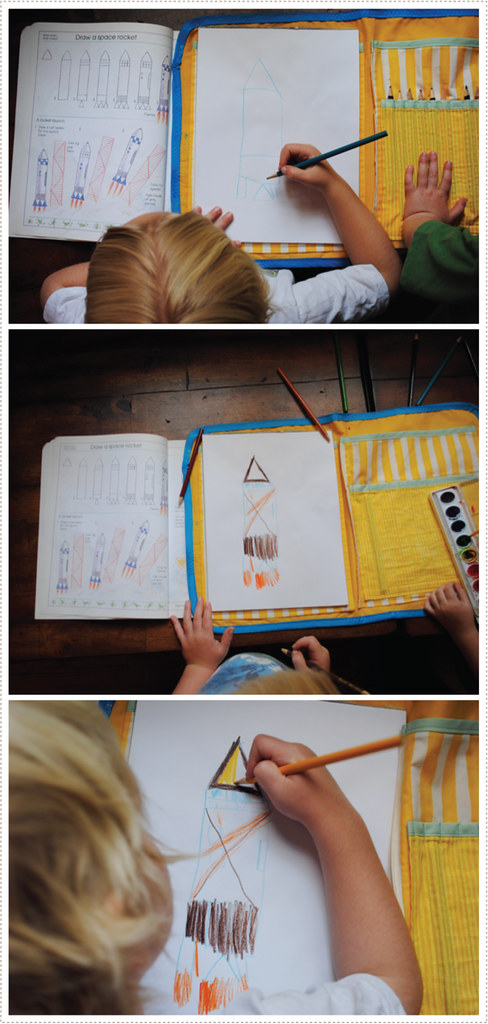
We made a pocket on the left hand side for his pad of paper and another large pocket on the right to hold any drawing/activity books he might be interested in at the moment.
drawing6
Then on top of that right hand large pocket I created several little pockets for his colored pencils (his preferred medium at the moment) and a set of watercolors.
drawing7
He really loves it and has taken to drawing several items from his step-by-step drawing book (a score for 50 cents at a school fair!).
drawing8
And now that we are off on our annual June and July road trips to see family and friends this little portfolio has really come in handy.

If you want to make one yourself, I'll be posting instructions when I share Little O's art portfolio with all of you, so stay tuned!

Hope you are enjoying your first month of summer and, for those of you in the states, are gearing up for a great 4th of July!